
 On Saturday I attended another fun stamping event with my friends from NY and PA. We have so much fun when we get together! It is a lot of work for the organizers, though…especially when our coordinator this time had to scramble at the last minute to find us another location! Yikes! Thanks, Kris, we appreciate your efforts!
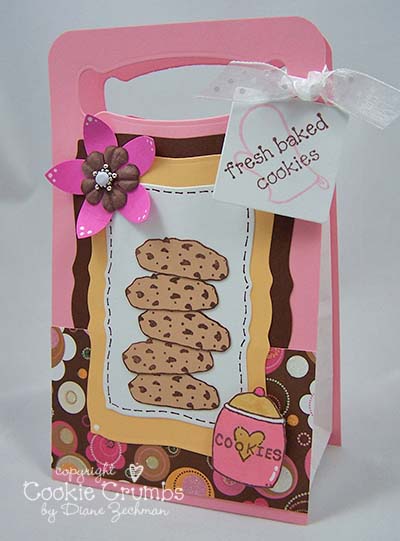
This style of bag is called a Genie bag and it was my shoebox project on Saturday. I started with small, white lunch-style bags from Michael’s and cut pink cardstock for the front and back covers. The handle was created with one of the Ribbon Tags Trio Nestabilities dies. I loved the shape for the handle! I also used the Mega Curved Rectangles to cut the layers and a Cuttlebug Charms die for the tag.
The flower was punched with the SU! 5 Petal flower punch and layered with a Prima. In the center a jewelry spacer is attached with a brad. All images are from my Cookie Jar and Cookie Jar-gon sets. The cookies were stamped on tan paper, cut out and stacked up. The cookie jar was also cut out and then popped up on dimensionals.
stamps- Cookie Jar and Cookie Jar-gon; paper- Pixie Pink, unknown pink, yellow, brown and white, dp- DCWV; ink- Basic Brown, Pretty in Pink, So Saffron; accessories- Mega Curved Rectangle and Ribbon Tags Trio Nestabilities, Cuttlebug Charms die, pop dots, bags by Paper Reflections, May Arts ribbon, corner rounder, SU! 5 Petal flower punch, Prima, brads, jewelry spacer, gel pen.
Cookie Crumbs stamp info:
I also wanted to take a moment and talk about my stamps. I am often asked questions such as how to use them, etc. You can click on each of the thumbnail pics below for a larger view. I apologize for the poor photos but I think you’ll be able to get a good understanding of how they work. Since I was currently working with the cookie images, I used that set for an example.
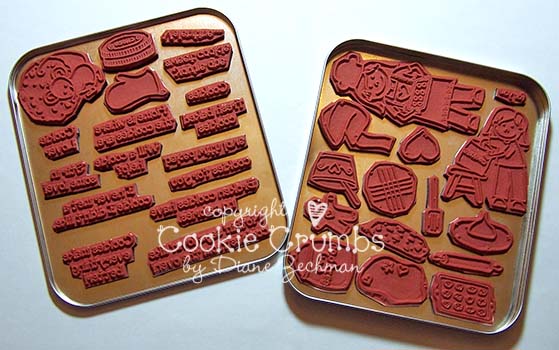
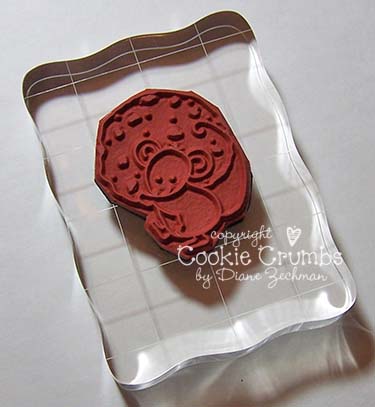
C.C. Designs (All That Scraps) manufactures my stamps and Christine uses high quality, deeply etched red rubber. The images come on a sheet of rubber, with thin EZ-Mount backing which contains a foam cushion. All you need to do is remove the paper backing and cut the images out. This type of stamp is called “unmounted” because it is not permanently affixed to a block (like the SU! sets which are mounted onto wood blocks). They are temporarily stuck to an acrylic block for usage and then removed which saves a LOT on storage space.
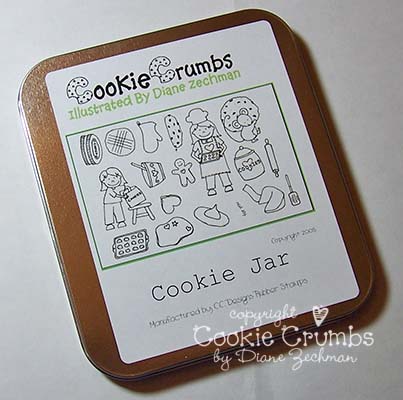
Most of my stamps are sold as a set and come inside a tin with a label on the top as shown in the first photo. Occasionally I may have a single image or, as in this case, a small set which will come in a baggie. The Cookie Jar set has so many images that there simply wasn’t room for the words so they are sold as a separate smaller set which comes in a baggie. But when all of the cookie images and words are cut out, they all fit together in one tin, using the lid and the bottom.
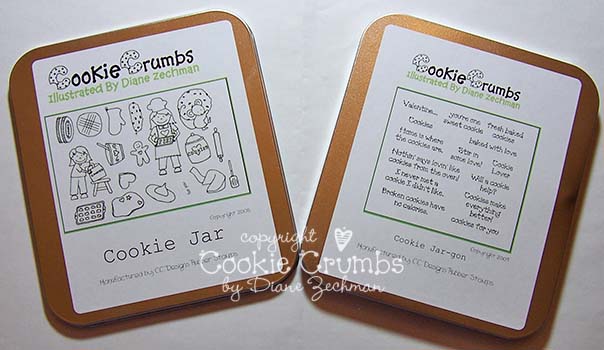
The second photo shows the stamps stored inside the tin. And since I combined the two sets, I simply applied the second label to the bottom of the tin as shown in the third photo. (I have also done this with other sets that don’t have a full tin so that I can maximize on storage space.) If my second label is from images that come in a baggie and don’t have a sticky back to them, then I just cover the label with clear packing tape to stick it down.
Now, to actually use the stamps… :0)
The EZ-Mount backing has a cling quality to it and sticks nicely to clear acrylic blocks. All That Scraps sells these as well as most chain stores such as Michael’s, Jo-Ann’s, etc. I have several sizes and I prefer the ones with the etched lines for when I am working with words or images that I want to get straight. The etched lines help tremendously! But any clear block will do…and if you are in a pinch, you can try sticking them to any smooth plastic surface such as a cassette or CD case. Look around…I’m sure you can find something!
When you are finished stamping your image, simply clean it like you would with your wood mounted stamps. Then you can peel it off of the acrylic block and return it to your tin for storage.
I hope I answered any questions you may have, but if I missed something, just leave a post here and I’ll try my best to answer it!
 cookiestamper ♥


7 responses to “cookie bag and stamp info.”