Category Archives: tutorials and templates

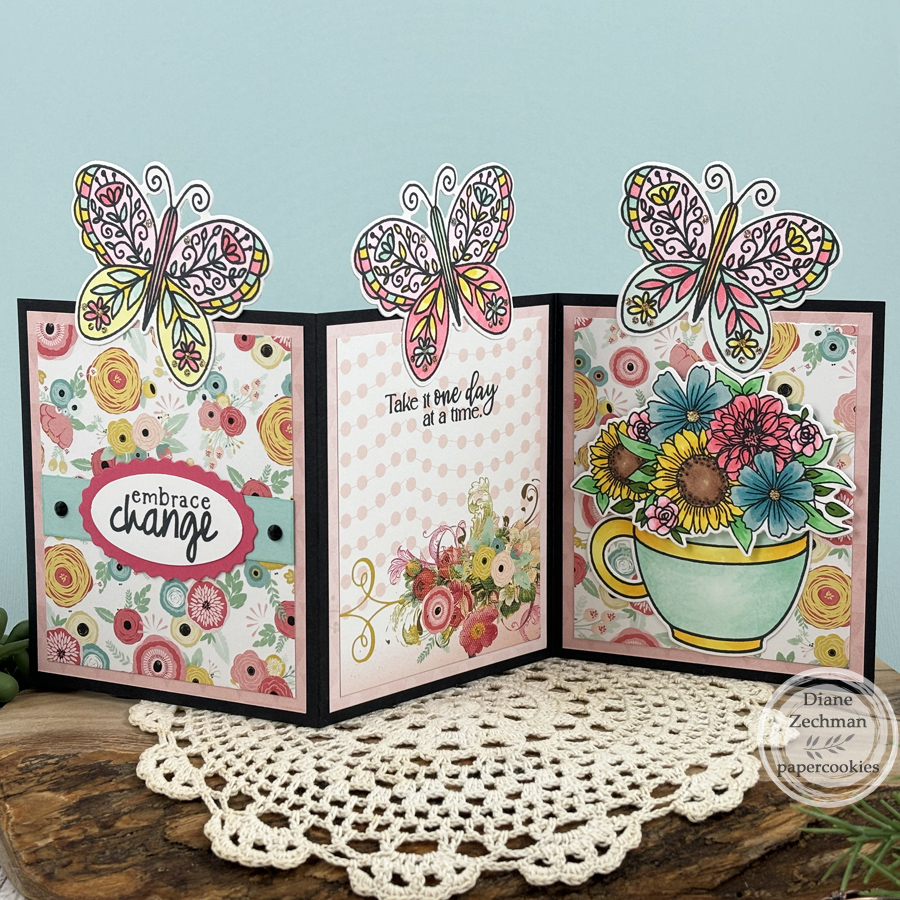
butterfly Topper Trifold Card

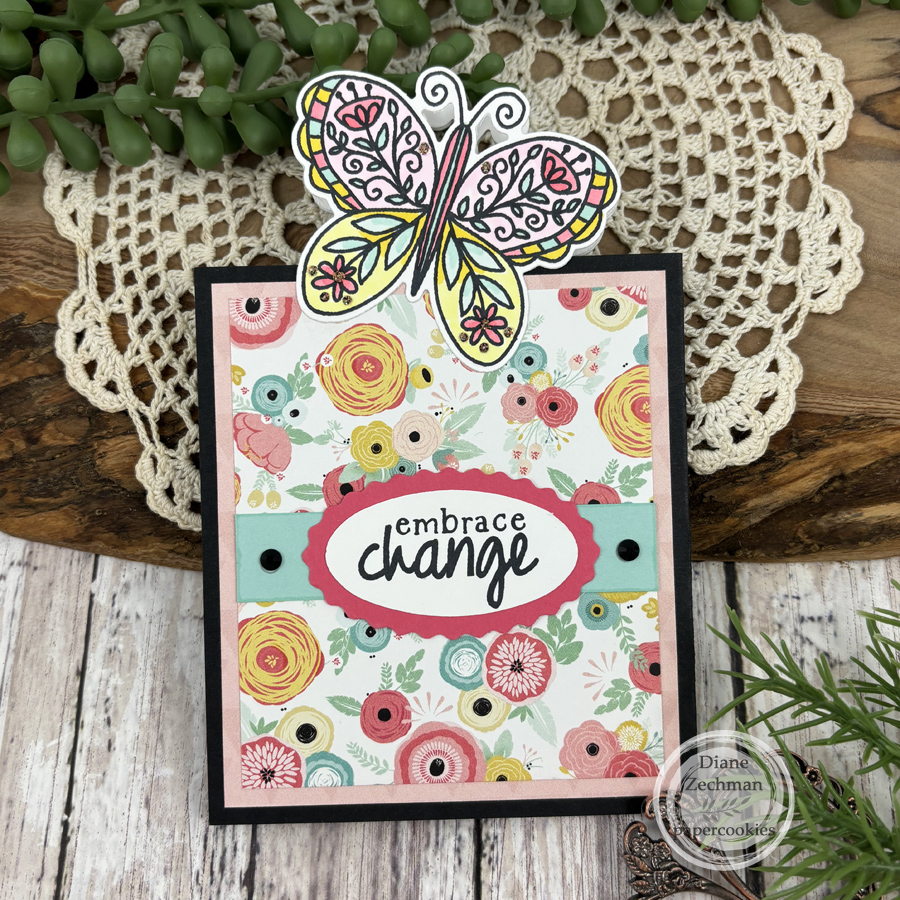
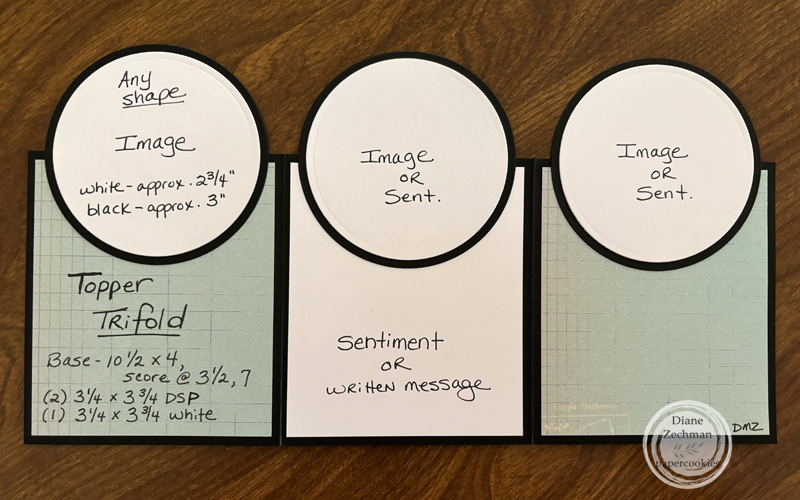
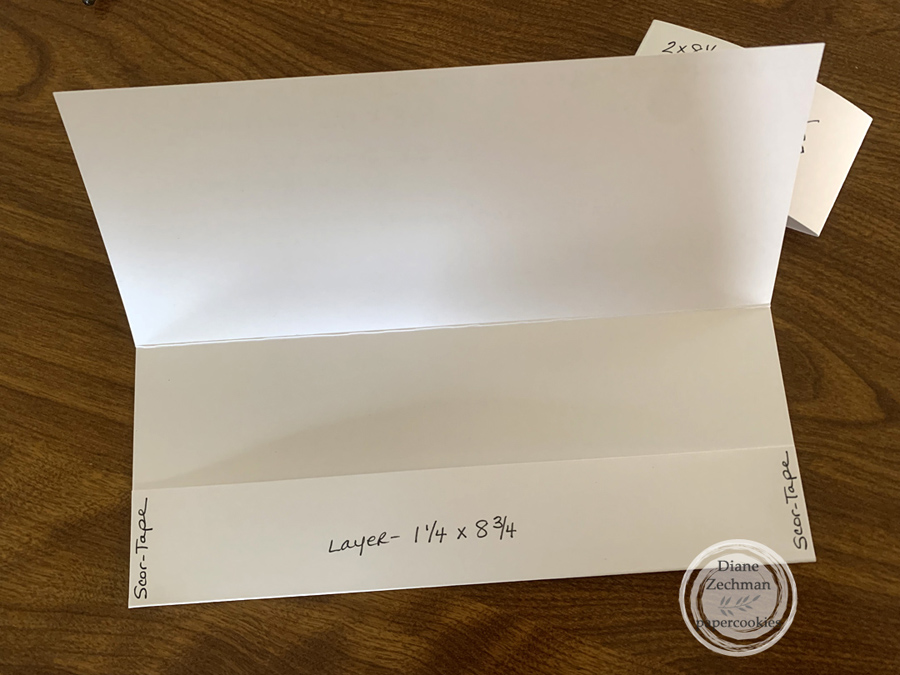
I have another Topper Trifold card today and this time I switched out the circles on top for some butterflies! (I could only find two cards with this trifold design, and no name for it. Since any shape could be added to the top, I am simply calling it a Topper Trifold Card going forward. The other Topper Trifold cards that I made are here and here. Below is also a simple photo with measurements.

For my card today, I used the Creative Worship Stamps (Sweet ‘n Sassy Stamps) Embrace Change Bundle, Take Time stamp set, and Gratitude Matters Bundle.

When folded, the butterflies are aligned.

Click on the photo below for a larger image with measurements.

Have a great day!

vellum pocket ATC

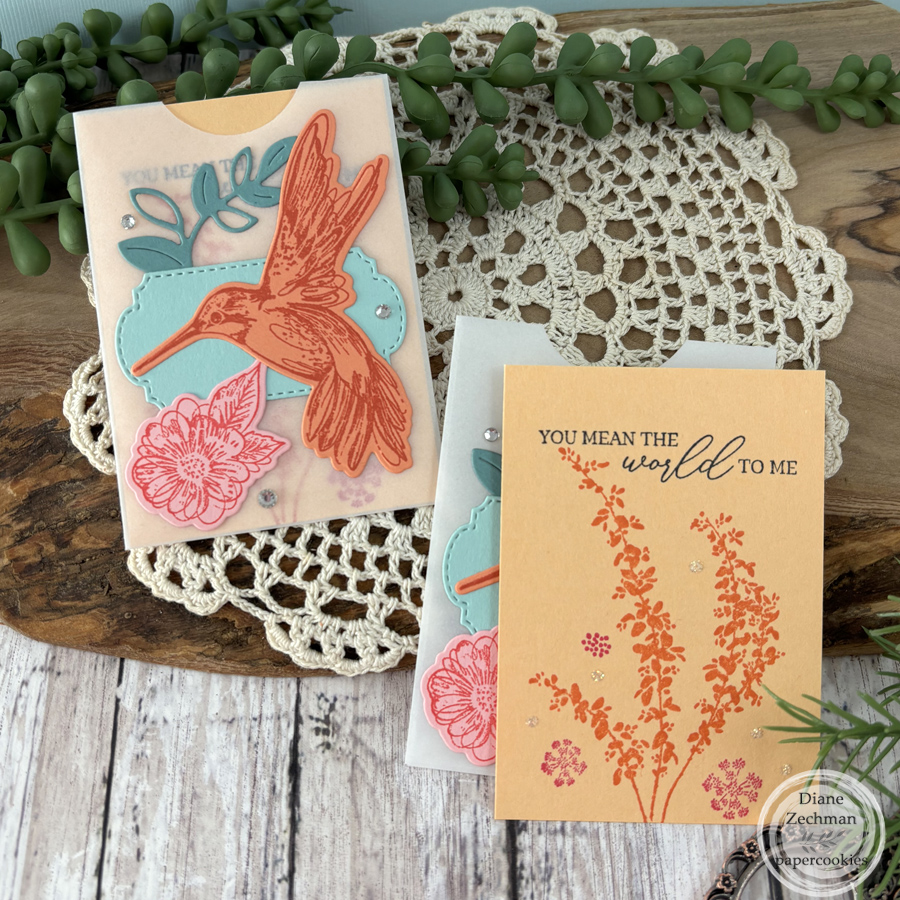
I attended a swap yesterday and the first project I have to share is an ATC card. I wanted to make a see-through pocket, so I created one out of vellum. Then I used the SU! Botanical Layers and Thoughtful Expressions sets to decorate the vellum pocket and Pale Papaya insert.

For the pocket, I started with a 5 1/4 x 3 3/4 piece of vellum and scored the long side @ 1 1/2 and 4. Then the bottom was scored @ 1/4″. After folding, trimming, and adhering it together with Scor-Tape, I used part of a 1 1/4″ circle punch on the top opening. Colors used: Calypso Coral, Pale Papaya, Grapefruit Grove, Regal Rose, Pretty in Pink, Pool Party, and Lost Lagoon.

Have a great evening!

Flying Butterfly Clothespin Craft

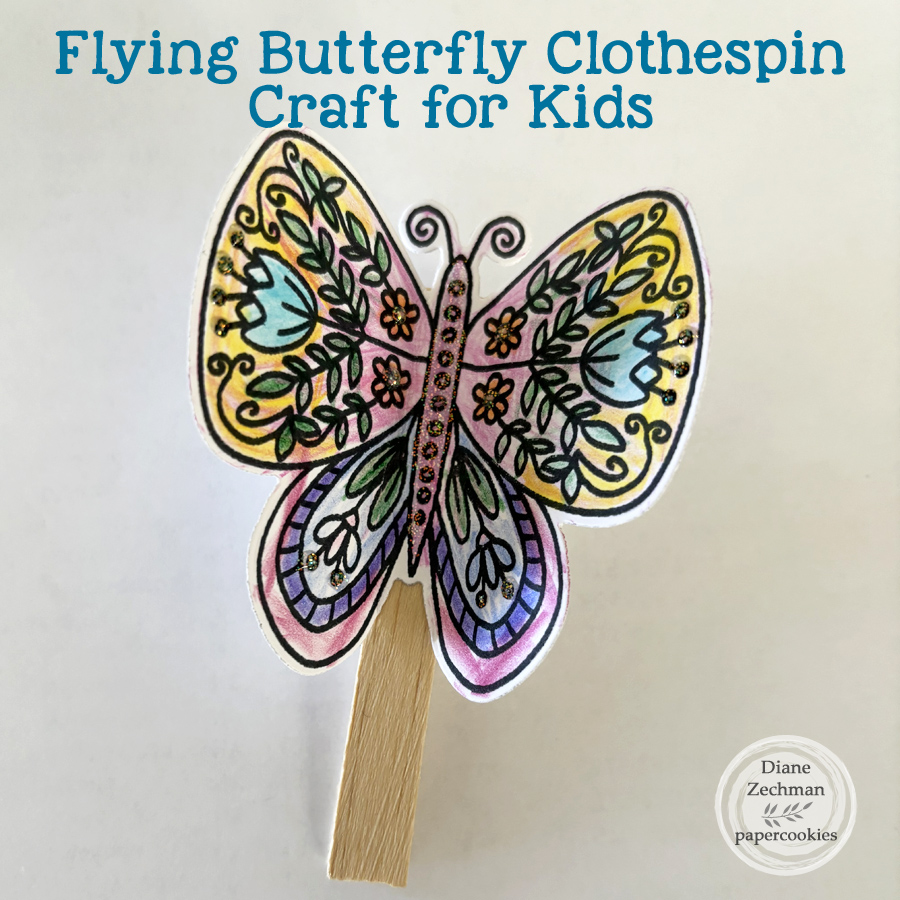
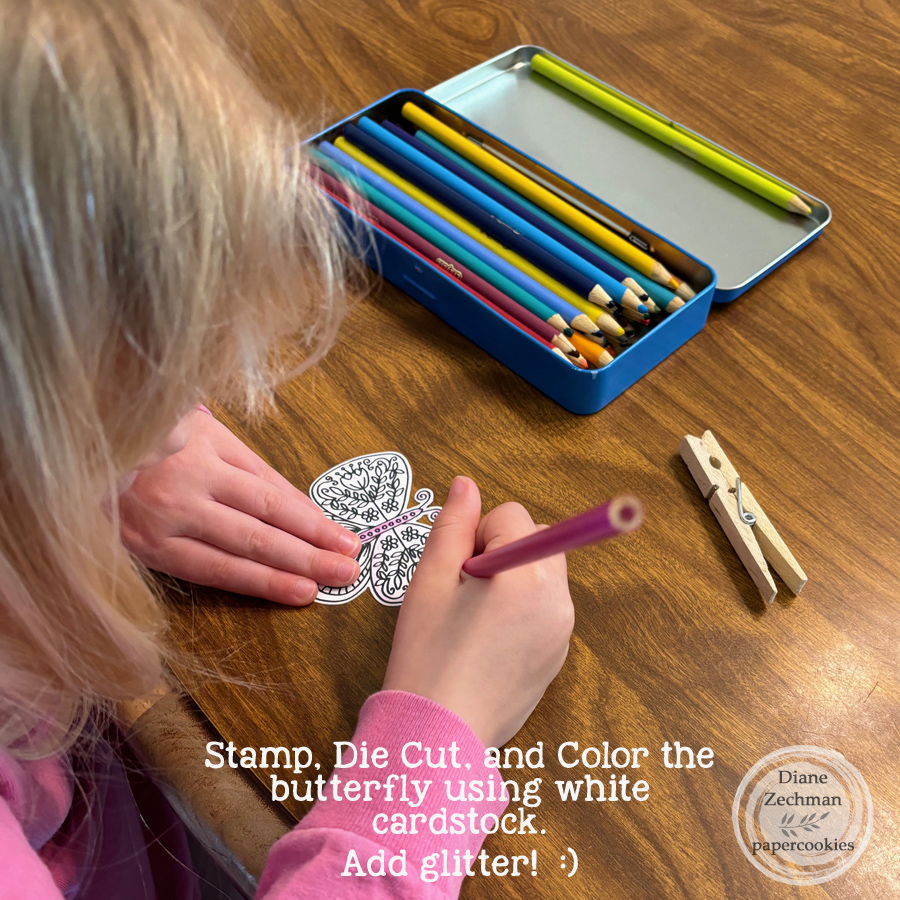
Today I have another interactive project…but this time it’s a fun craft for kids inspired by this video on Instagram. I used the new Embrace Change Bundle by Creative Worship Stamps (Sweet ‘n Sassy Stamps) to make the butterfly.

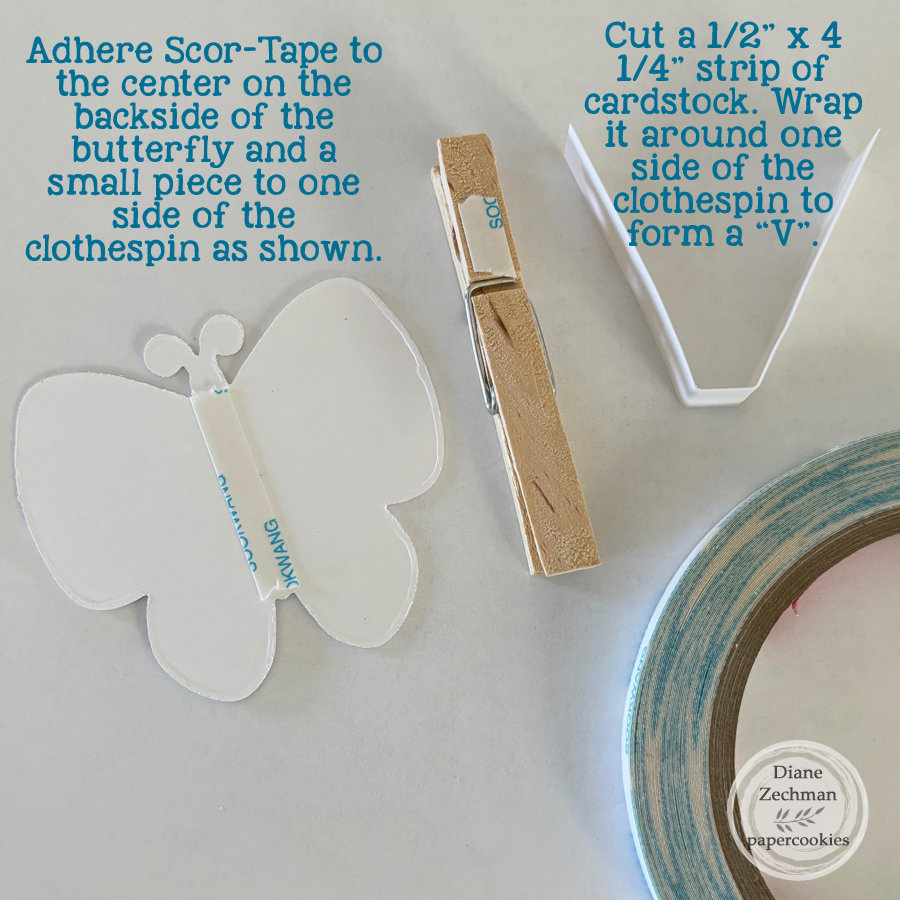
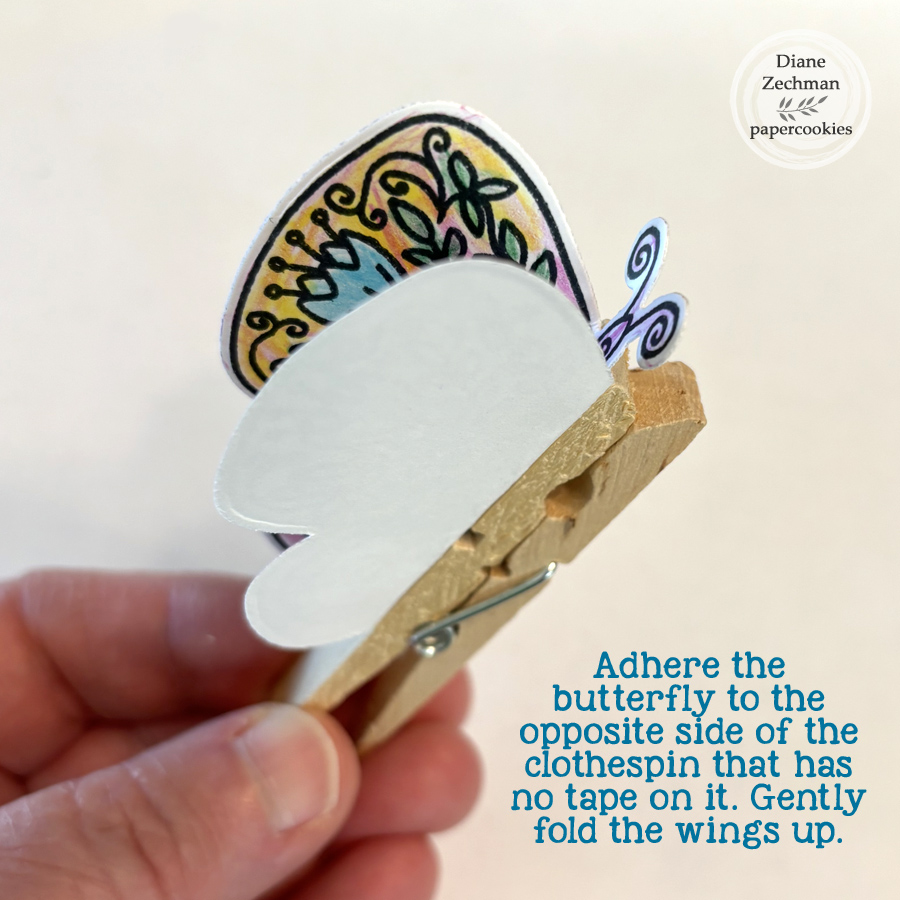
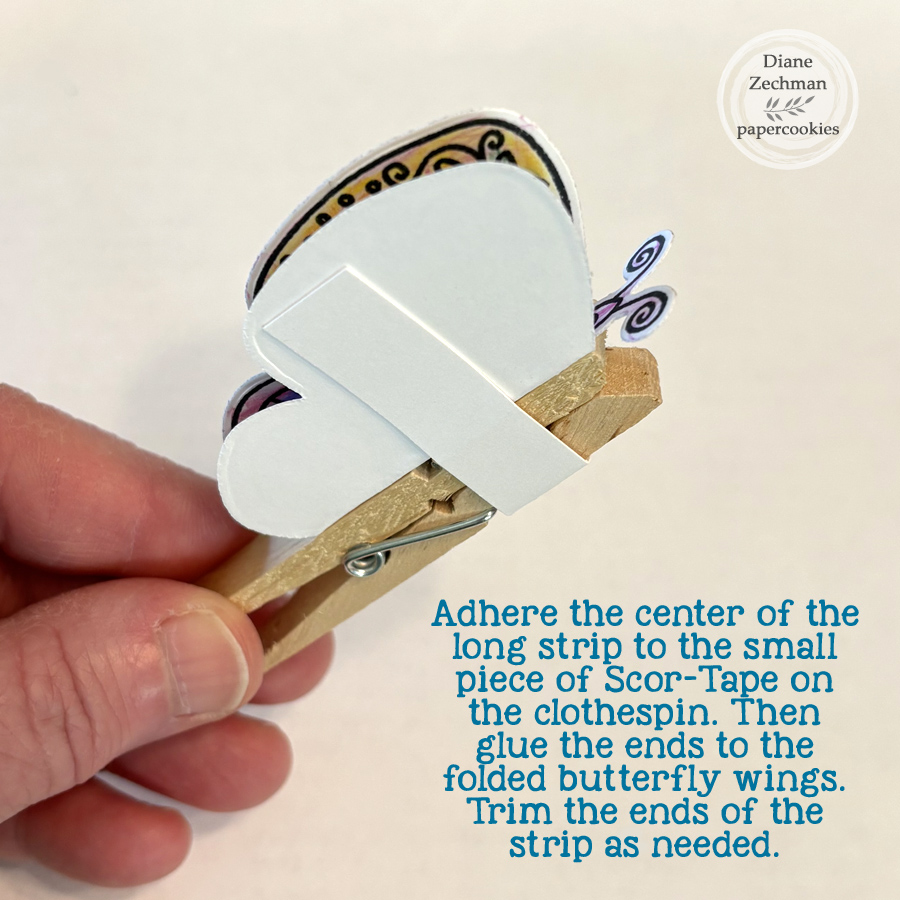
Here’s a quick photo tutorial showing how to make it. Scroll down for a short video to show the fluttering wings. 😊 My helper had a lot of fun making this and even helped to die cut the butterfly.

Check out the video to see it in action. Have a great day!

https://youtube.com/shorts/YZzLmkMySjM

Butterfly Easel Spinner Card

Good morning! Today Creative Worship Stamps (Sweet ‘n Sassy Stamps) is having their April Instagram Hop. Be sure to check over there for this card plus all the other projects in the hop, and comment on IG for a chance to win a $25 prize. You can find me on IG- @papercookies4u, and the hop will start at @sweetnsassystamps.

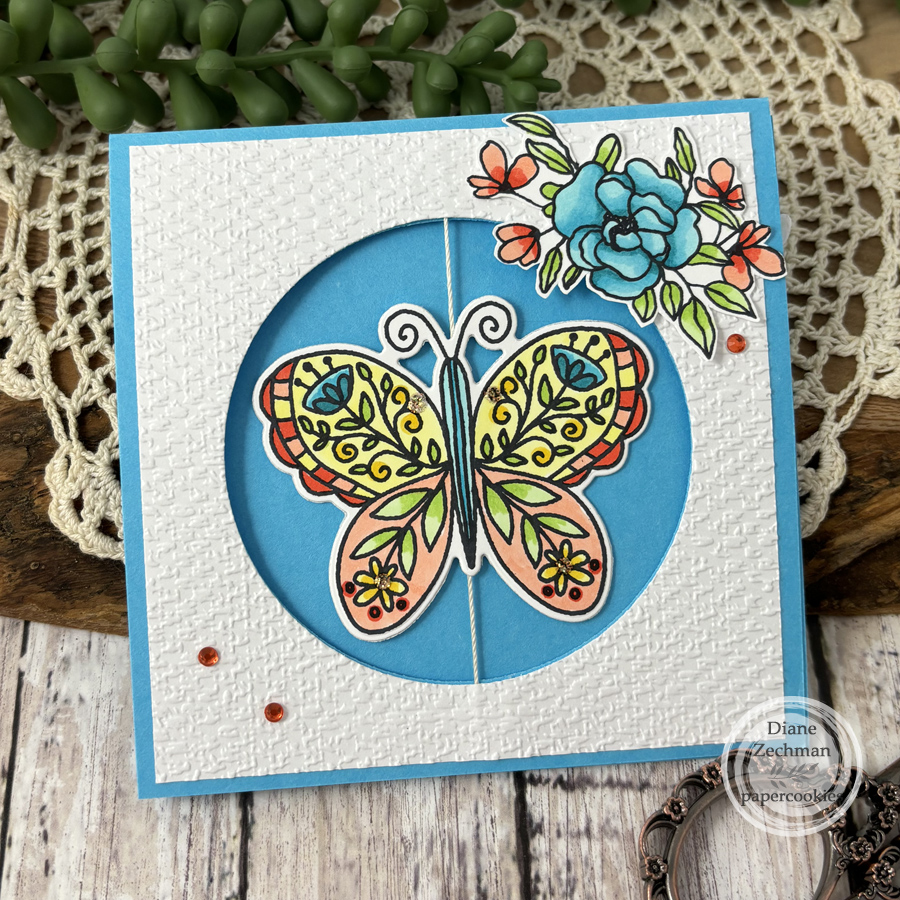
For my card, I used products from the April new release. Here I used the new Embrace Change Bundle and Delicate Florals Bundle, plus the previously released Circle Dies to create a fun, interactive card.

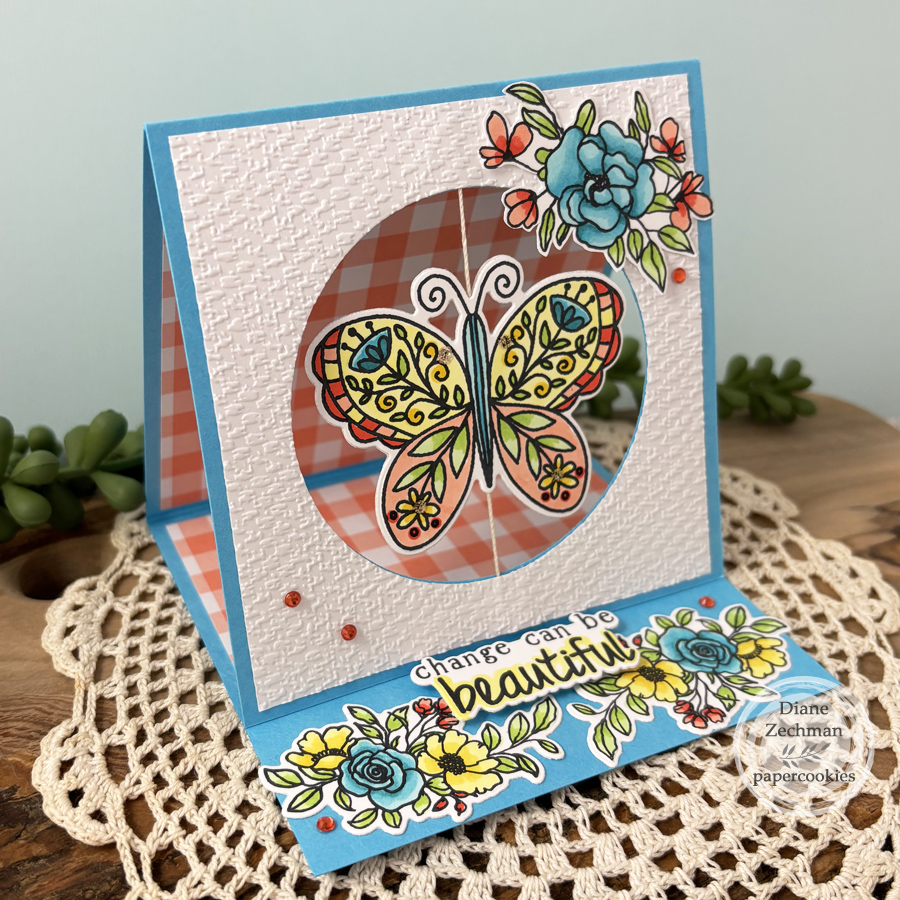
When I saw these butterflies and how they are symmetrical, I knew I wanted to make a spinner card. Then I thought it would be fun to try to turn the spinner into an easel card as well. (see video below). I figured some simple measurements and cut/scored my cardstock base so that it would fit in an A2 envy and also be big enough for my butterfly to spin. When opened, the card front is supported by the sentiment and the butterfly spins freely. If desired, you can wind it up before inserting into the envelope for a fun surprise!

When folded shut, it lays flat for mailing.

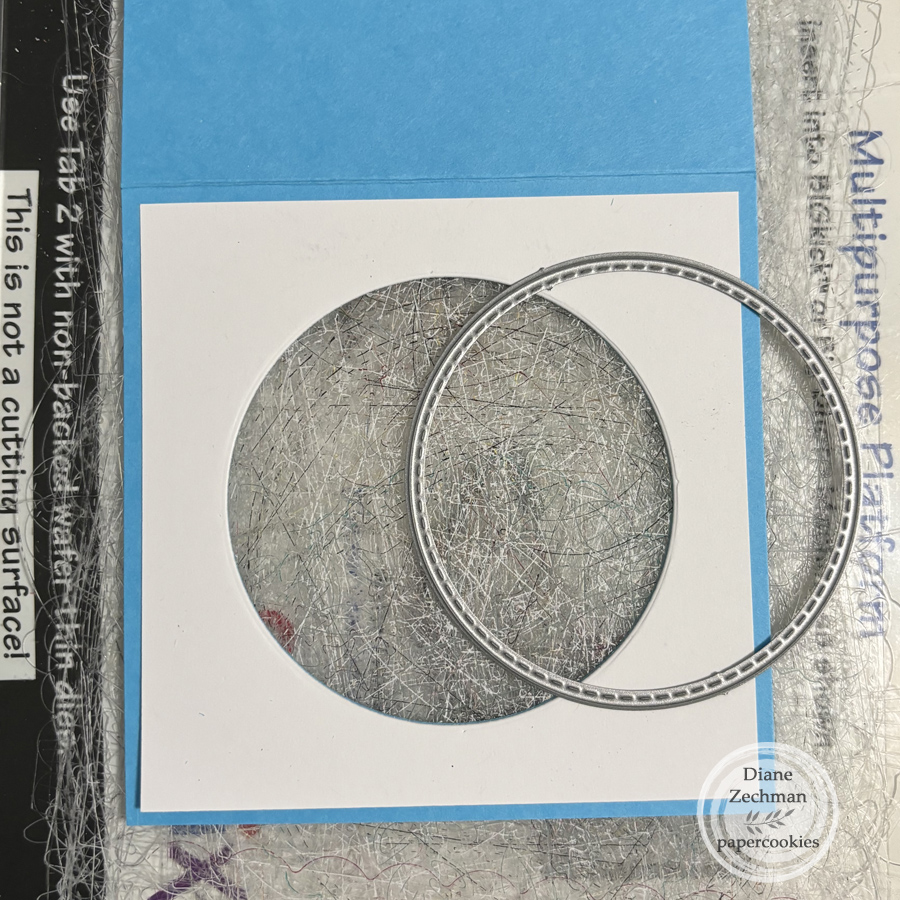
I started with a 4 x 12 piece of cardstock for the base and scored it @ 4″ and 8″. Then I chose a die with approx. 2 3/4″ diameter to create the opening. I laid a 3 3/4″ square of white cardstock on top of one of the end sections WITHOUT GLUING IT DOWN and die cut through both pieces at once so that they would line back up together later. You can remove the white piece and emboss it, as I did, or use patterned paper instead, if desired.

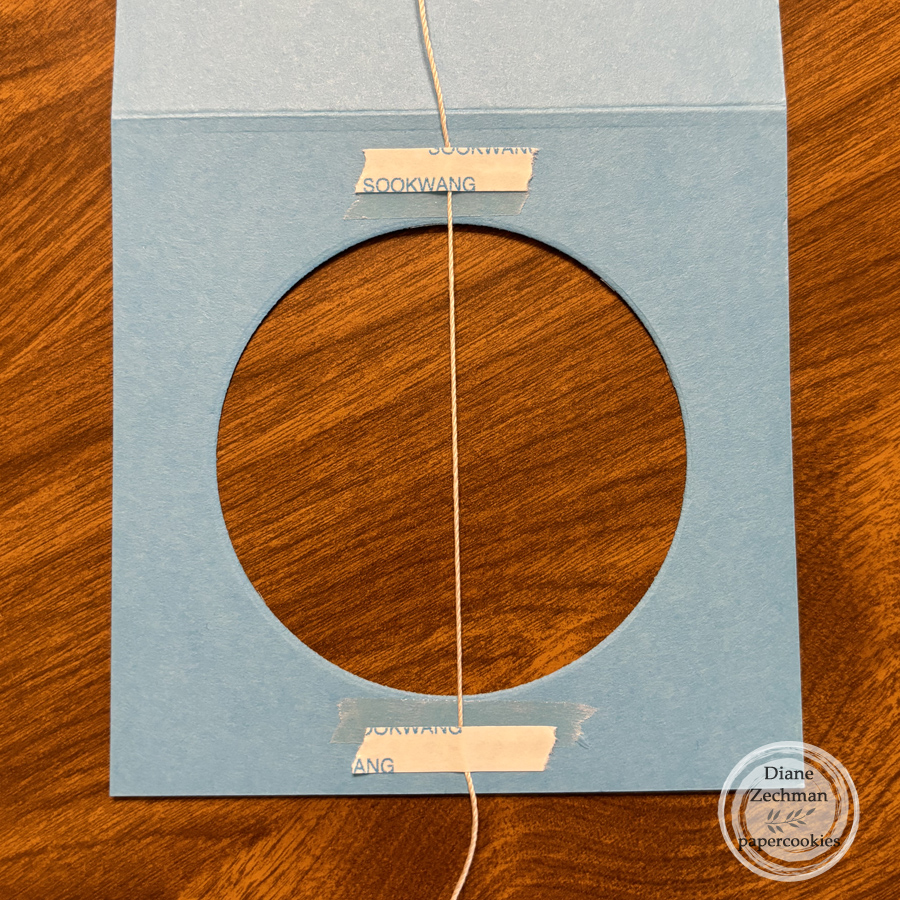
I stamped, colored, and die cut two butterflies and set them aside. Then add a light string or fishing line with Scor-Tape above and below the window and trim the ends. Next replace and adhere the white layer on top, sandwiching the string between the layer and the base.

Adhere the butterflies with their backs together and the string between them. I then trimmed 1/8″ from the opposite end of the card base so that it would easily fold inside the card. Add some patterned papers, images, or embellishments as desired.

Here’s a little video to show the butterfly spinning.

Butterfly Easel Spinner Card (youtube.com)

I hope you try this fun card! Enjoy the hop and be sure to comment on Instagram for a chance to win!

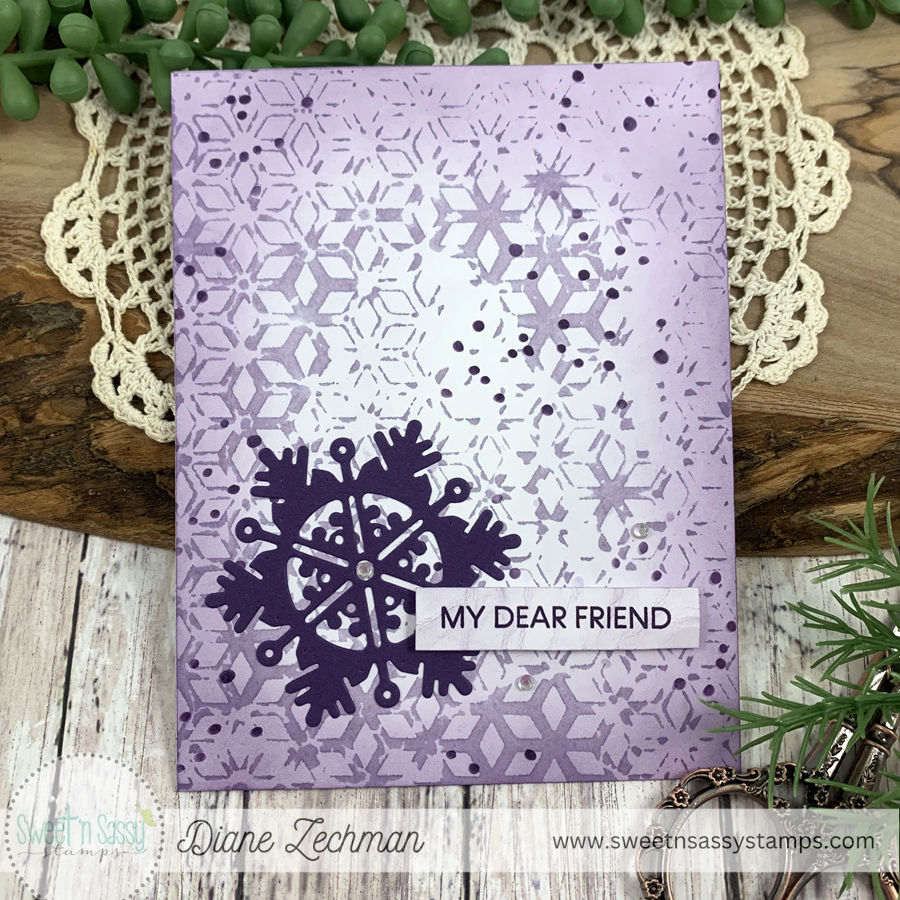
diamond floral flakes

Hello! I have another card today with a background using new Sweet ‘n Sassy Stamps stencil sets. Read on to see how I created this fun background, then head to the store and check out the Bursting at the Seams Sale!
Products used: Diamond Floral Stencils, Simple Sentiments Bundle, Seasonal Trees Stencils, and Large Snowflake Dies (which are now on SALE!)

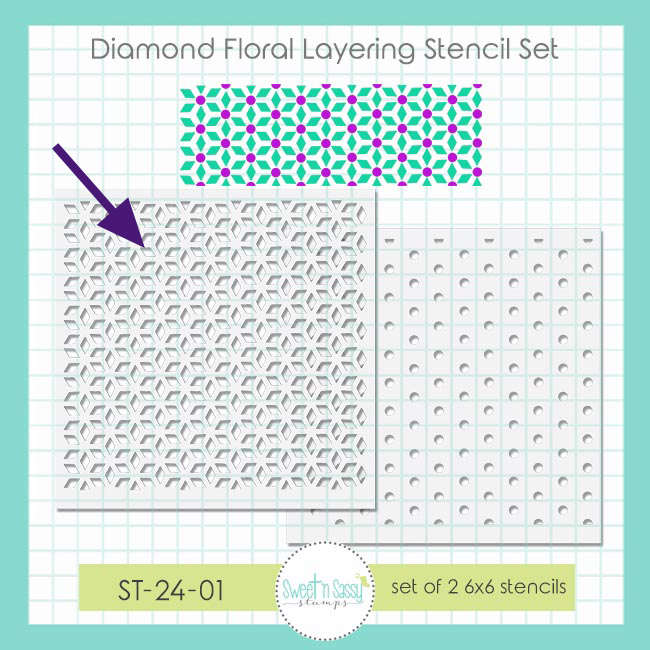
After brushing purple ink over the stencil shown below for this project, I didn’t clean the ink off of the stencil right away. Instead, I spritzed it with water and lay it down on a fresh piece of cardstock to transfer the remaining ink. It made such a cool, distressed looking pattern and reminded me of snowflakes.

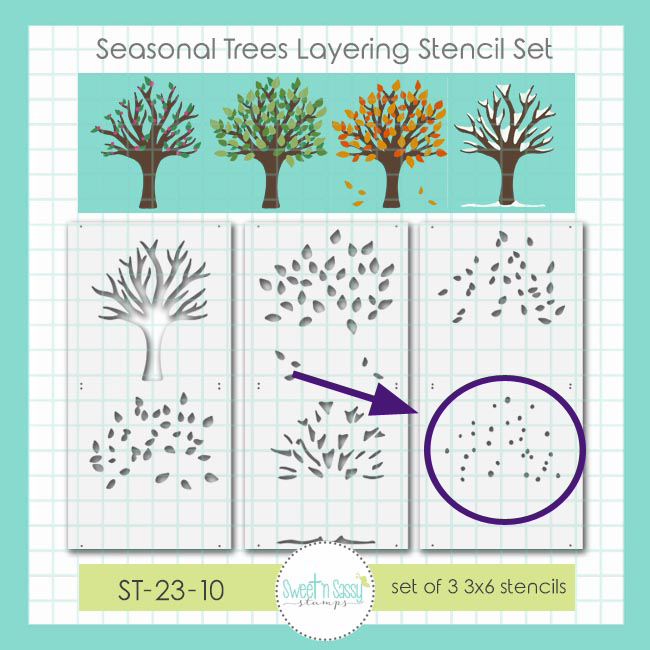
Next, I randomly brushed purple ink “dots” with the circled stencil below. Then, I blended the card edges with the same purple ink.

The card was finished with a die cut snowflake, added sentiment, and a few rhinestones.

Have a great weekend!

Diamond Floral background

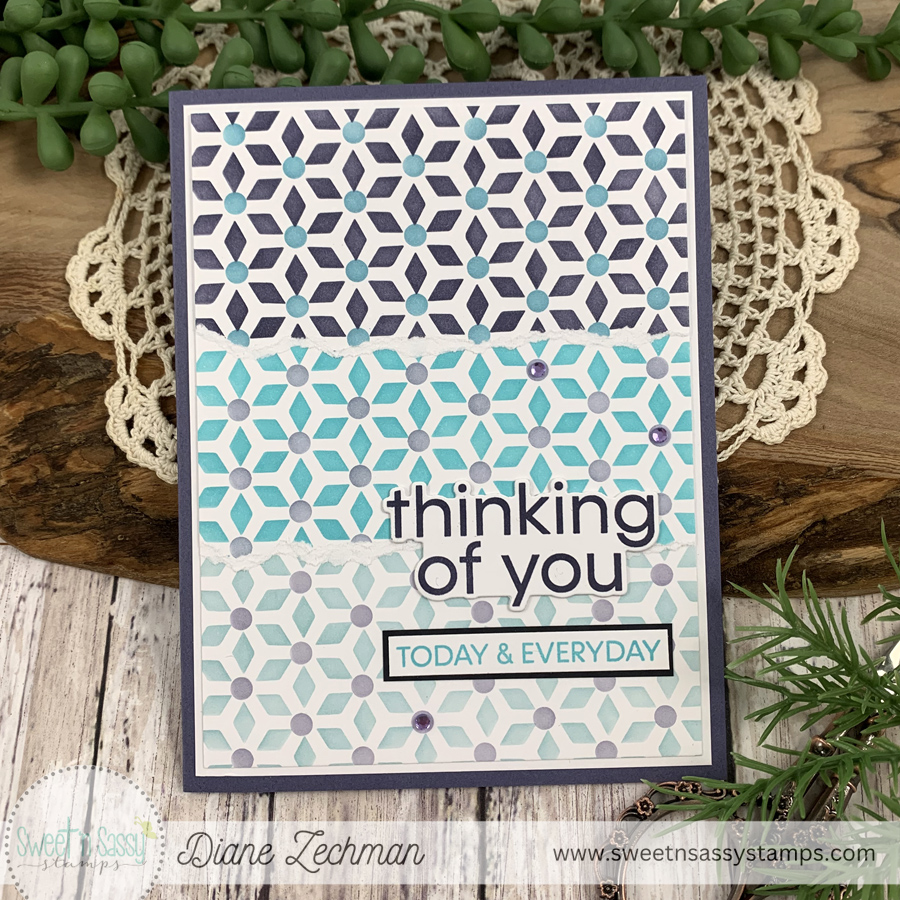
Who says you need a lot of supplies to make a card? Sometimes it’s fun, and a nice change, to let the background do all the work. You can make multiple pieces with your stencils or background stamps and then cut or tear the edges and layer them. I used a new stencil set from the Sweet ‘n Sassy Stamps January release to make this card.

Products used: SnSS- Diamond Floral Stencils, Simple Sentiments Bundle.

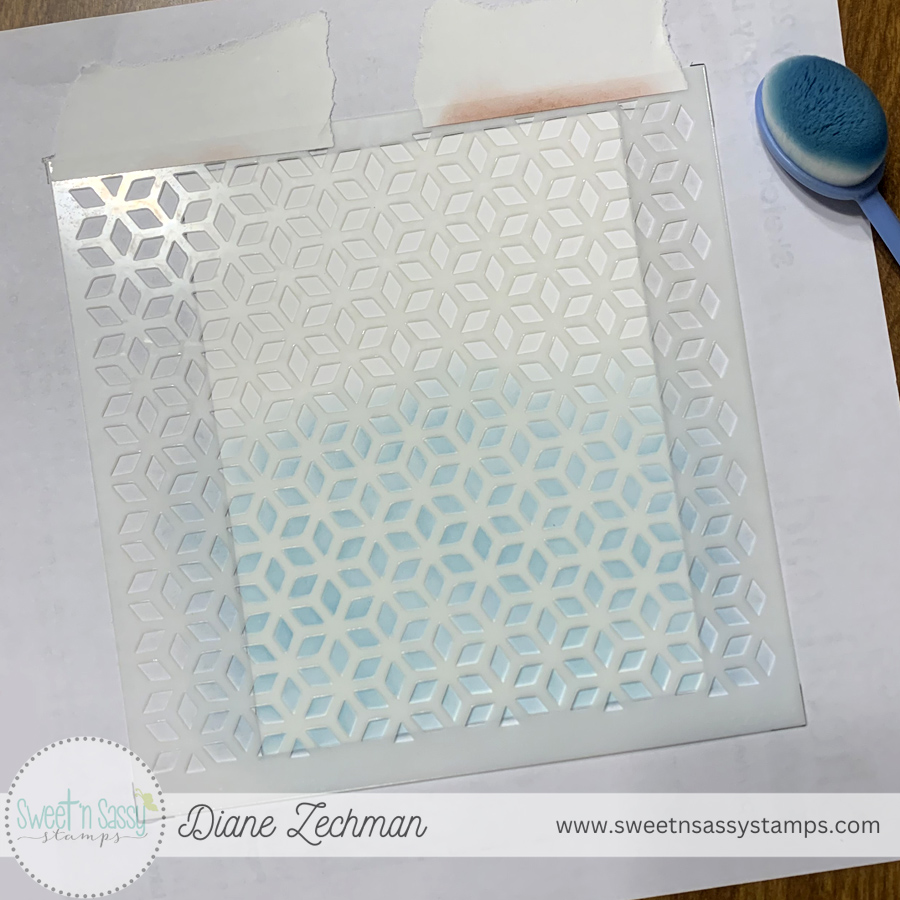
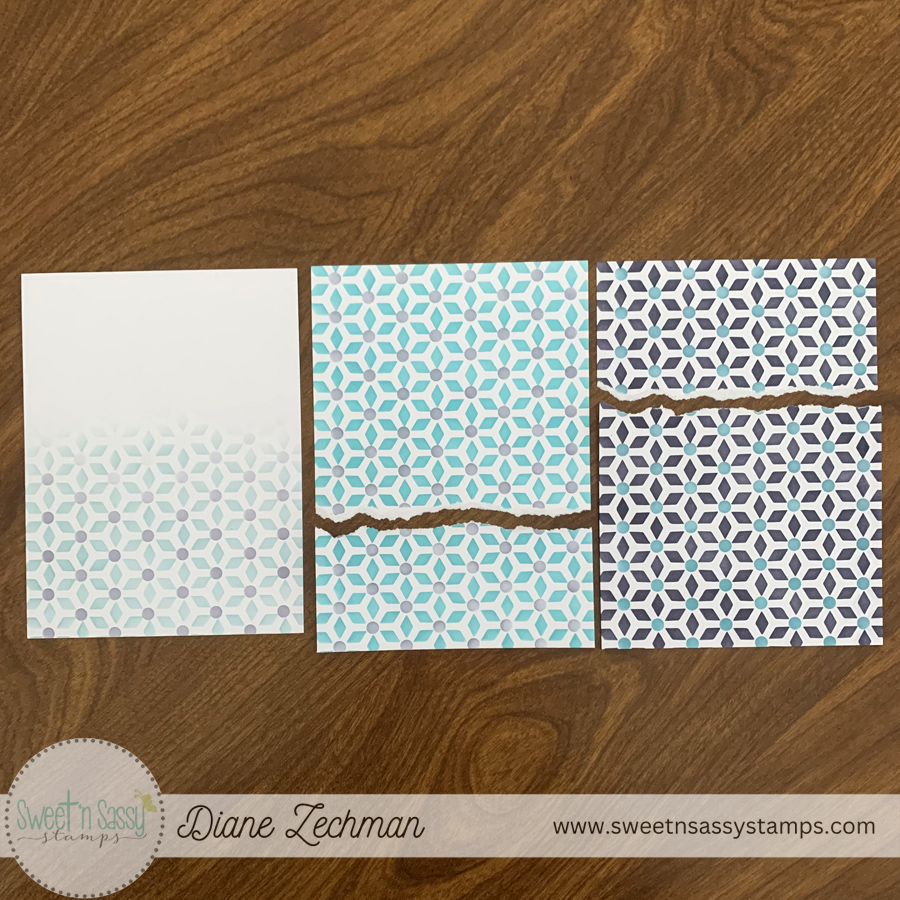
First, I brushed ink on three pieces of white cardstock using three colors of ink, varying the combination of colors. Note: I traced the edge of the cardstock with pencil onto my scrap paper and taped the top of the stencil down so that all three pieces were stenciled exactly the same. If you have a sticky mat for this purpose, that might help.

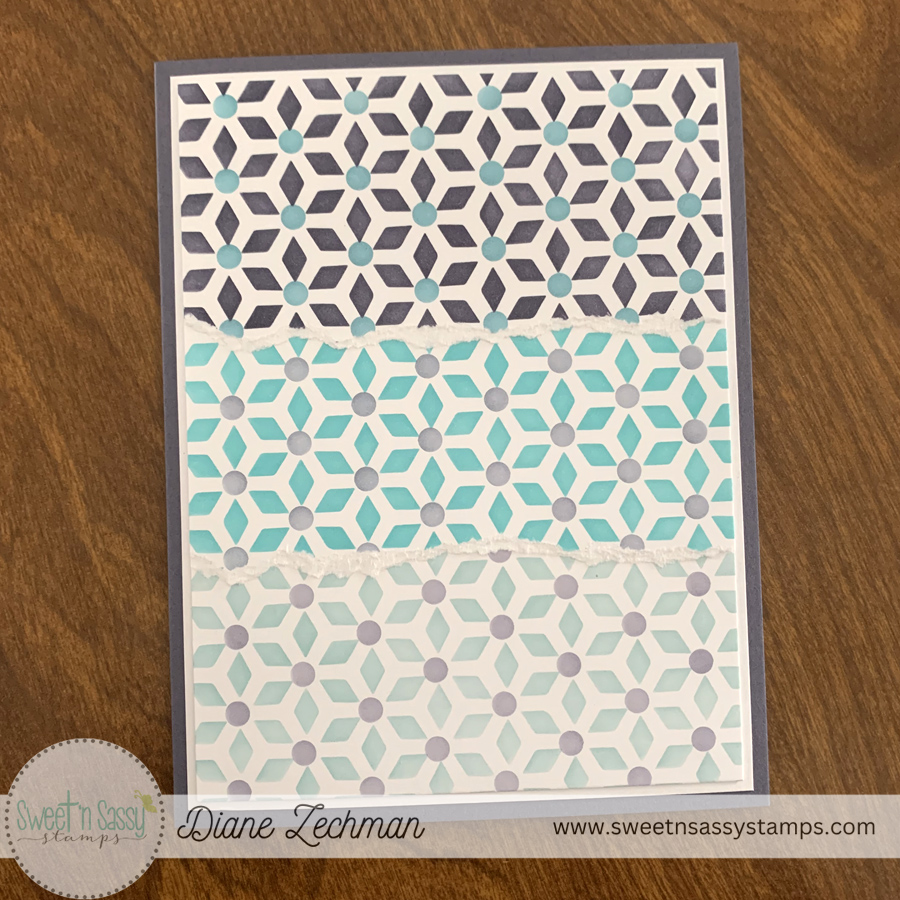
Next, I tore the edges of two pieces as shown below and layered them together. You will have two pieces leftover for another project.

Here’s the finished background.

Have a great evening!

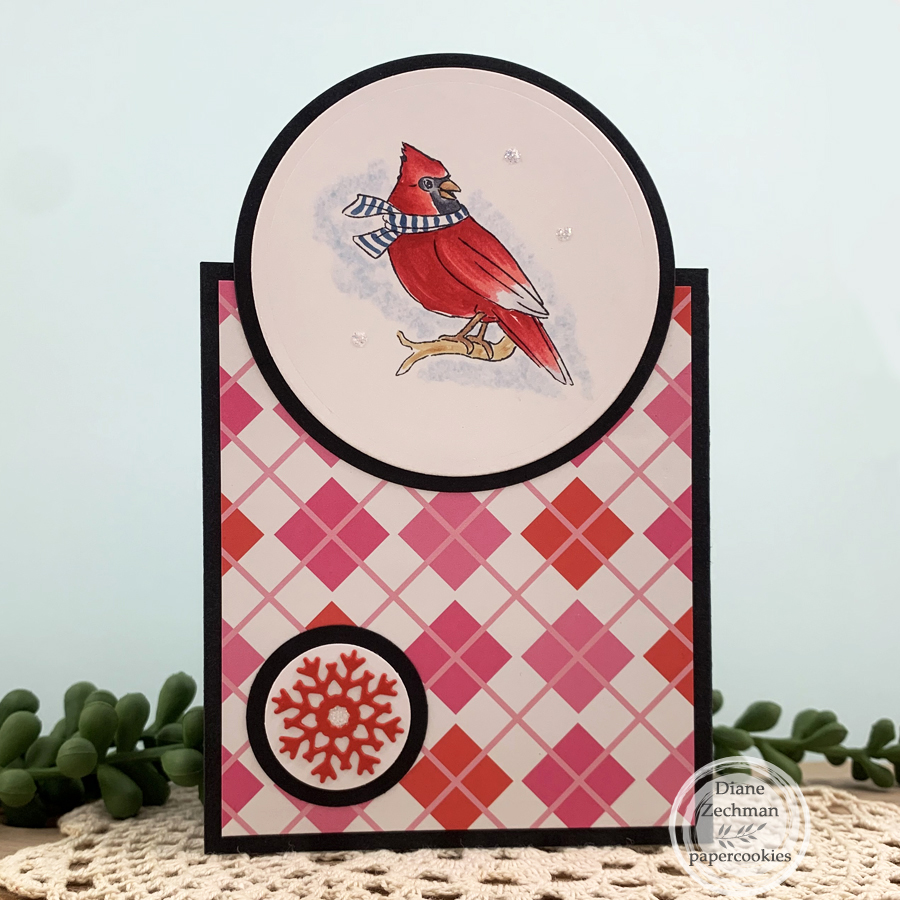
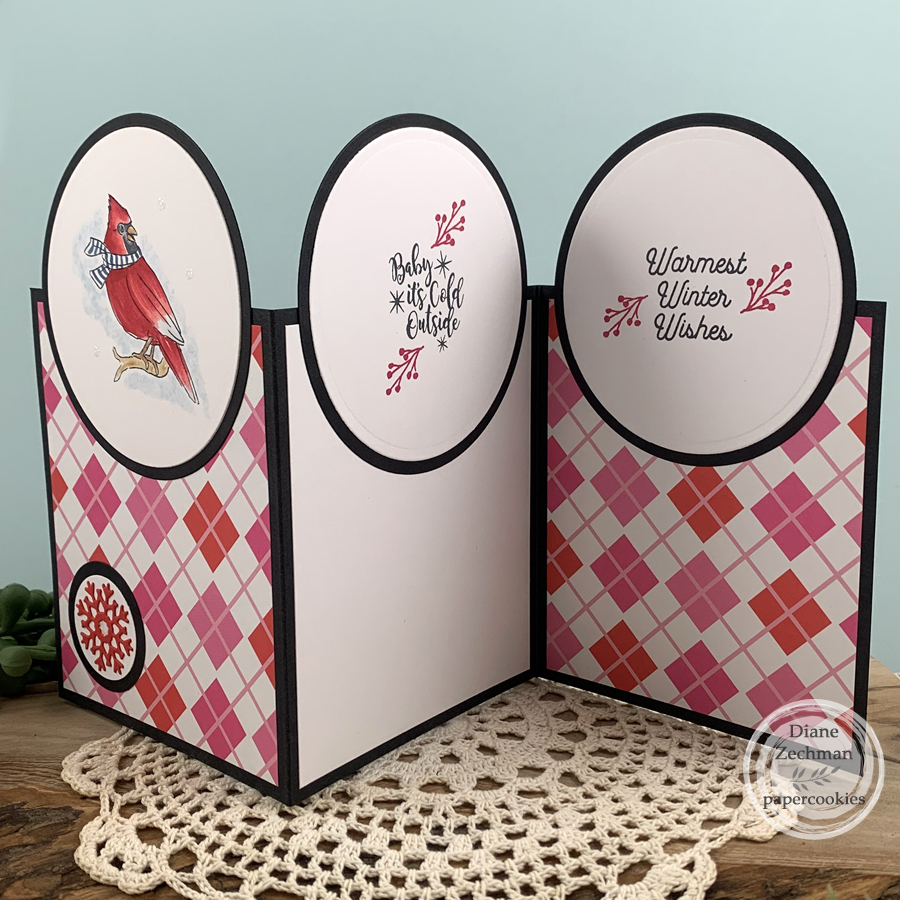
cardinal trifold

Edit: I can only find two cards with this trifold design, and I cannot find a name for it. Since any shape could be added to the top, I am simply calling it a Topper Trifold Card going forward. The other circle shaped Topper Trifold card that I made is here.

Yesterday I was virtual stamping a bit with some friends and I made a trifold card with the Art Impressions Cardinal freebie stamp. This was some quick coloring, and I kept the card design simple as well. I made it for an Ai challenge to use one of the bird freebies in a 3×3 size.

Products used: Art Impressions– EX5840 Cardinal freebie, 5193 Woodland Holiday Set, 5434HL Greenery Invite Set, and 4804 Snowflake Dies.

When you open the card, there are two more panels with the same circle top. I originally saw a card with this design by Paula Barin. The base card is 10 1/2 x 4, scored @ 3 1/2 and 7. My circles are approx. 2 3/4″ and 3″. The patterned paper and white cardstock layers are 3 1/4 x 3 3/4.

The strong winds here have us out of power with trees down everywhere. Stay warm!

sending you my love

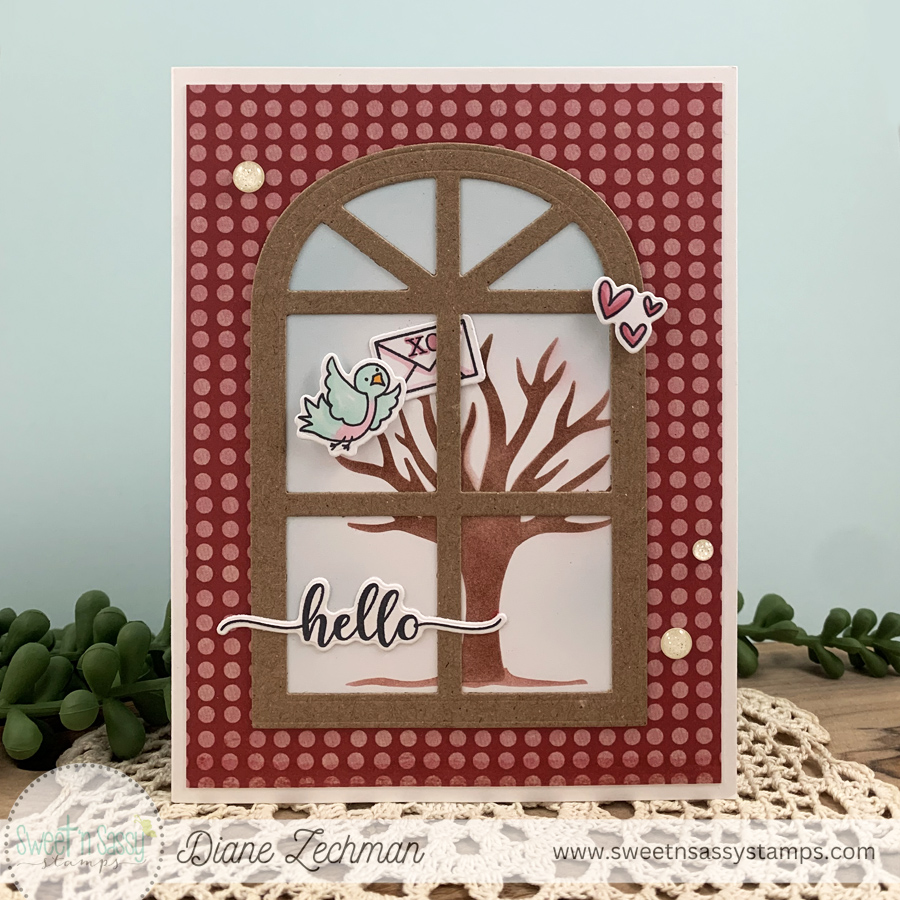
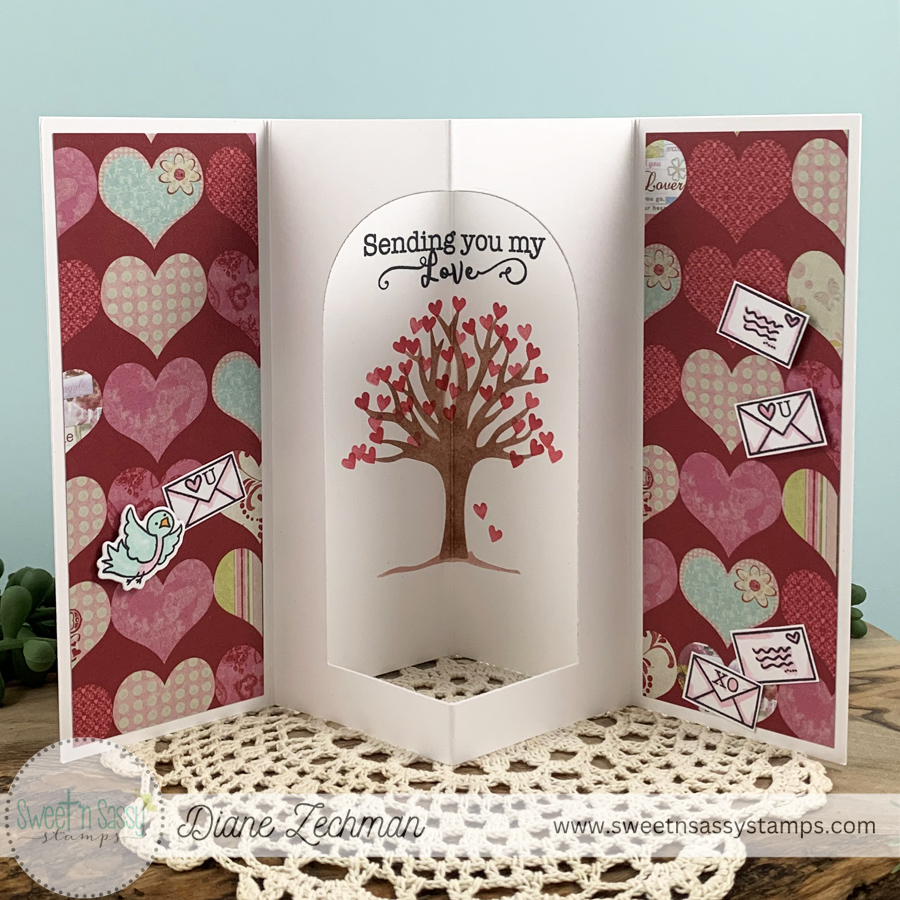
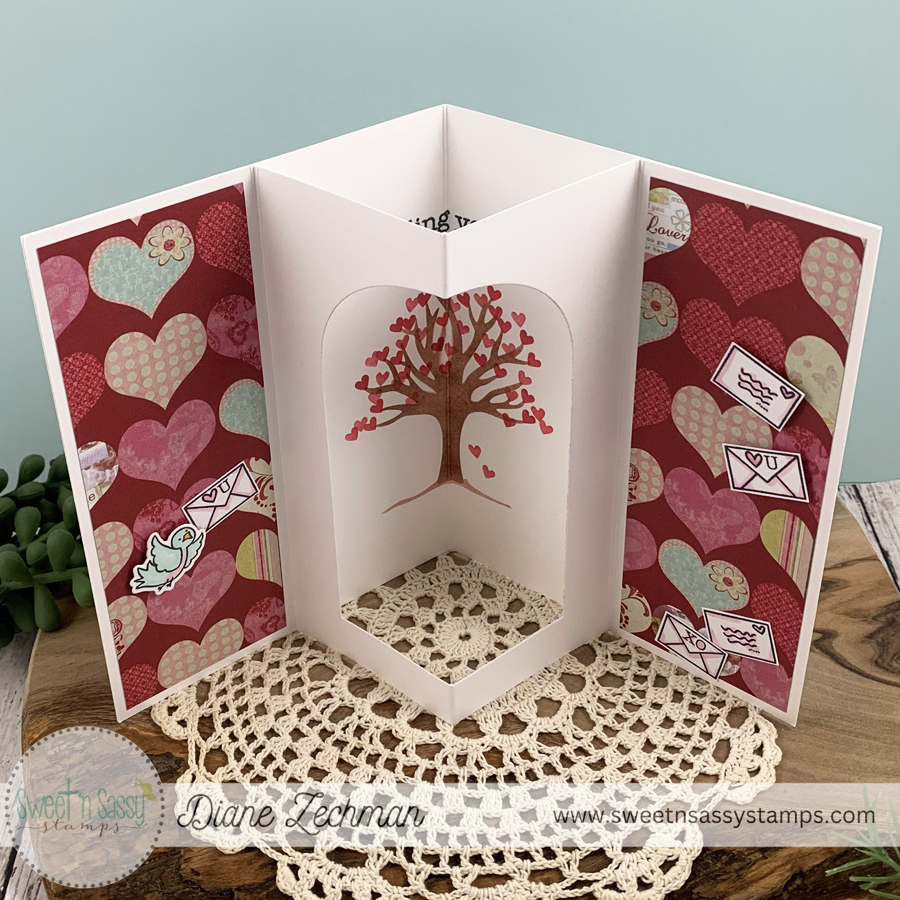
Hello! I have a Fun Fold card today using new products from the Sweet ‘n Sassy Stamps January release. It has been a long time since I made a Tunnel Card, and I thought the new window dies would be perfect to create one.

Products used: SnSS- Arched Window Bundle, Seasonal Trees Stencils, Love is in the Air Bundle, Bitty Hearts Stencil, Script Sentiments Bundle.

I die cut a window from kraft cardstock for the front and layered some white cardstock behind it which I stenciled the bare tree onto. Then I added a few small images and a sentiment.

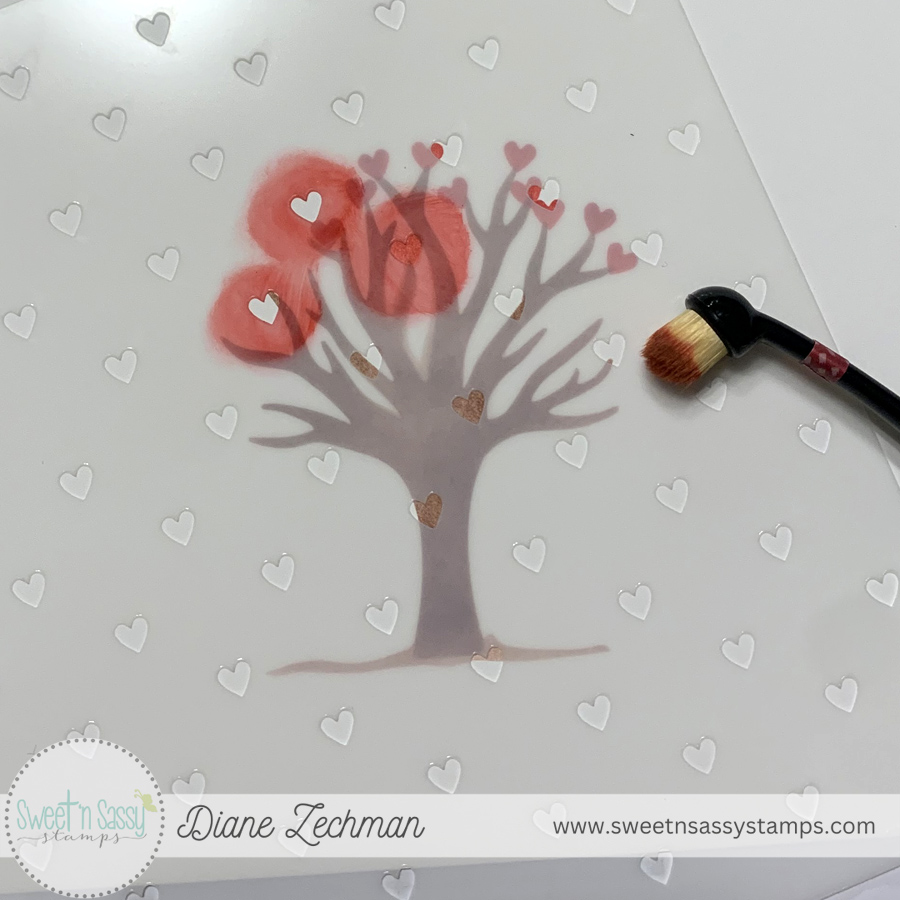
On the inside, I first used the tiny heart stencil with the tree stencil to create a valentine tree. You could alternately use a tiny heart stamp. Also, try other shapes or images such as stars, flowers, etc. Note: Any stenciling or stamping needs to be done before the base card is scored.

Next, I added an extra piece of cardstock to create the window or “tunnel”. Start with 5 1/2 x 8 1/2. Score @ 2 1/8, 4 1/4, and 6 3/8. Center any shaped die over the middle scored line and die cut. Valley-Mountain-Valley fold the cardstock and adhere the left and right sides to the base card.

Have a great evening!

2023 wrap up

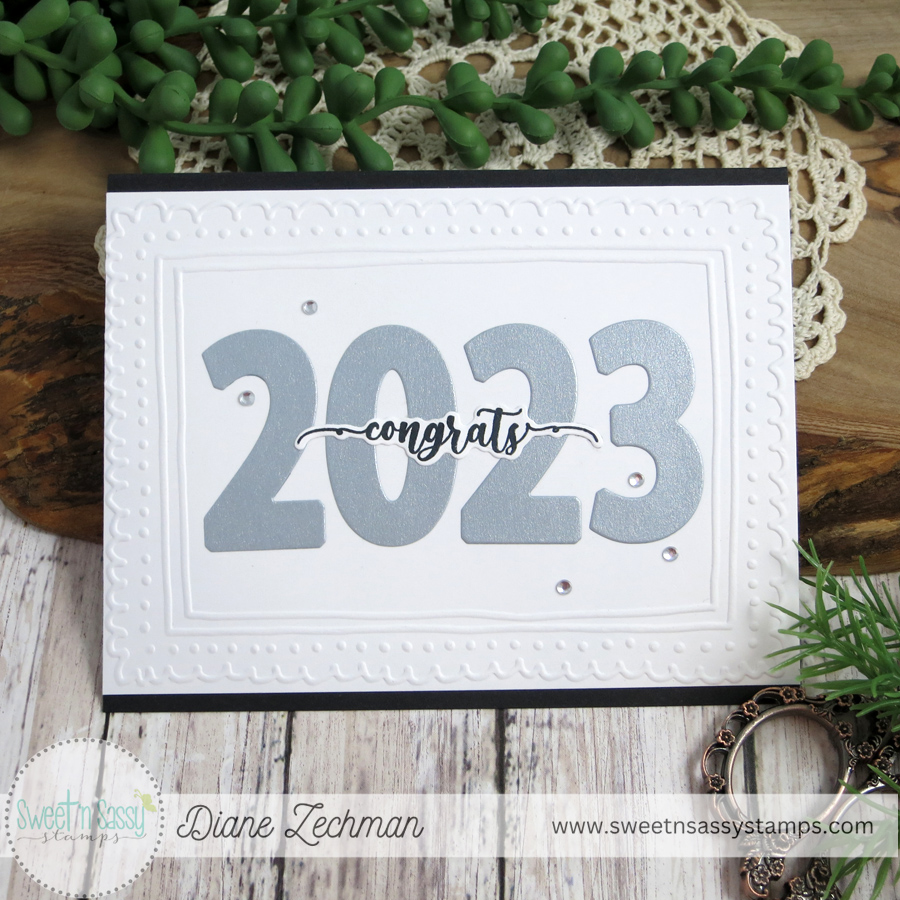
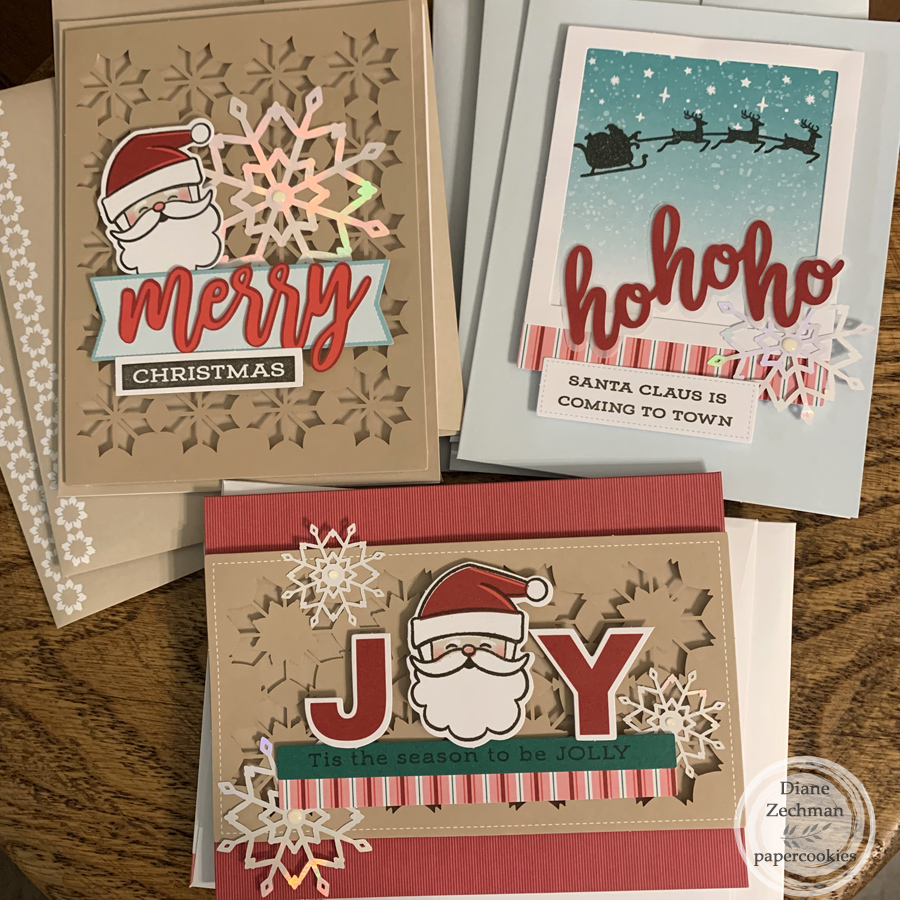
I have a few more cards from the year to quickly share before 2023 is over. First is a CAS graduation card with a Darice embossing folder, some large Numbers Dies, and a simple die cut word from SnSS’s Script Sentiments Stamp & Die Bundle.

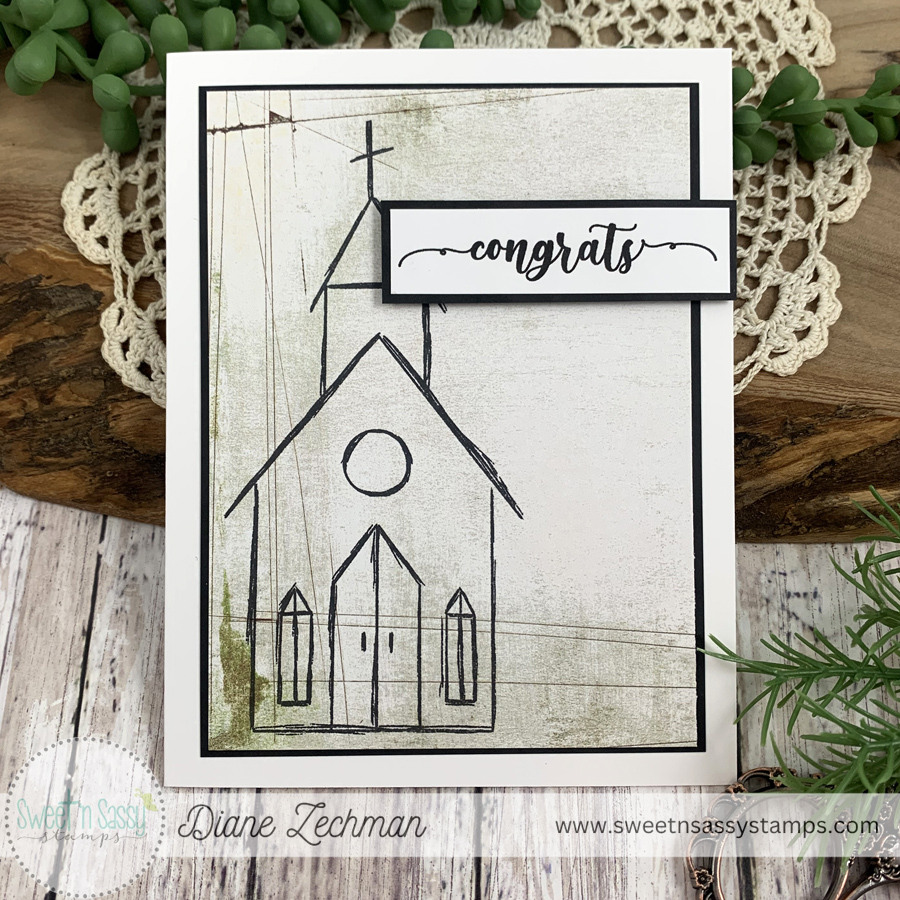
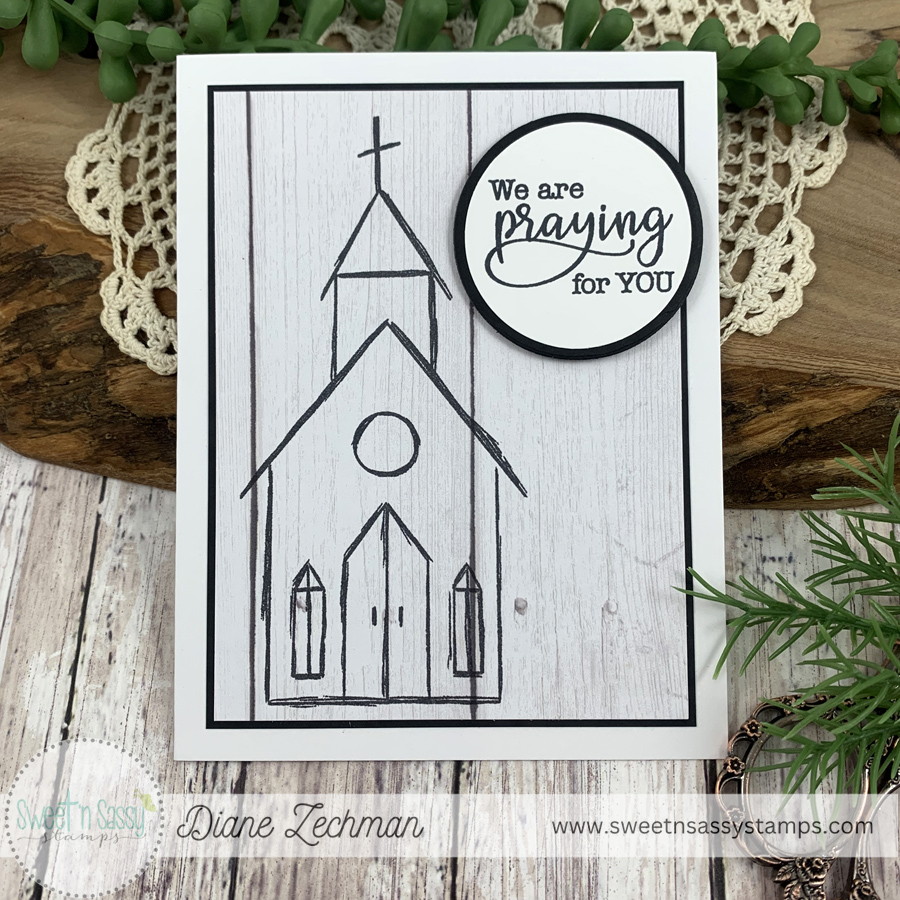
The next two CAS cards use My Father’s House stamp set. The first card was for a pastoral ordination and the second card was for some churches that were being prayed for. The church image was stamped directly onto patterned papers and only needed a sentiment added.

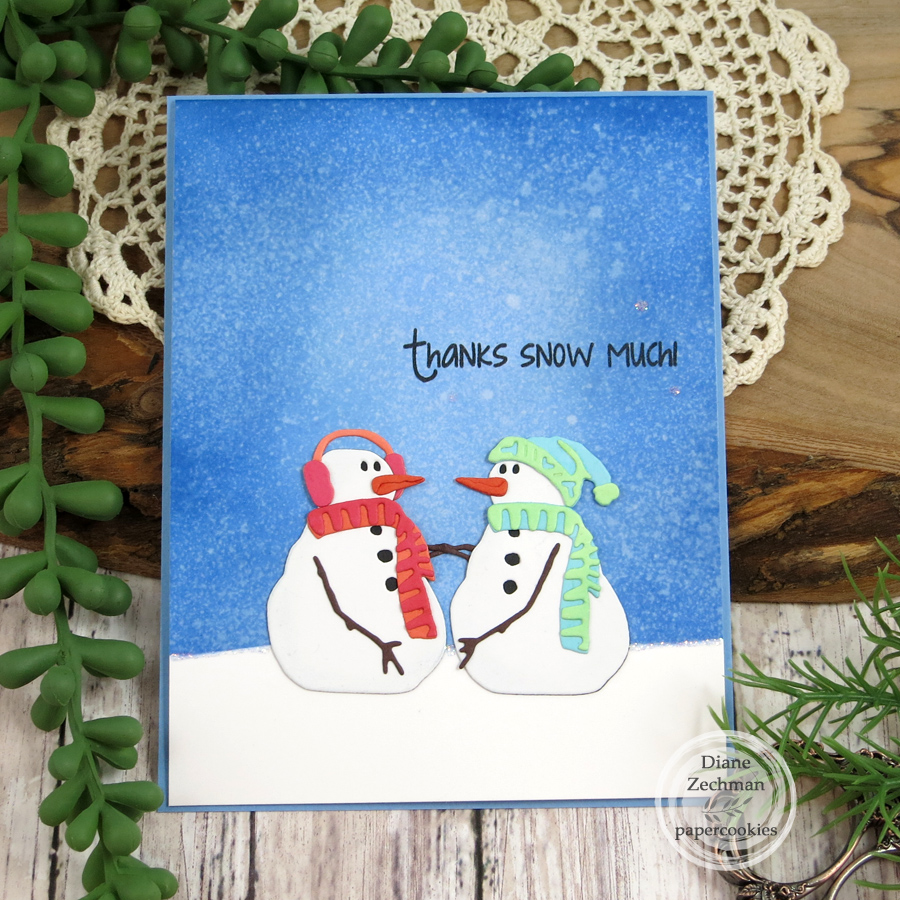
Tim Holtz’ Chilly & Freezy dies from SSS 2022 Diecember were used on this card. I made it back in February to thank a friend for sharing the dies with me. Distress inks were applied to the background and then spritzed with water for the snowy sky. The sentiment is from my own set, Snowy Hello.

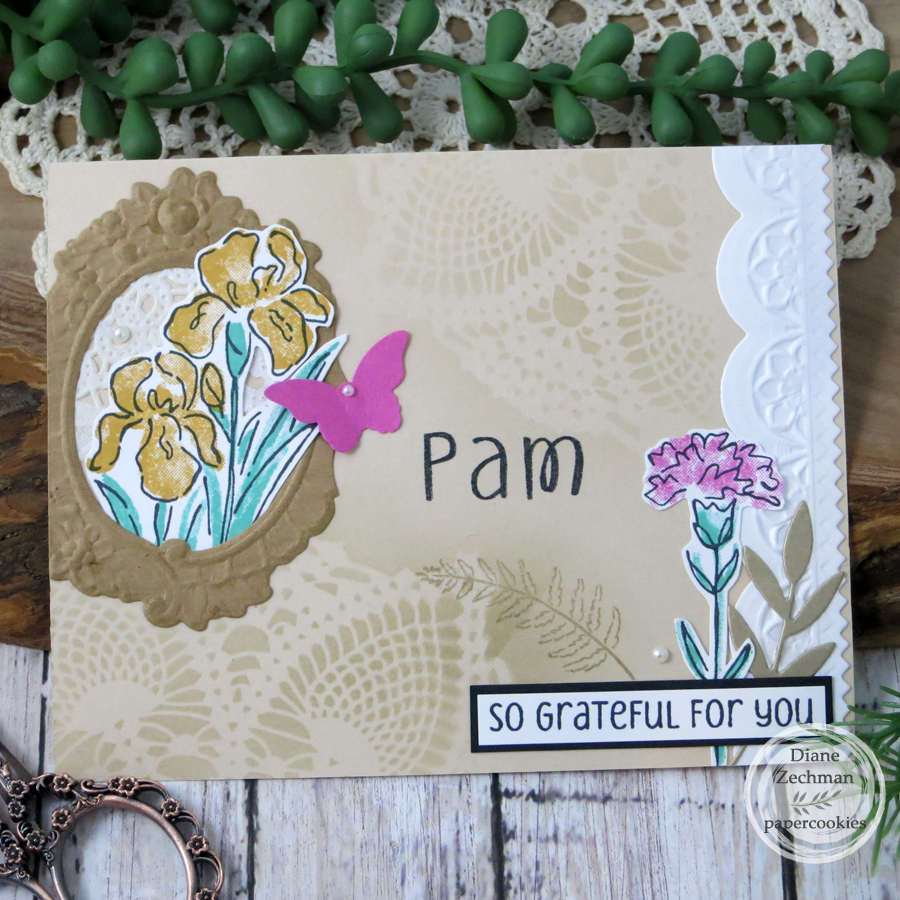
I love to personalize cards, but don’t do it often enough! Here’s a notecard that I made and personalized with the recipient’s name. The flowers are SU!, the alphabet, sentiment, and stencil are SnSS, and the frame and border are Sizzix.

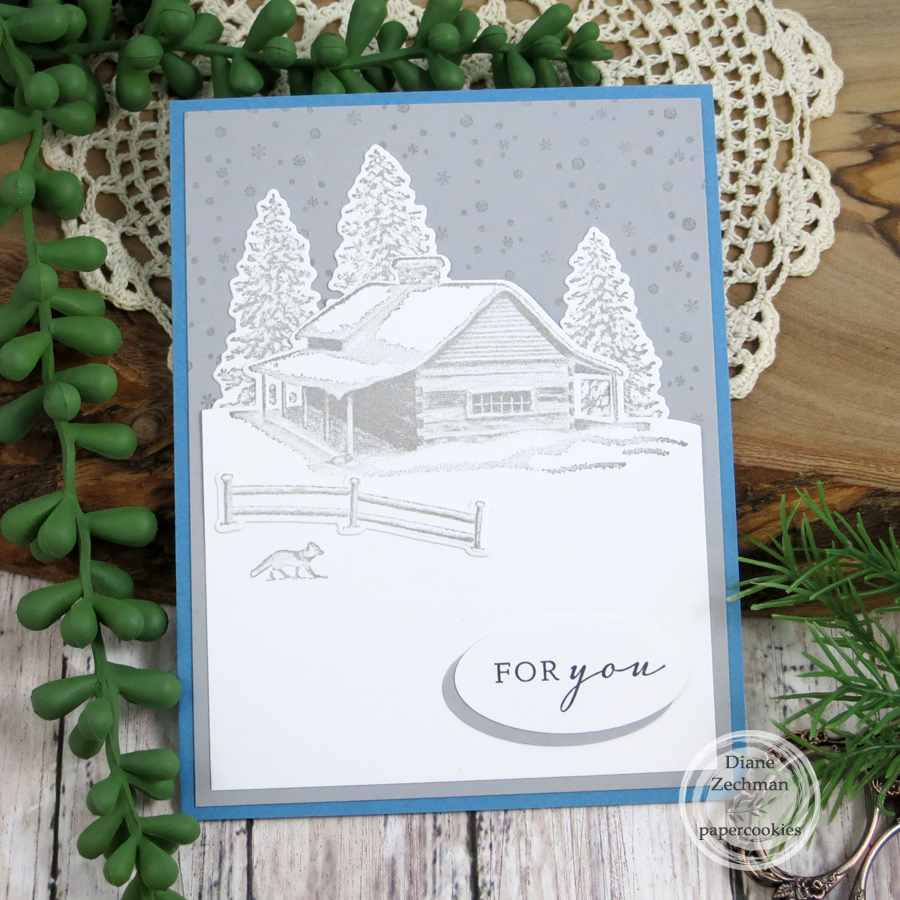
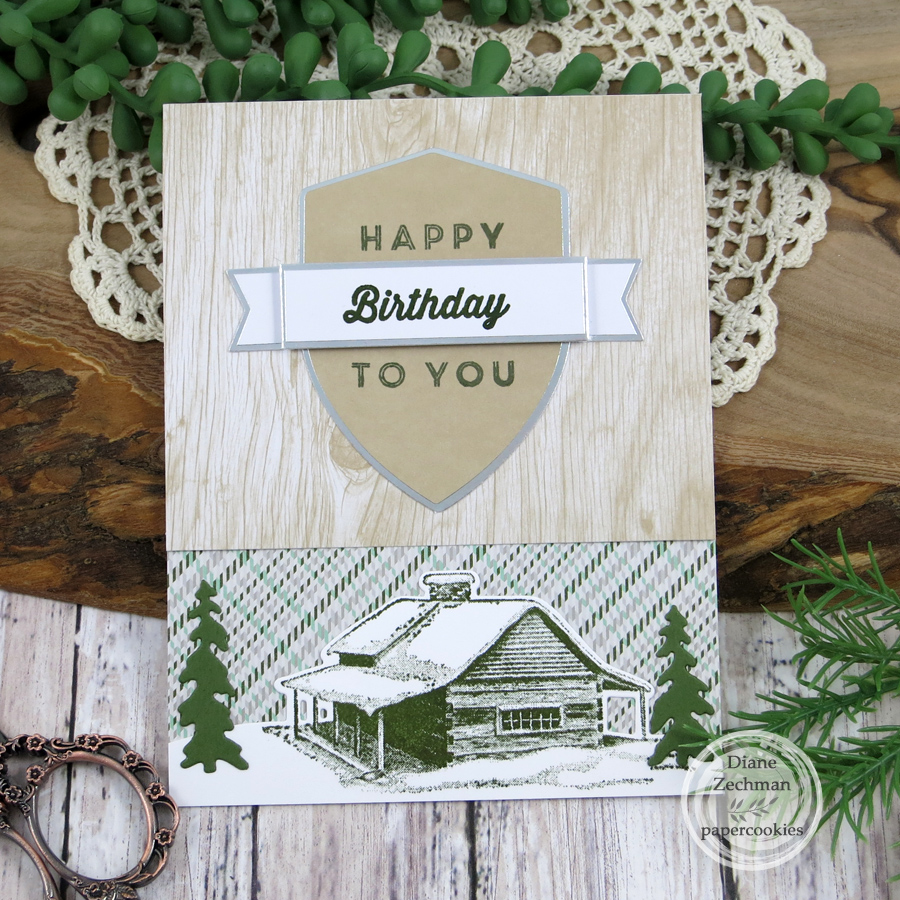
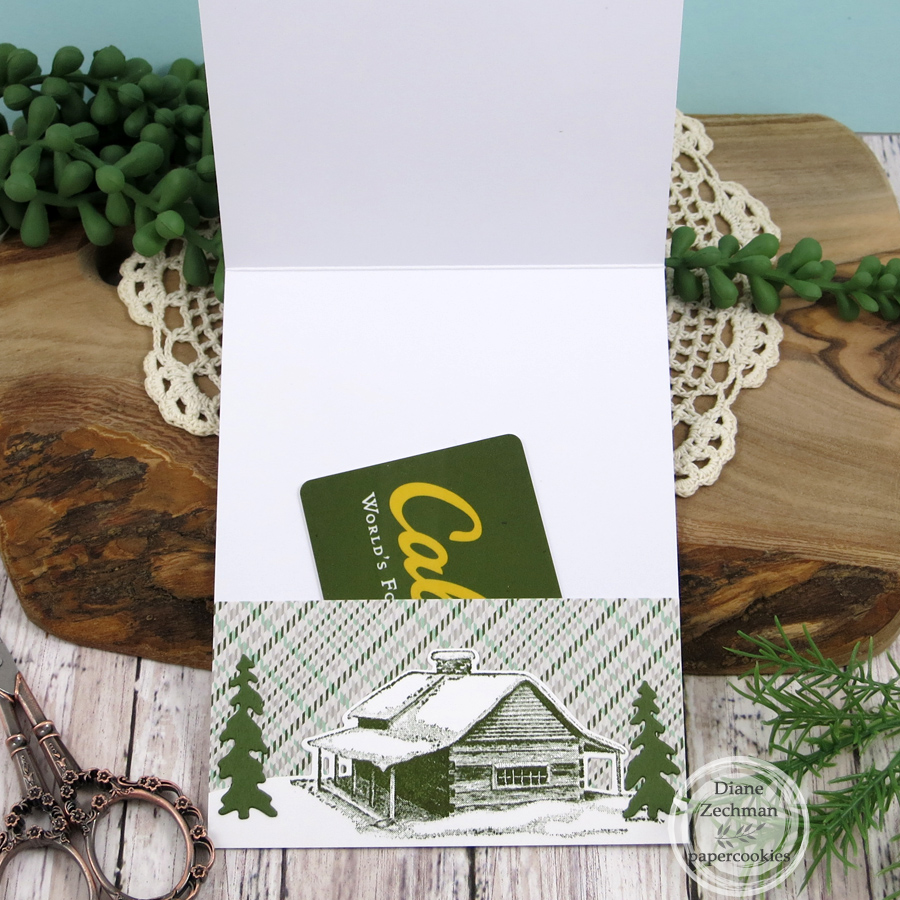
The next two cards use SU! Peaceful Cabin. The second one is an altered Paper Pumpkin kit which I made a pocket inside for a gift card.

I loved this Paper Pumpkin kit just the way it was designed…no alterations here!

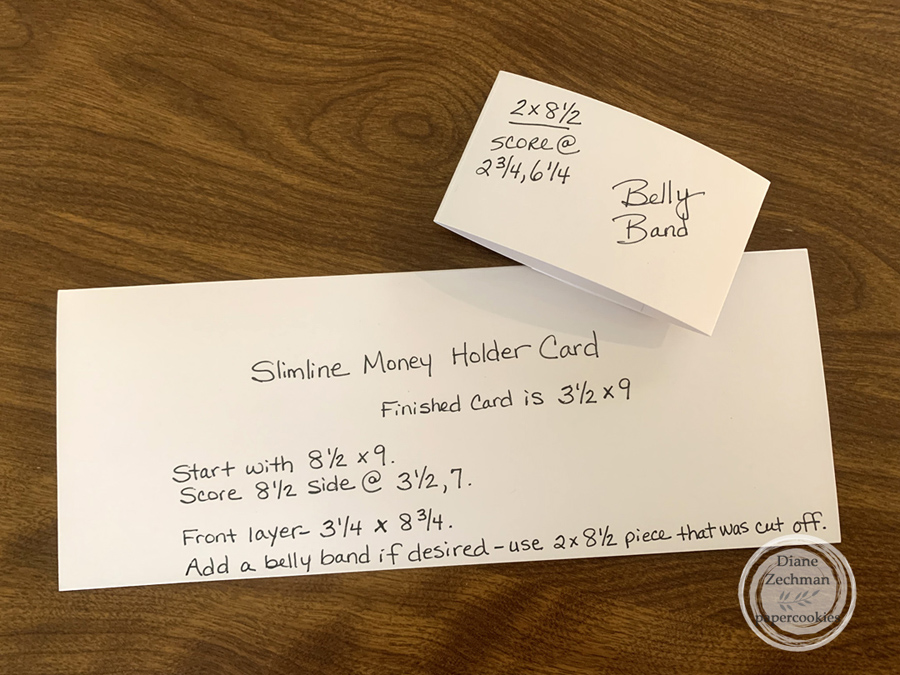
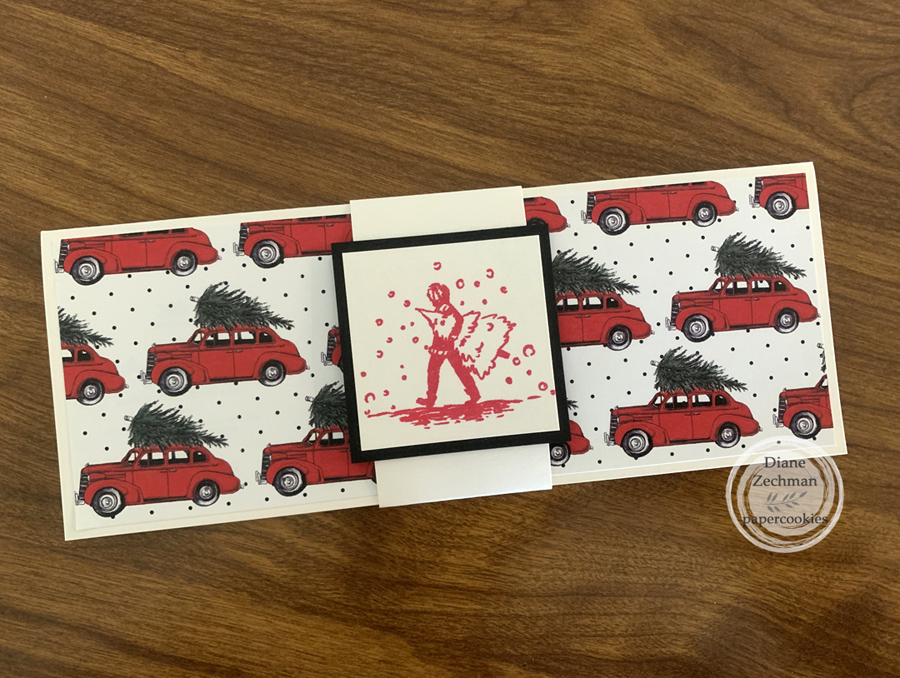
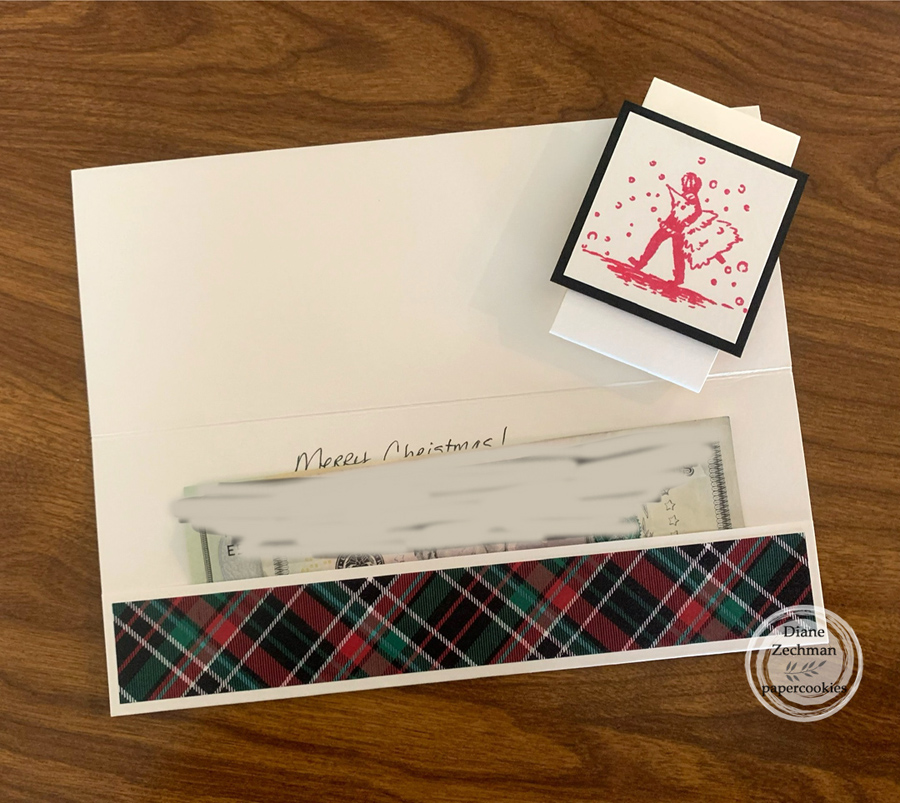
I needed several last-minute money holder cards and didn’t find any in the store. I made a quick slimline sample with an optional belly band and took some photos of it when done. I used different patterned papers but forgot to take photos until I was going to seal the last one. lol. This card uses a Tim Holtz stamp and Hobby Lobby patterned paper.

Have a safe & happy New Year!

birthday bunch

Happy Friday! Today I am catching up with nine of my favorites from the past year that were hanging out in my files…a bunch of birthday cards! These cards were not made for a company design team and just hadn’t been shared yet. It’s another photo heavy post today!

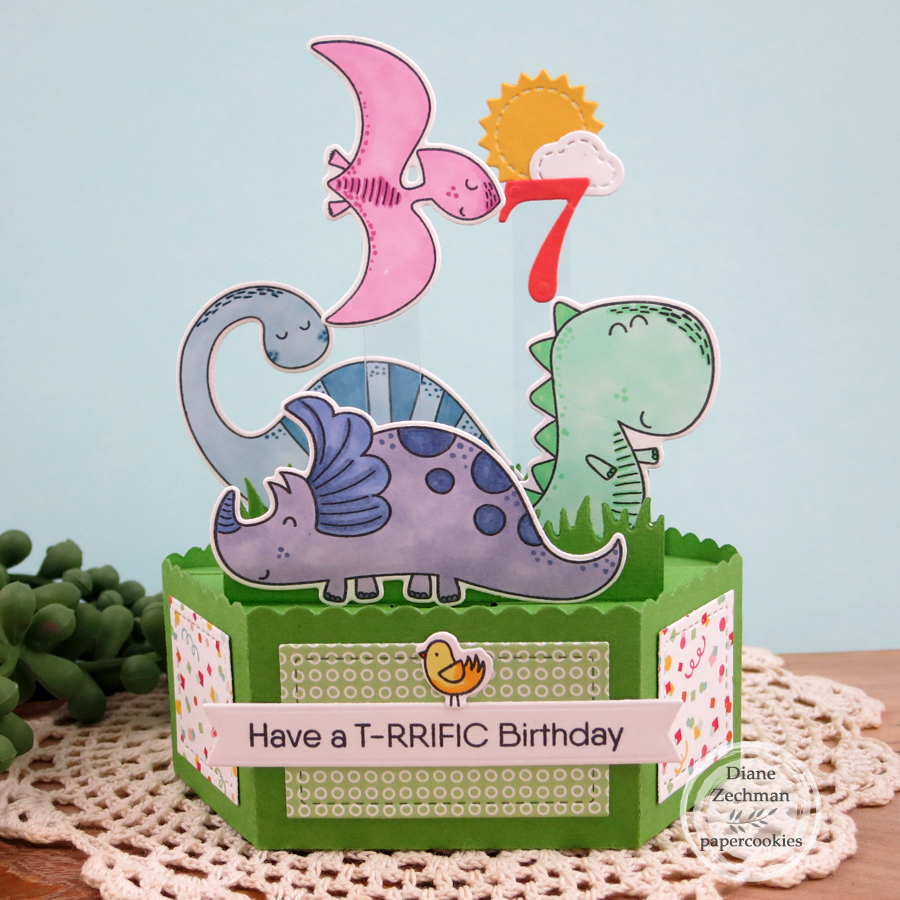
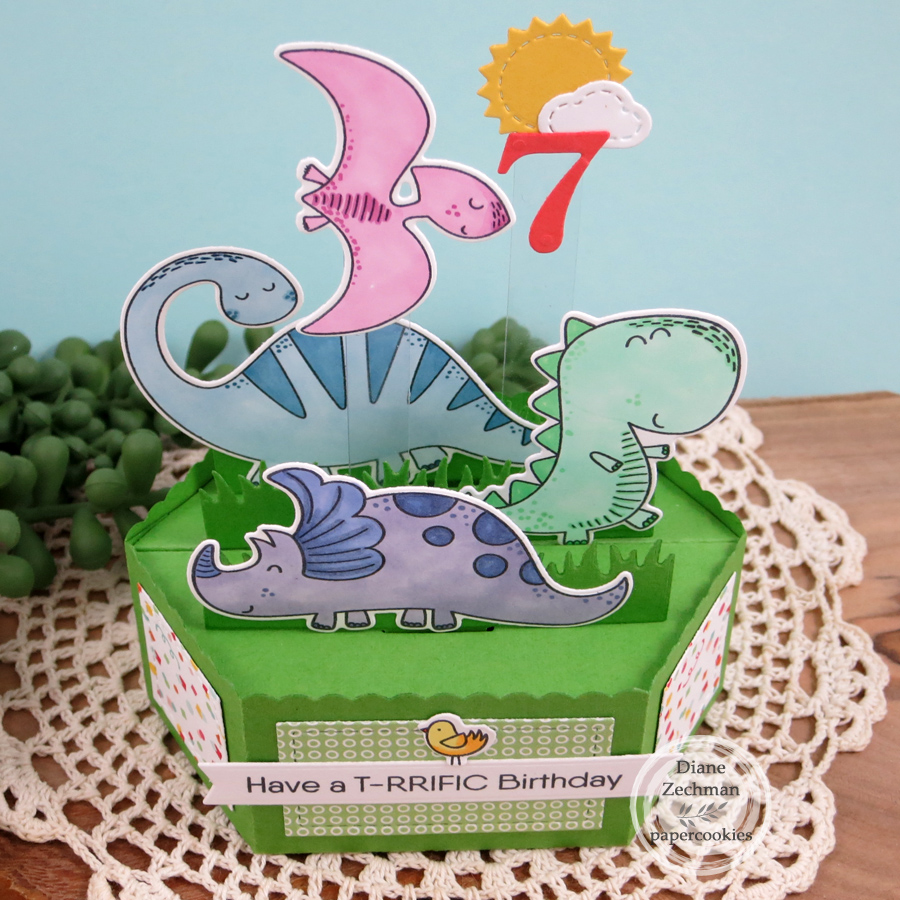
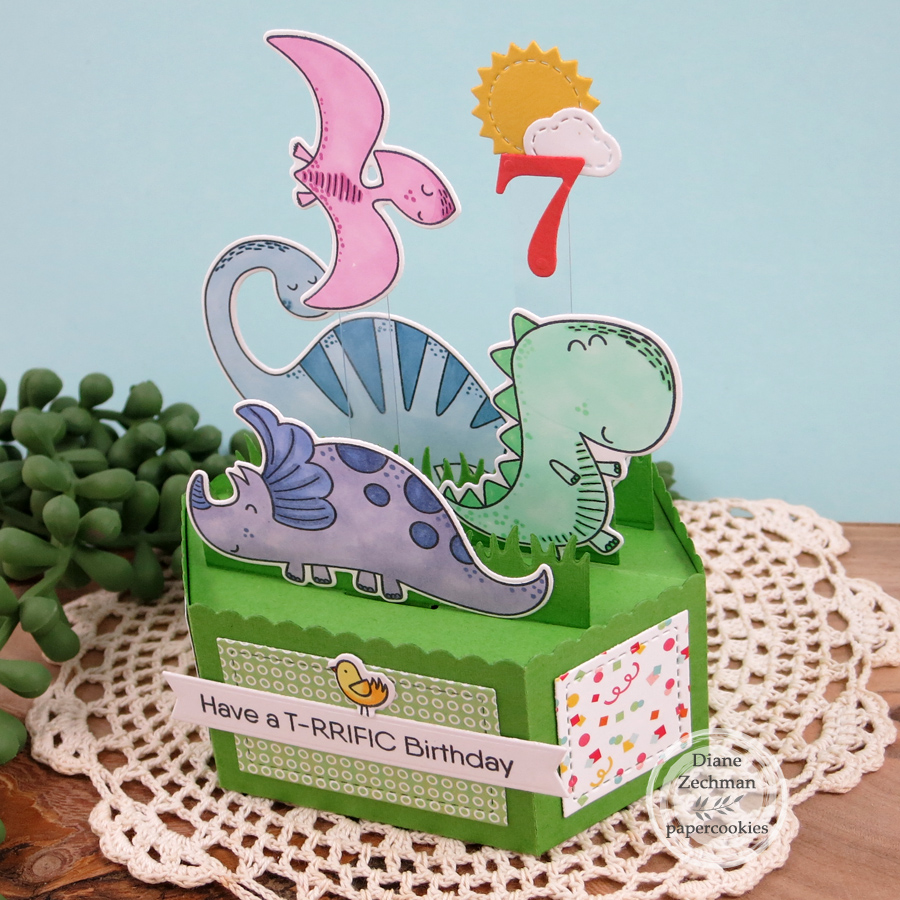
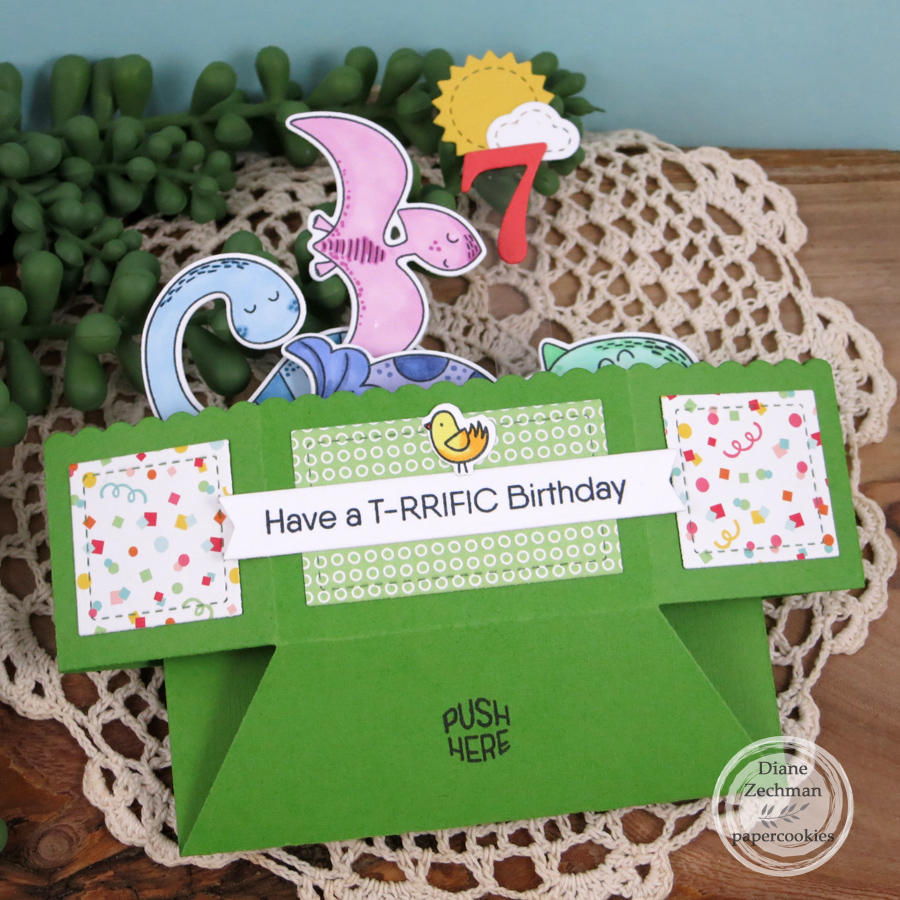
My first card was for a dinosaur-loving girl who turned 7. I used MFT‘s A-roar-able Friends and Lawn Fawn’s Platform Pop-Up Dies. The platform card folds flat for placing into an envelope. Strips of clear acetate were used to attach a few of the elements.

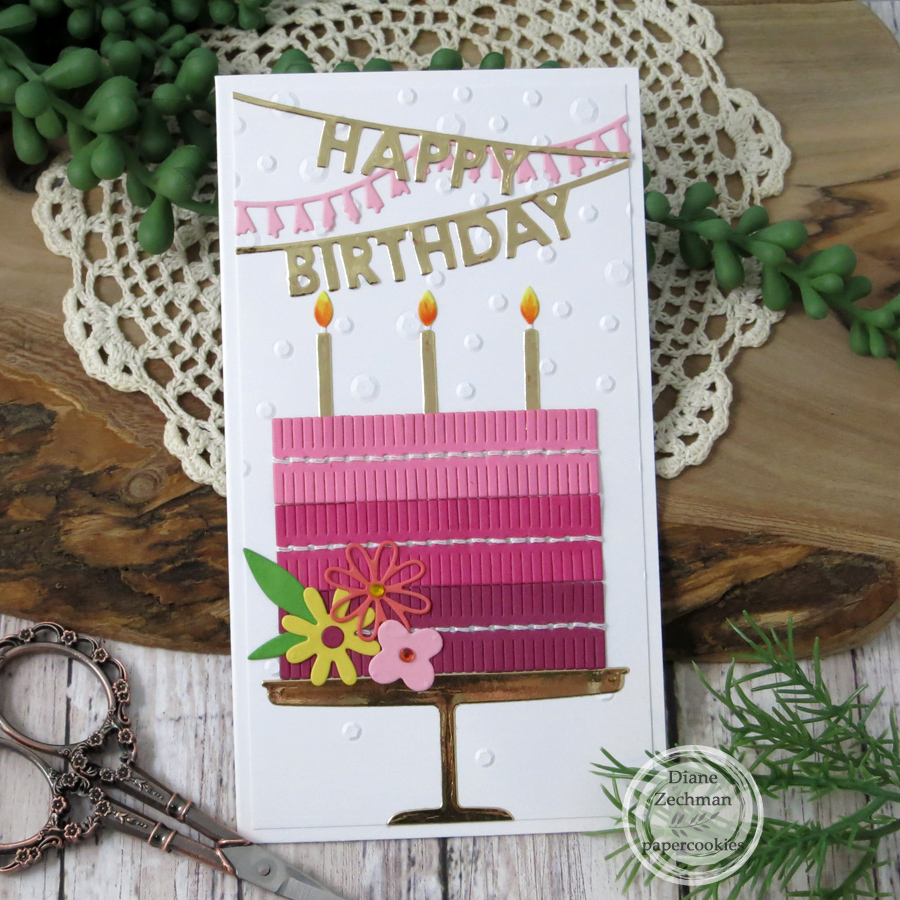
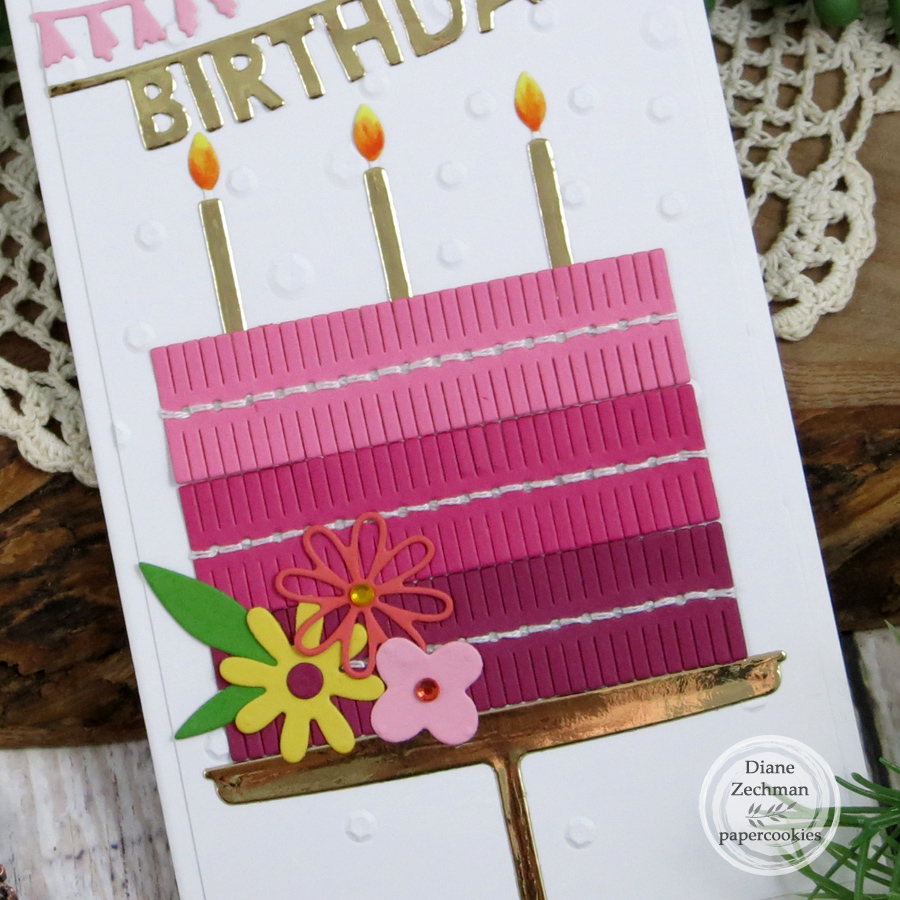
For the mini slim birthday cake card, I used… Spellbinders Stitched Fringe Cake Dies, Taylored Expressions Happy Birthday Banner and Skinny Mini Party Borders Dies, Sizzix Bold Flora Dies, and SU! Scattered Sequins embossing folder. Each cake layer was stitched by hand with white thread.

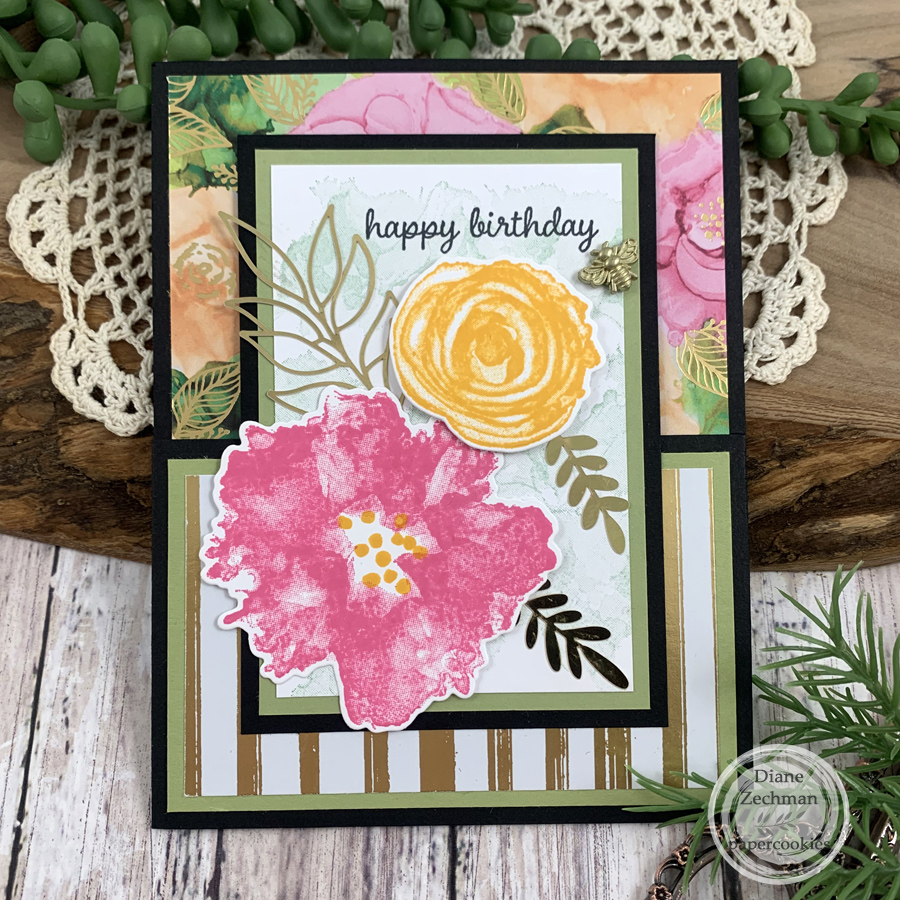
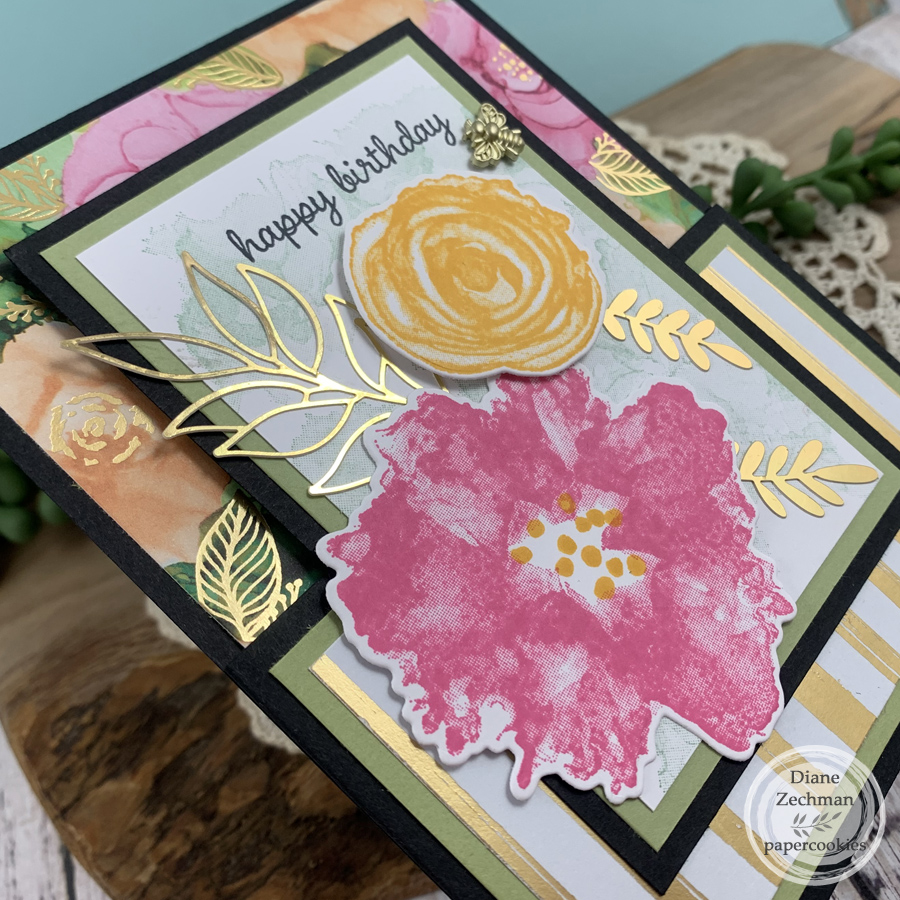
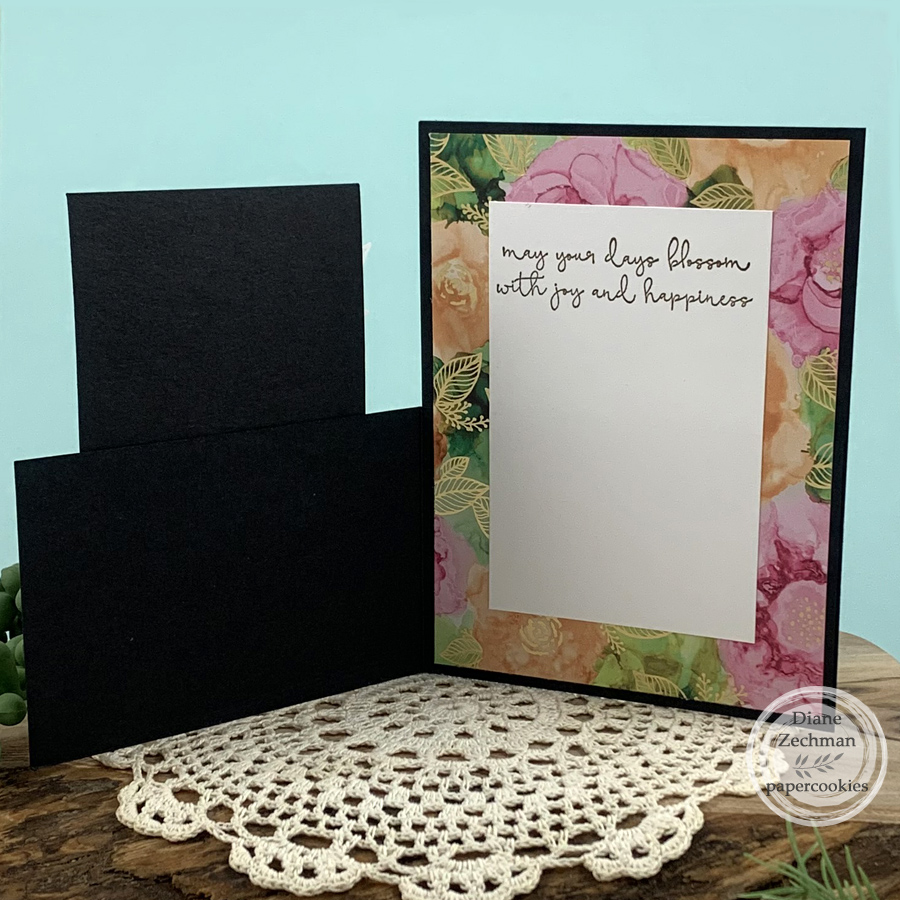
My next two cards were made in the same style, with the top half of the card front cut away. (Cut the top of the card front @ 2 3/4″) This piece is then turned 1/4 turn and adhered to the bottom front. So, for the center front layers on the first card… the black is 2 3/4 x 4 1/4, the green is 2 1/2 x 4, and the white is 2 1/4 x 3 3/4. The inside white layer is 2 1/2 x 4. Add additional cardstock and patterned paper layers as desired. Here I used SU! Artistically Inked Bundle, and Expressions in Ink dsp and Ephemera (gold foliage), plus a gold bee charm.

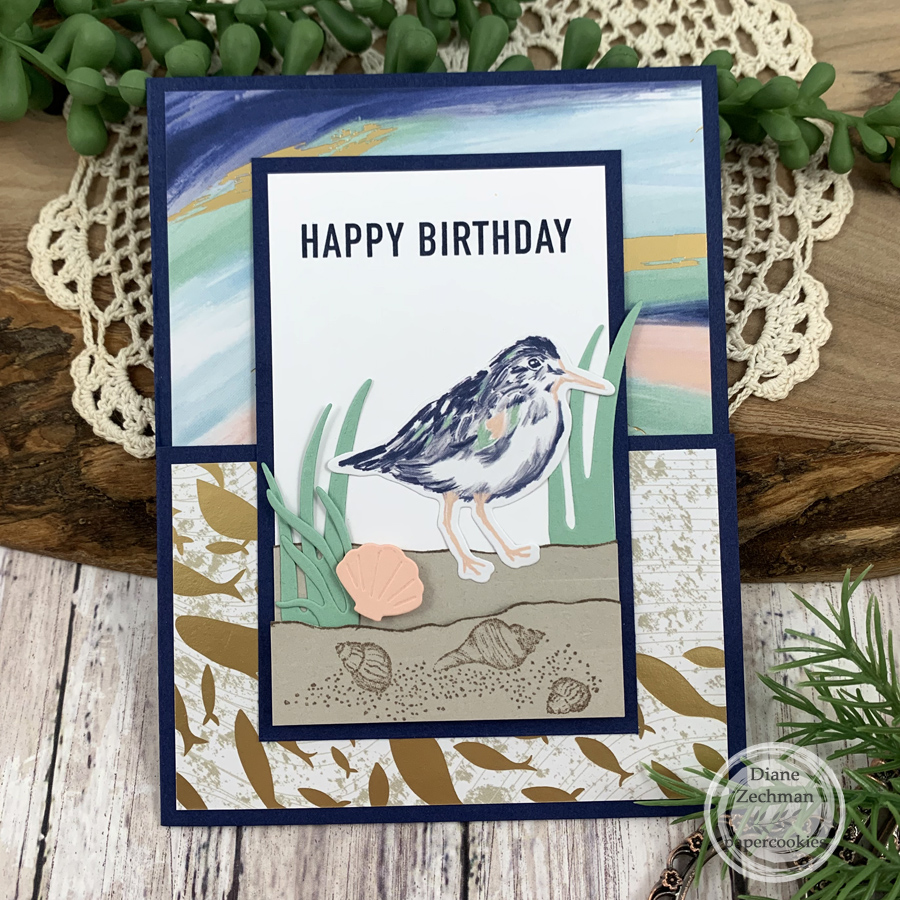
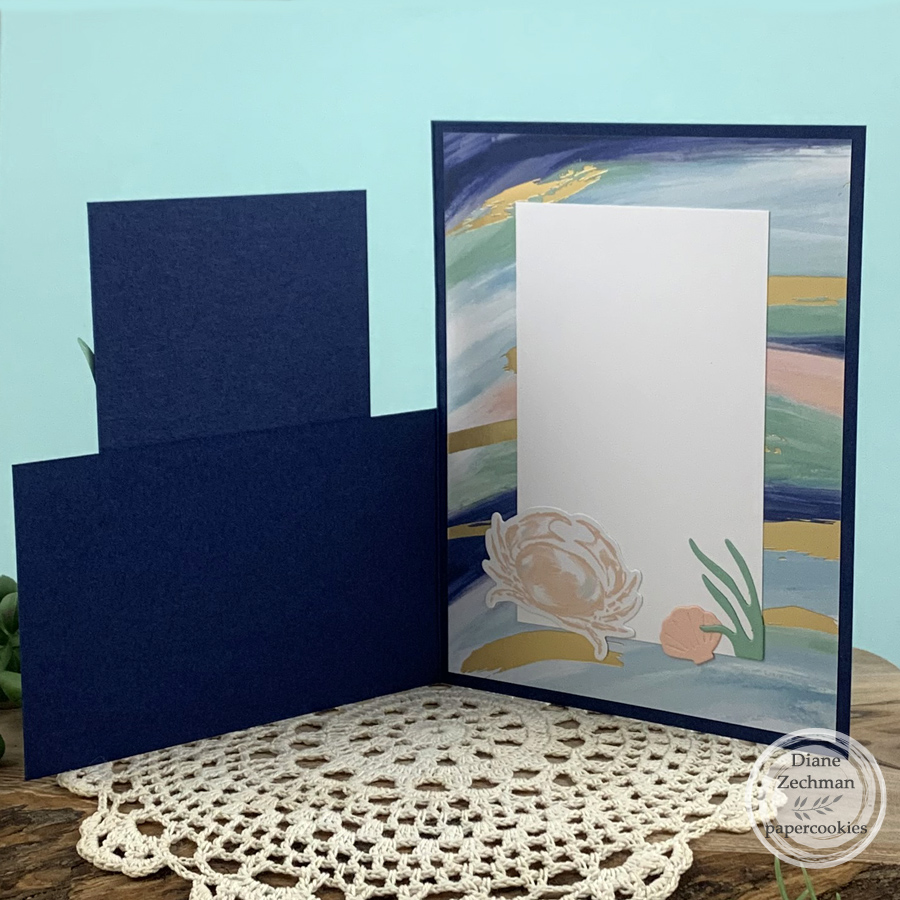
The masculine version was made the same way, using SU! Seaside Bay and coordinating papers.

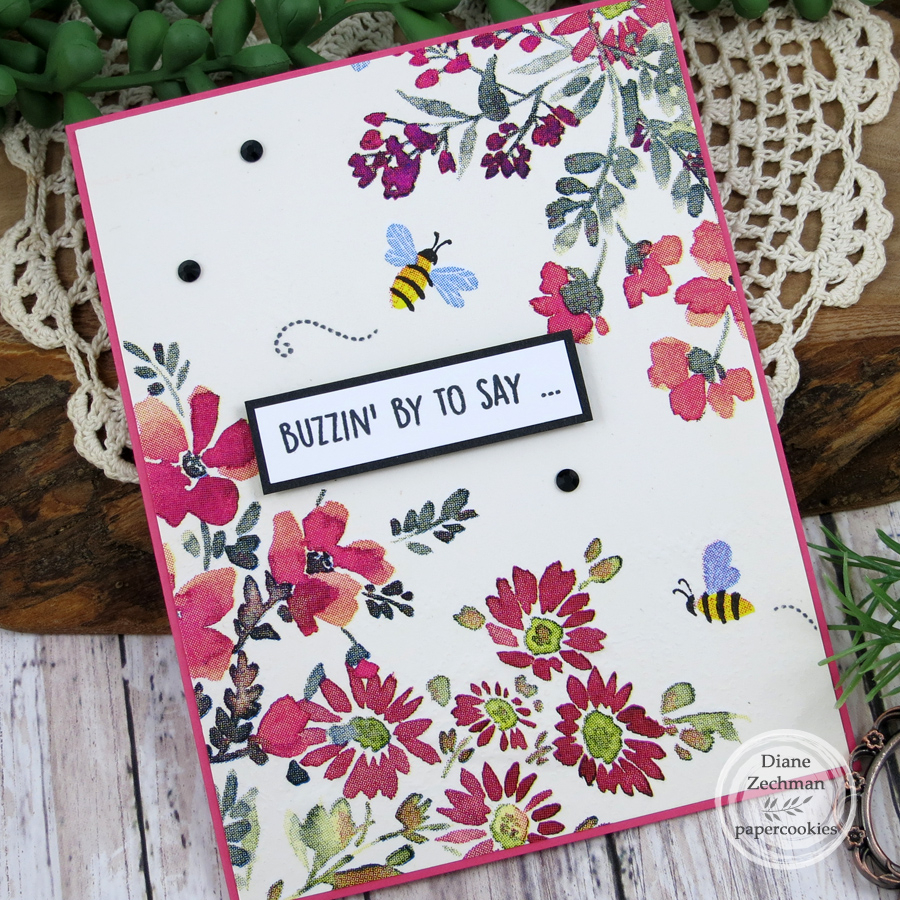
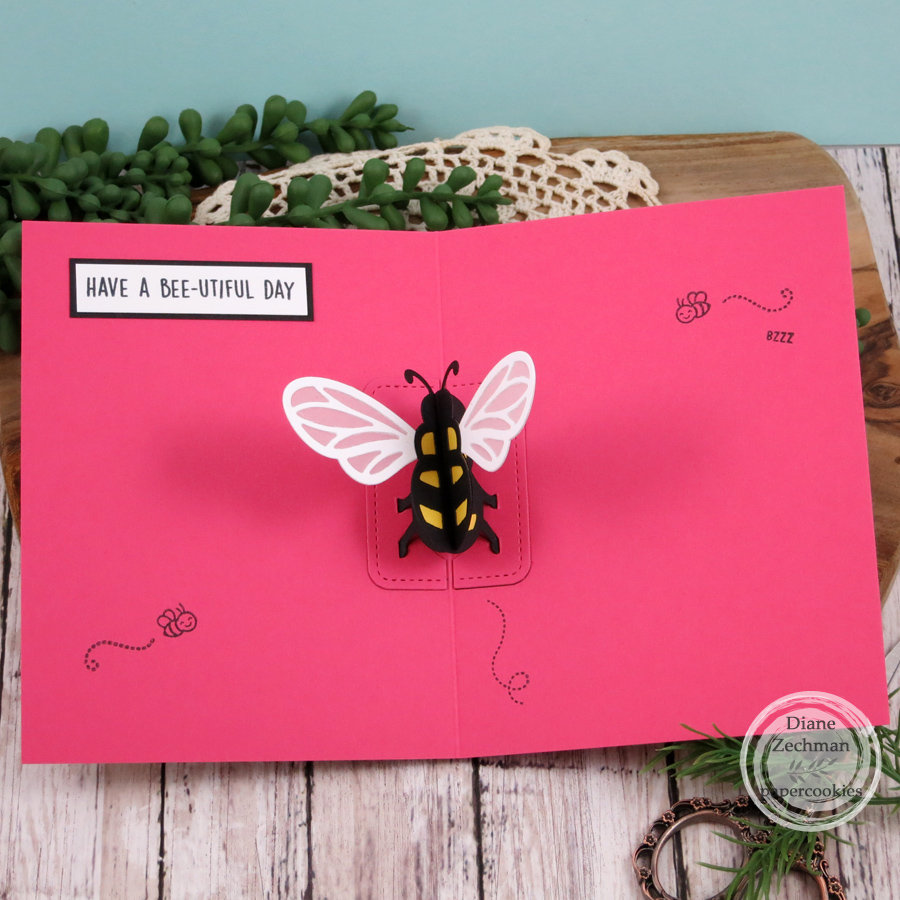
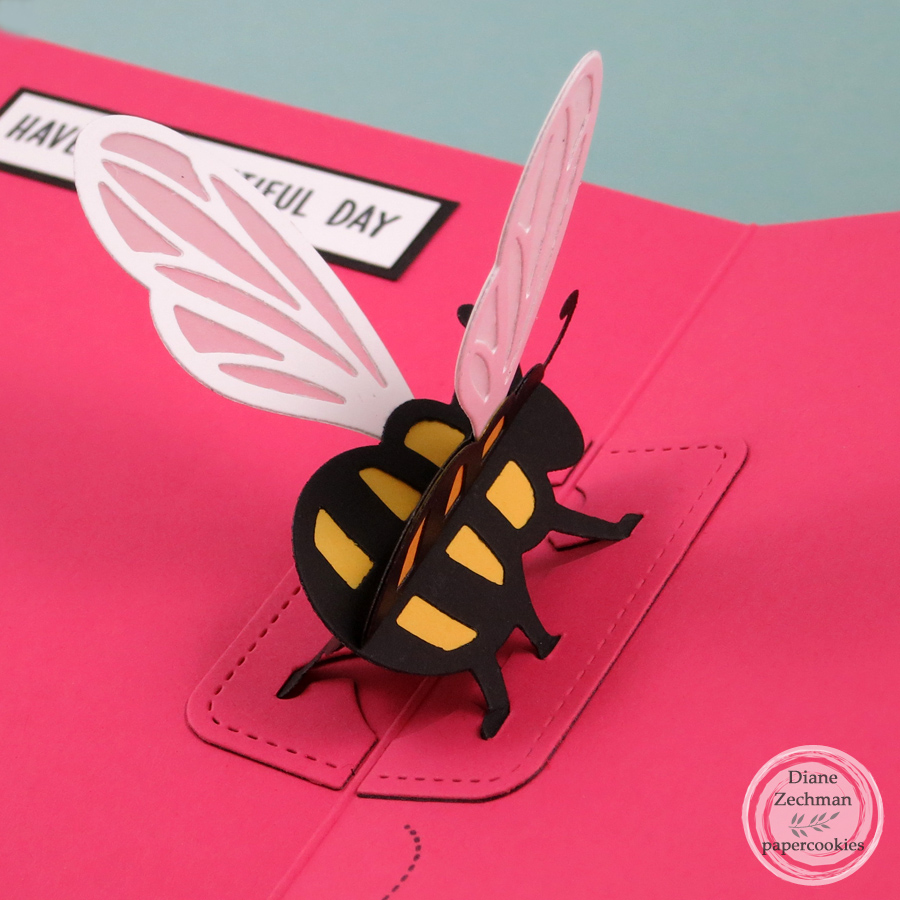
A beautiful paper napkin was applied to the following card front for a pretty floral background. Then I used Lawn Fawn’s Pop-Up Bee Dies and You’re a Keeper stamp set to create this sweet pop-up card. LOVE the bee dies!! This card is so cute in person. I only wish I had made those wings sparkly!

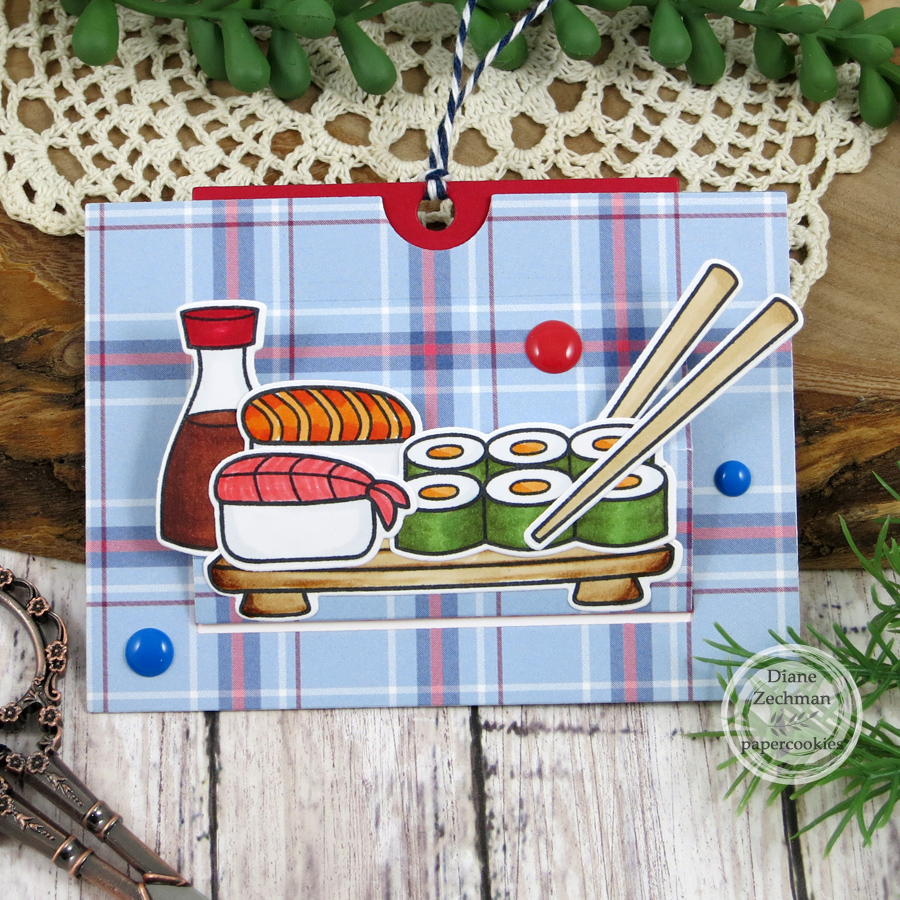
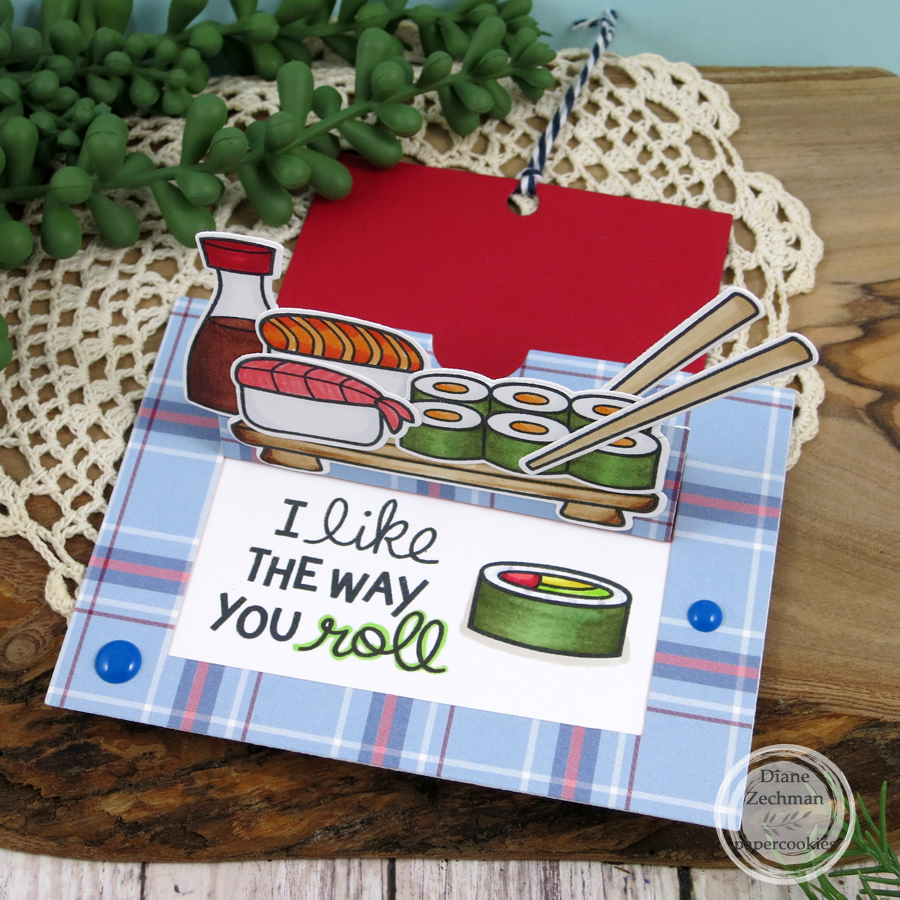
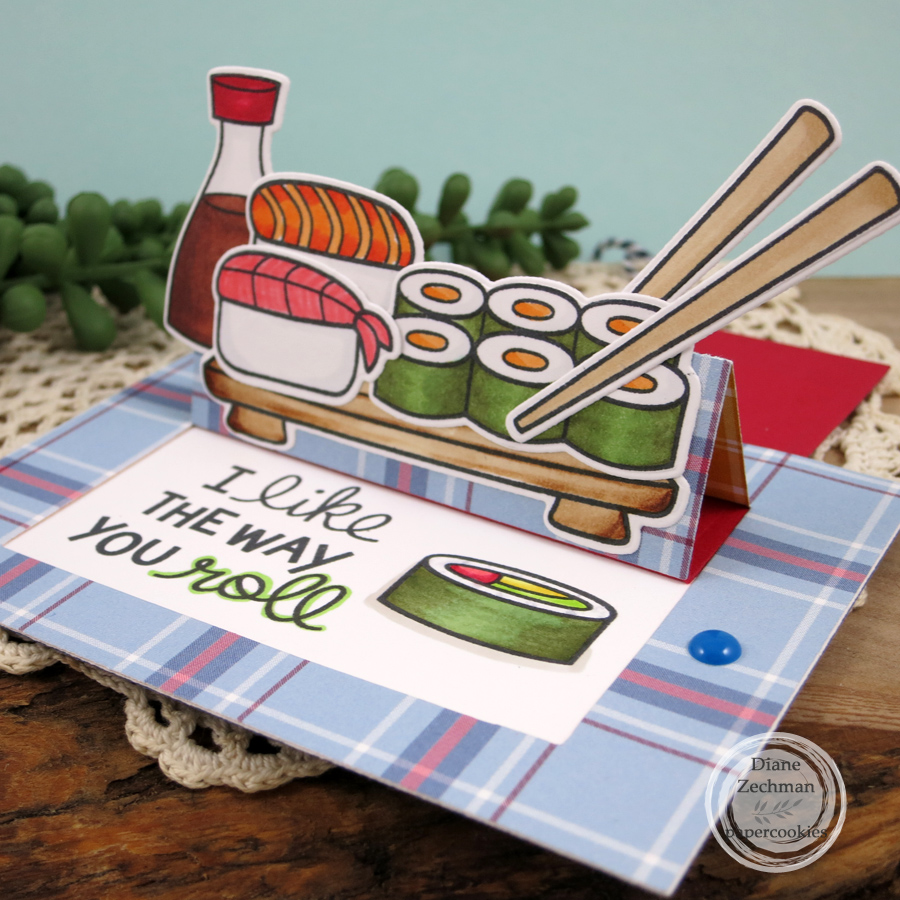
Another masculine card, this one’s for a sushi lover. I used Lawn Fawn’s Let’s Roll and Sizzix Tropicool Slider Card Dies. The Sushi pops up and reveals the greeting inside as the top is pulled.

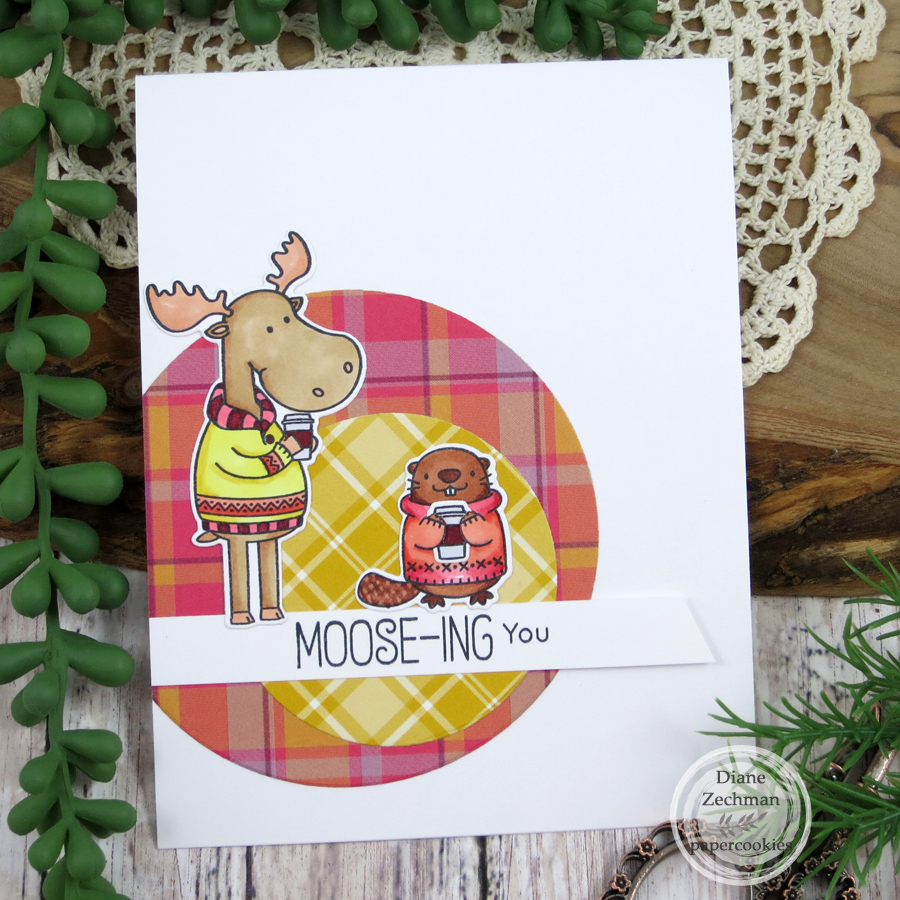
How cute are these two from the MFT Sweater Weather- In the Woods set? I kept this card CAS and spot-lighted them with some plaid circles. I followed the MFTWSC498 sketch.

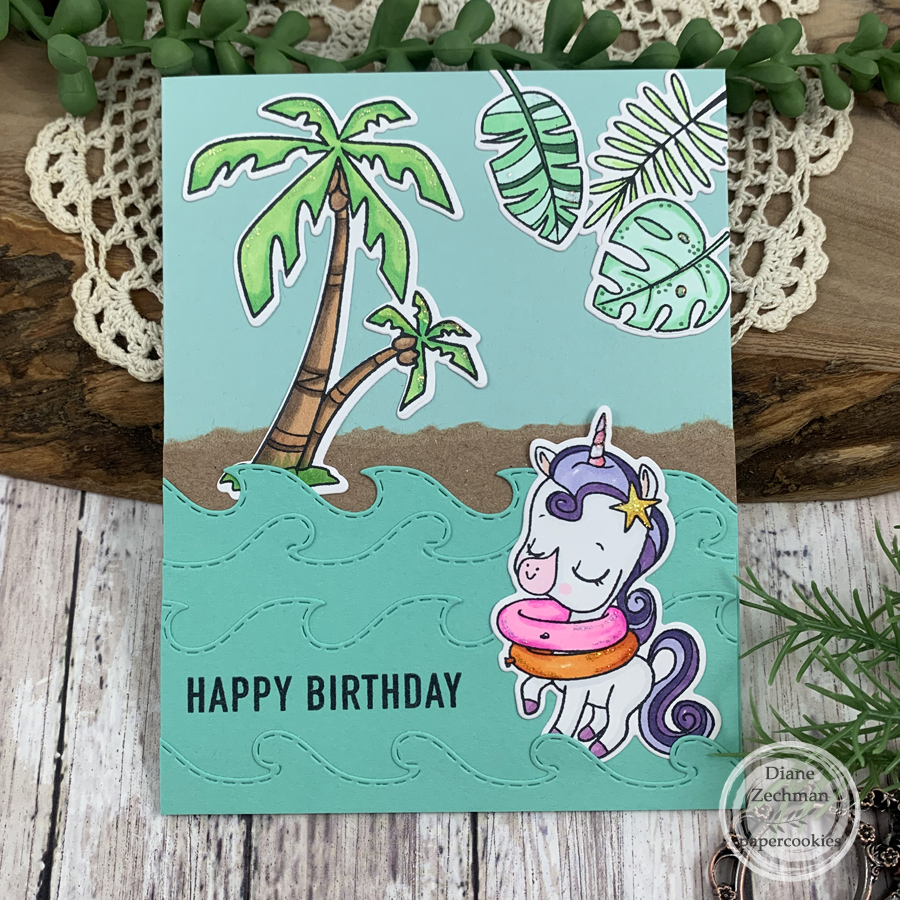
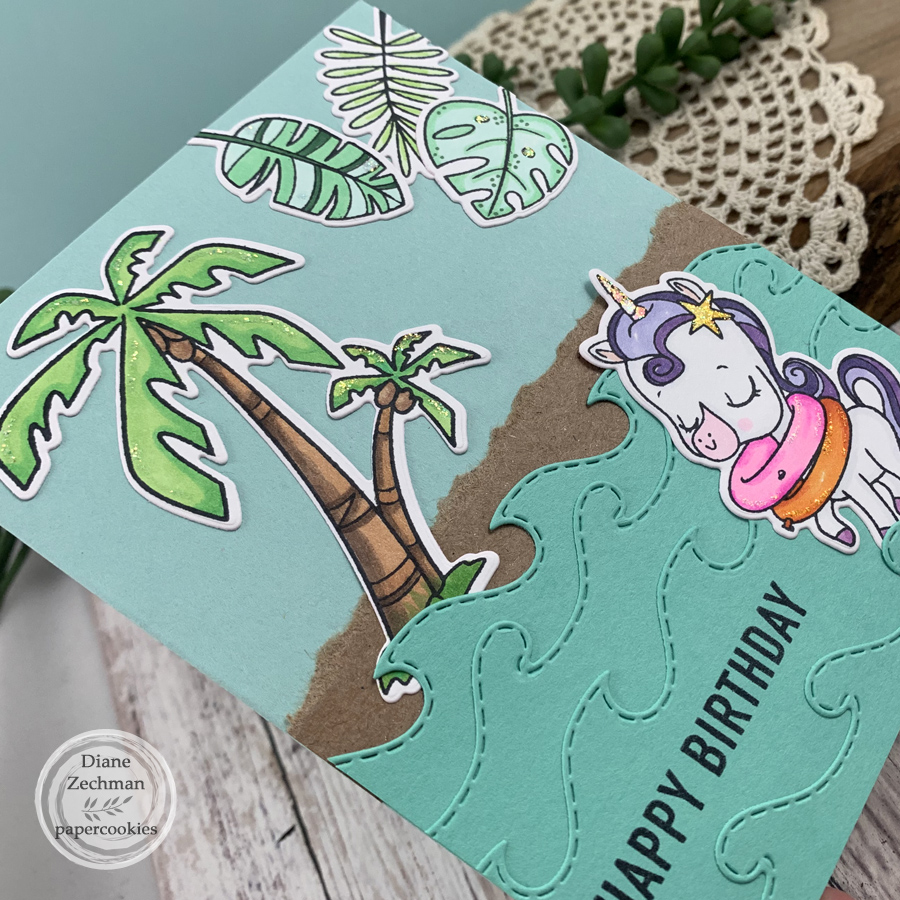
Pink & Main has some terrific stamps…this is from the Beach Unicorn set. I also used the Waves Border Dies. You can see some of the glitter sparkle in the second photo.

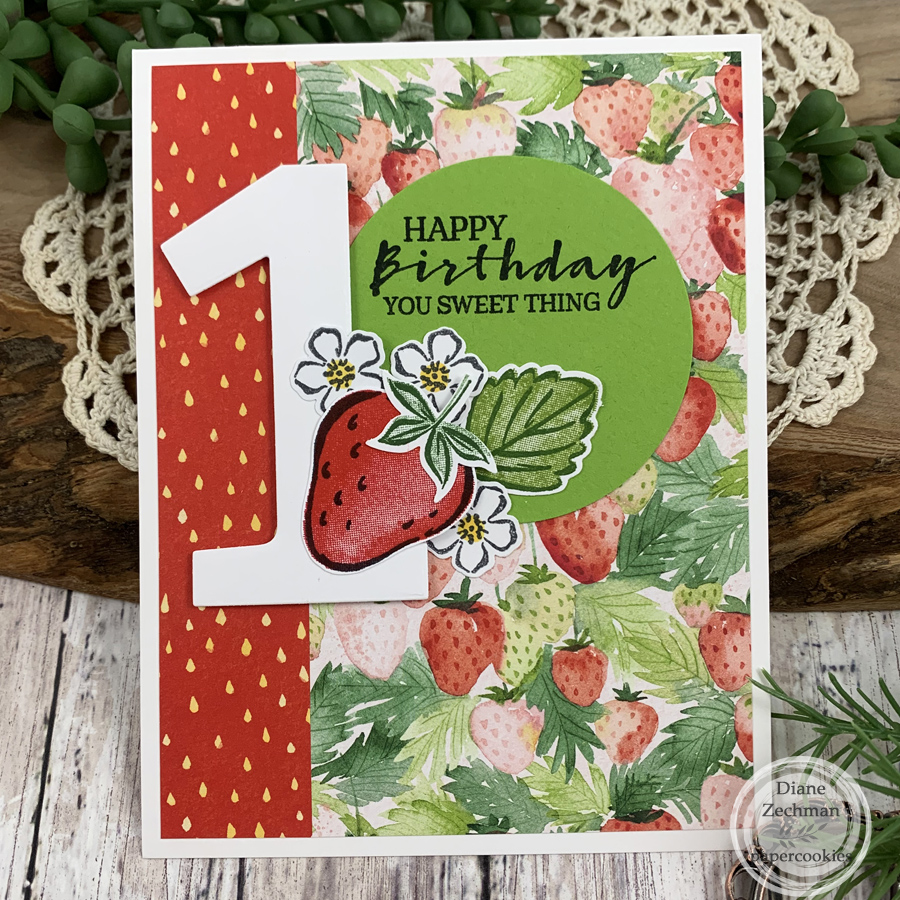
And last for today, I was asked to make a strawberry themed birthday card for a little girl turning one. I used the Altenew Mega Number 1 die and SU! Sweet Strawberry bundle.

Have a great weekend!