Hello friends!
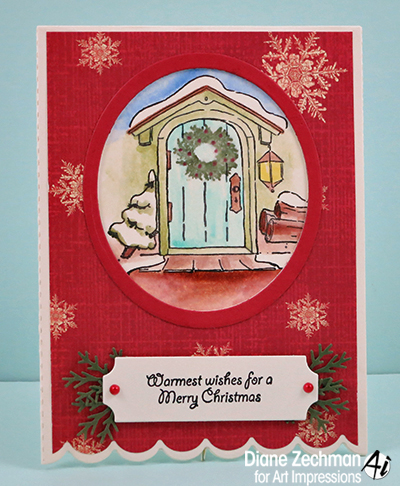
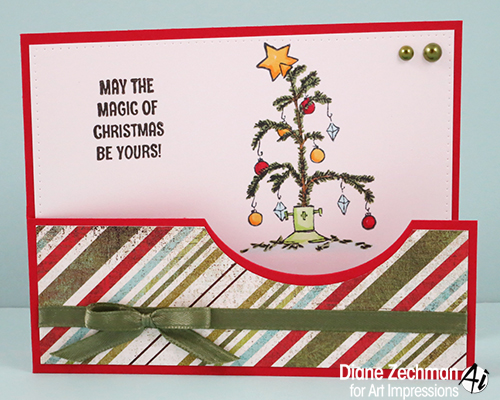
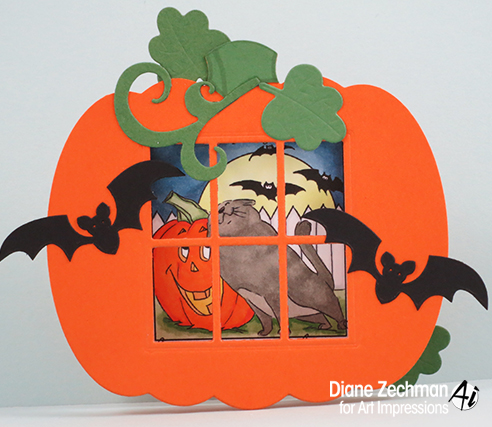
The current Ai Challenge is “Use Water-Based Inks” and we are showcasing the NEW Watercolor images and the NEW Easel Card Dies! How exciting! I am sharing how I made my card today with the Ai Wooden Door (4702) stamp set and the Ai Scallop Easel Card Die (4700). I also used a sentiment from the Christmas Scene TryFold (4687) stamp set.
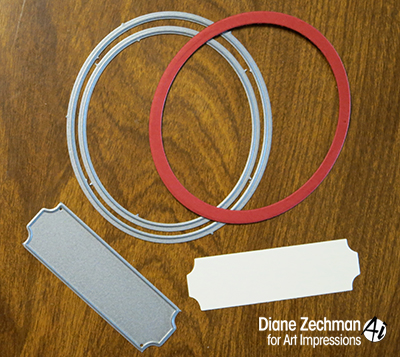
I started by die-cutting two of the Scallop Easel Card die with vanilla cardstock for my card base, and set those aside.
I wanted to make a scalloped mat for my card, so here is how you can easily do that. Using the widest (open) scalloped section of the die, I cut a patterned paper layer for the front. Start with a piece of patterned paper that is 3 1/2″ x 5″. Center the 3 1/2″ width in the die (leaving equal space on both sides). Use low-tack tape to hold in place and diecut.

Now trim the height of the patterned paper to 4 3/4″ tall. Adhere this layer to one of the vanilla diecut card bases.
Next diecut an oval window with the smallest oval die.

Set aside and use both oval dies to cut a frame with red cardstock. Also cut a sentiment label from a scrap of vanilla cardstock.
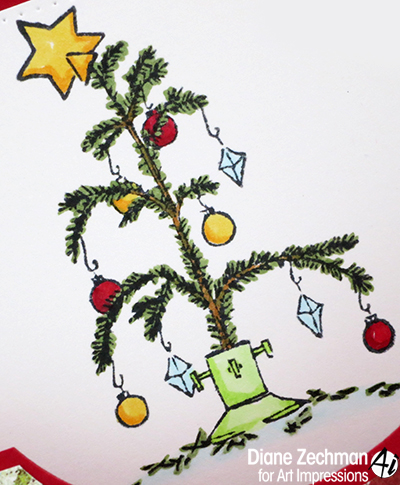
I stamped the door, tree, and logs with Versafine Black ink and water-colored the images with Twinkling H2Os and a water-brush. Then I inked the wreath with a green marker and stamped it last. I lightly touched the wreath with the water-brush.

When dry, adhere the water-colored image behind the oval diecut window. Then adhere the second vanilla card base behind the image, lining up both card bases and the scallop edges.
NOTE: Kate has a wonderful video HERE showing how to put the Easel Cards together. Please check it out!

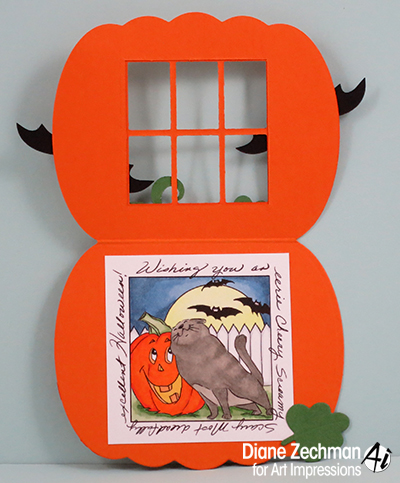
Following Kate’s instructions in the video, fold both sides back. Then cut the small tab on both sides half-way to the scored line, starting from each end. Fold the easel sides on the scored lines and fold down the tabs. I glued the sides down but it isn’t necessary. It will look like this from the back:

Adhere the diecut oval frame around the window. Stamp the sentiment, and finish your card as desired. I placed some punched branches under the sentiment and popped it with foam dimensionals.
Now it’s your turn to make a card or project and join us in the “Use Water-Based Inks” Challenge!
Happy stamping!
 stamps- Art Impressions Ai Wooden Door (4702) and Christmas Scene TryFold (4687); paper- vanilla, SU! Riding Hood Red, Always Artichoke, Provo Craft- Snowflakes on Red; ink- Versafine Black, Always Artichoke marker; accessories- Art Impressions Scallop Easel Card die (4700), Twinkling H2Os, water brush, Martha Stewart branch punch, adhesive pearls, foam dots.


 cookiestamper ♥


