Good morning! Today Creative Worship Stamps (Sweet ‘n Sassy Stamps) is having their April Instagram Hop. Be sure to check over there for this card plus all the other projects in the hop, and comment on IG for a chance to win a $25 prize. You can find me on IG- @papercookies4u, and the hop will start at @sweetnsassystamps.
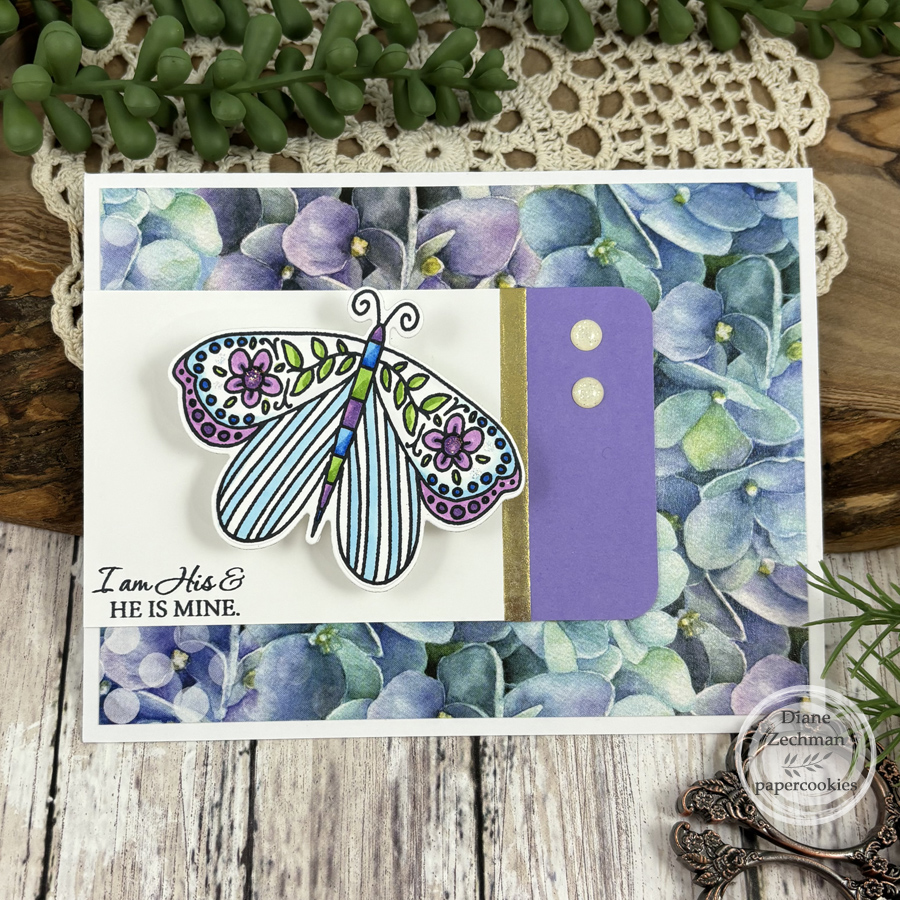
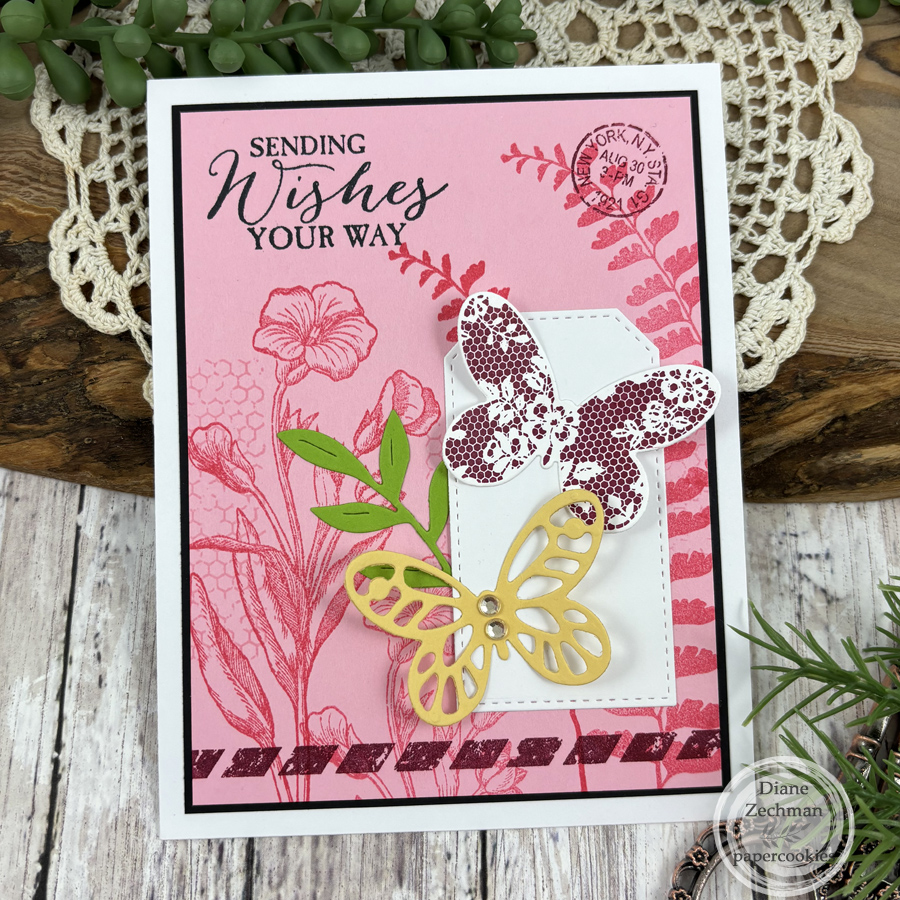
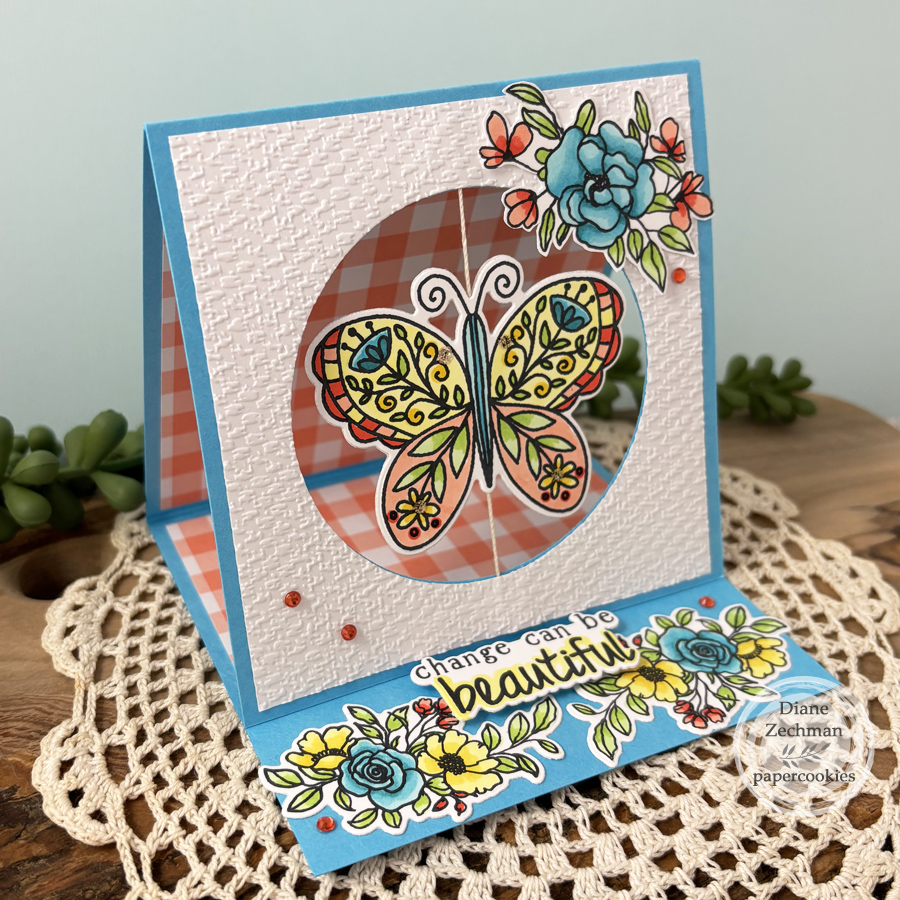
For my card, I used products from the April new release. Here I used the new Embrace Change Bundle and Delicate Florals Bundle, plus the previously released Circle Dies to create a fun, interactive card.
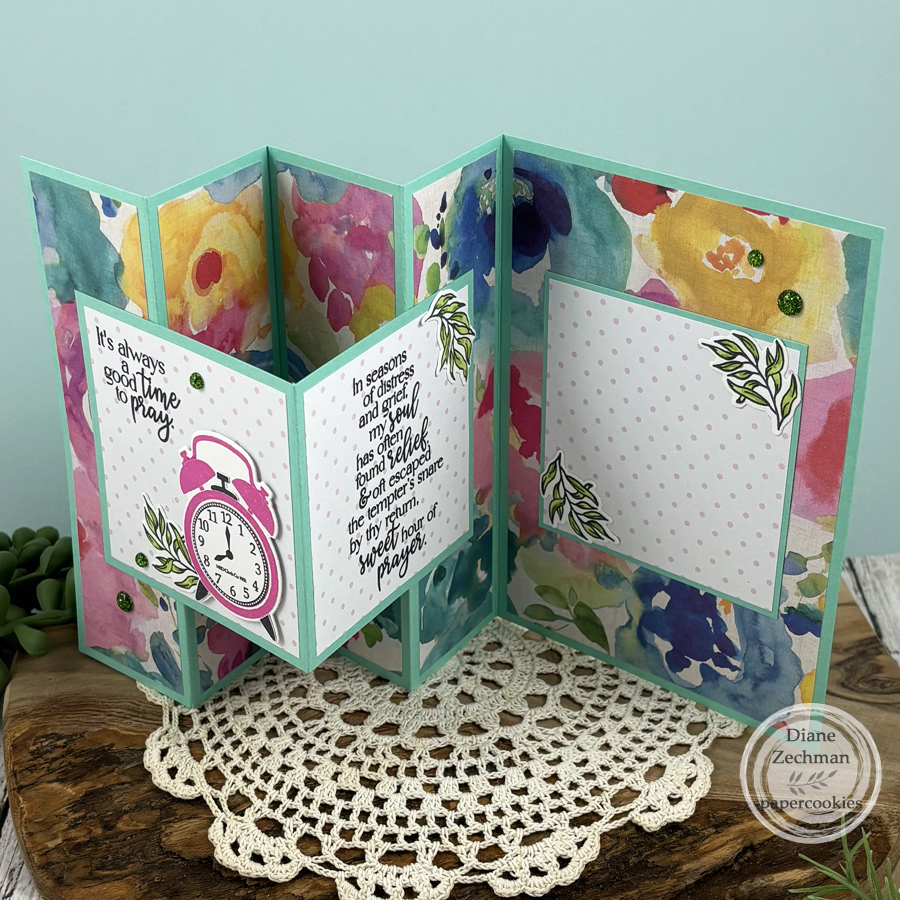
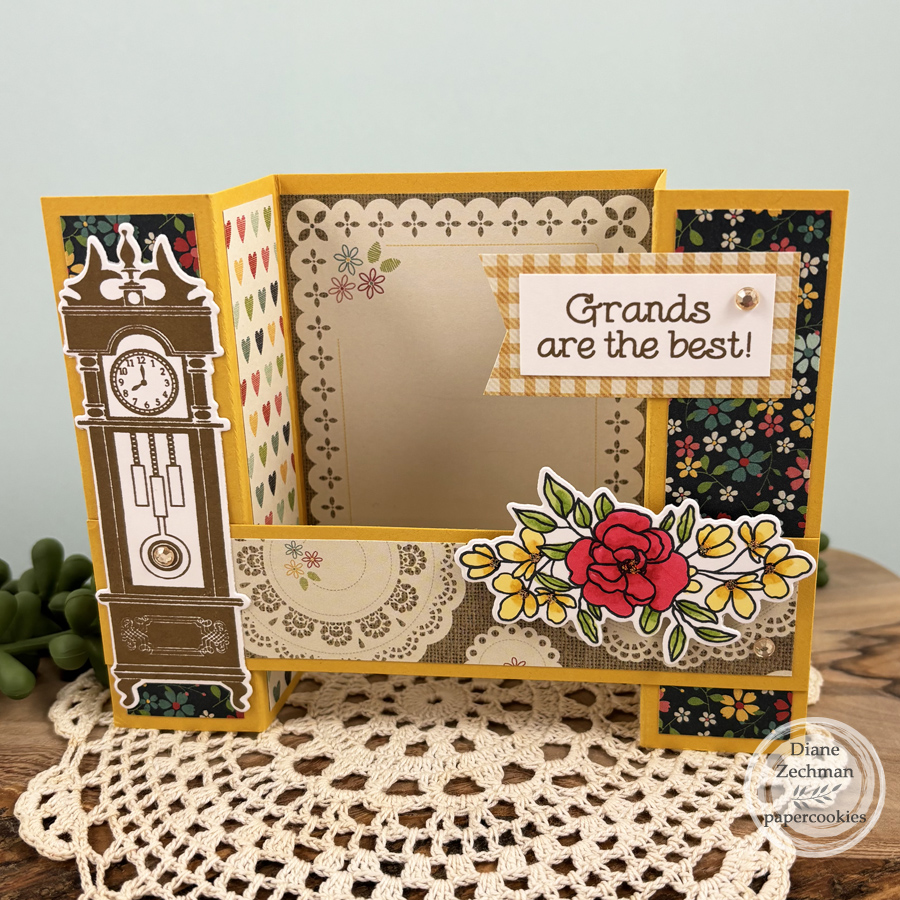
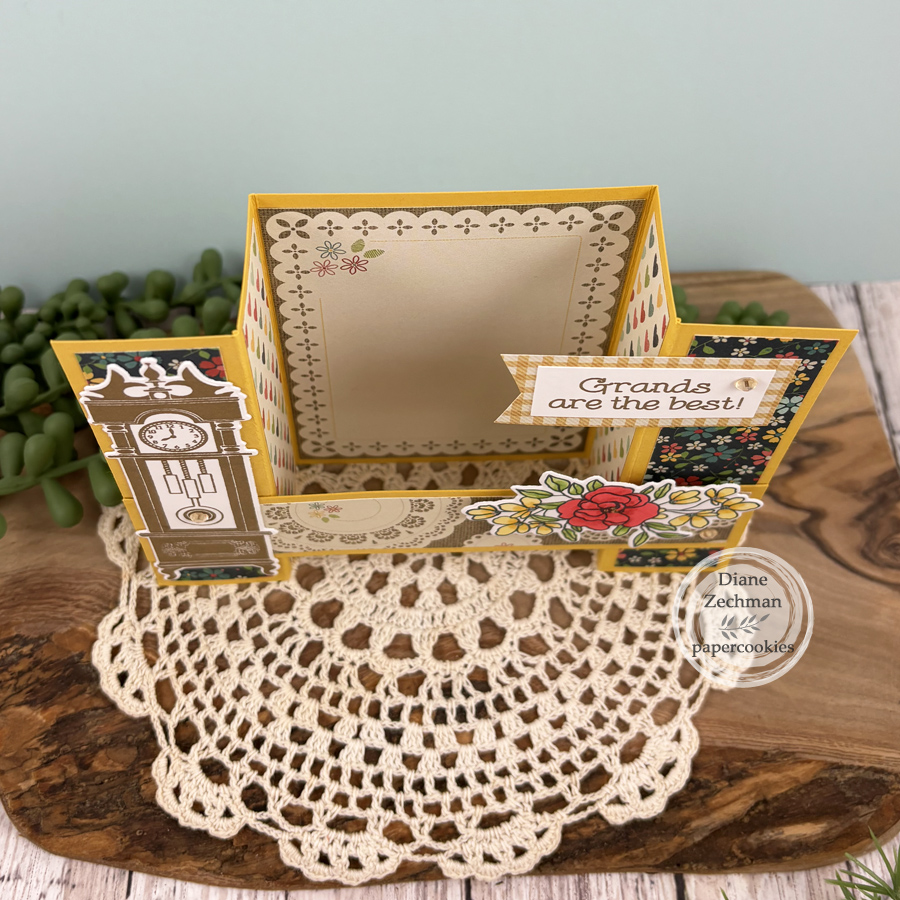
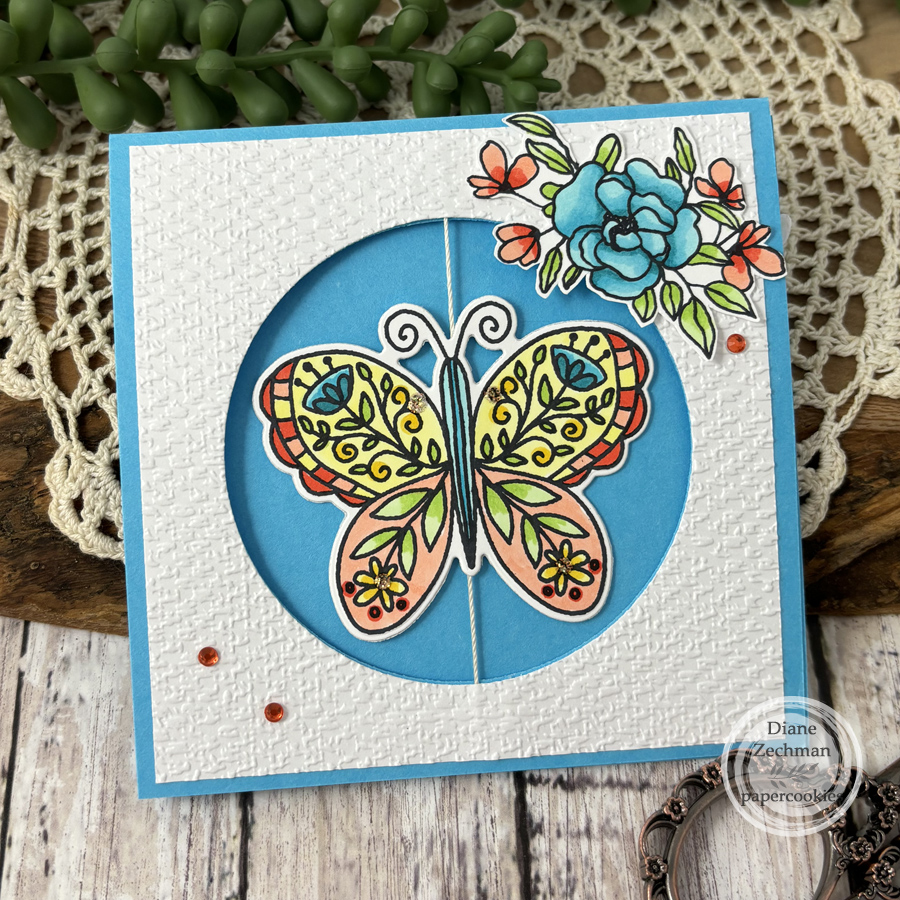
When I saw these butterflies and how they are symmetrical, I knew I wanted to make a spinner card. Then I thought it would be fun to try to turn the spinner into an easel card as well. (see video below). I figured some simple measurements and cut/scored my cardstock base so that it would fit in an A2 envy and also be big enough for my butterfly to spin. When opened, the card front is supported by the sentiment and the butterfly spins freely. If desired, you can wind it up before inserting into the envelope for a fun surprise!
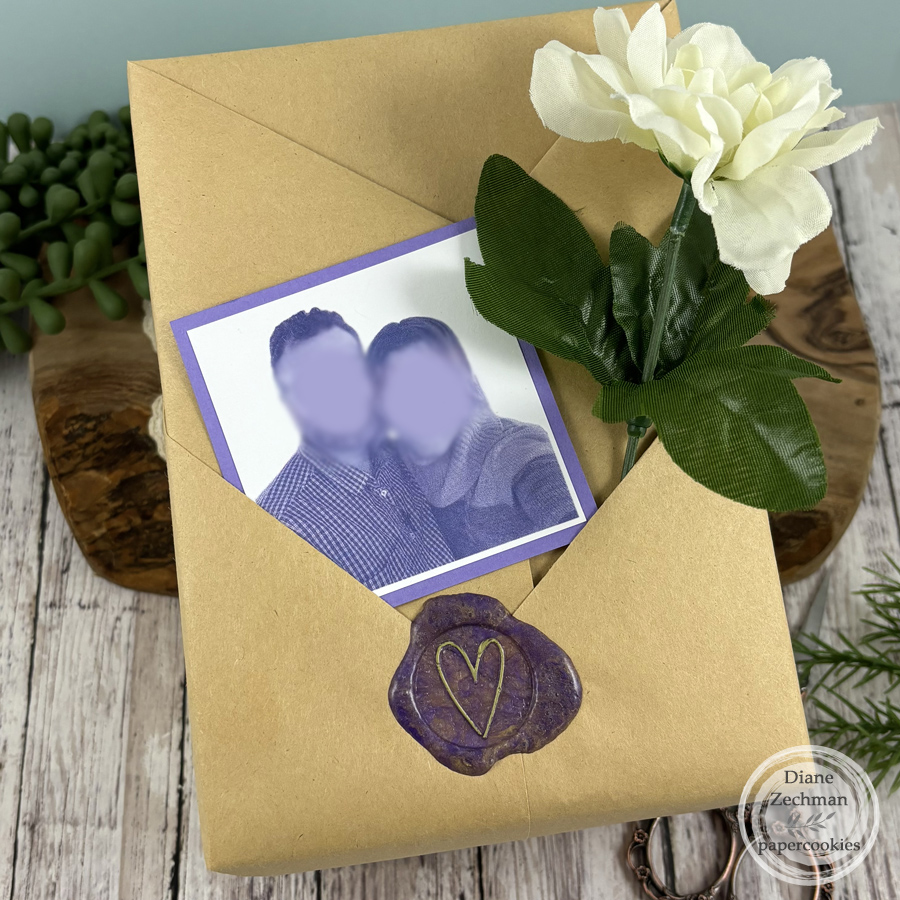
When folded shut, it lays flat for mailing.
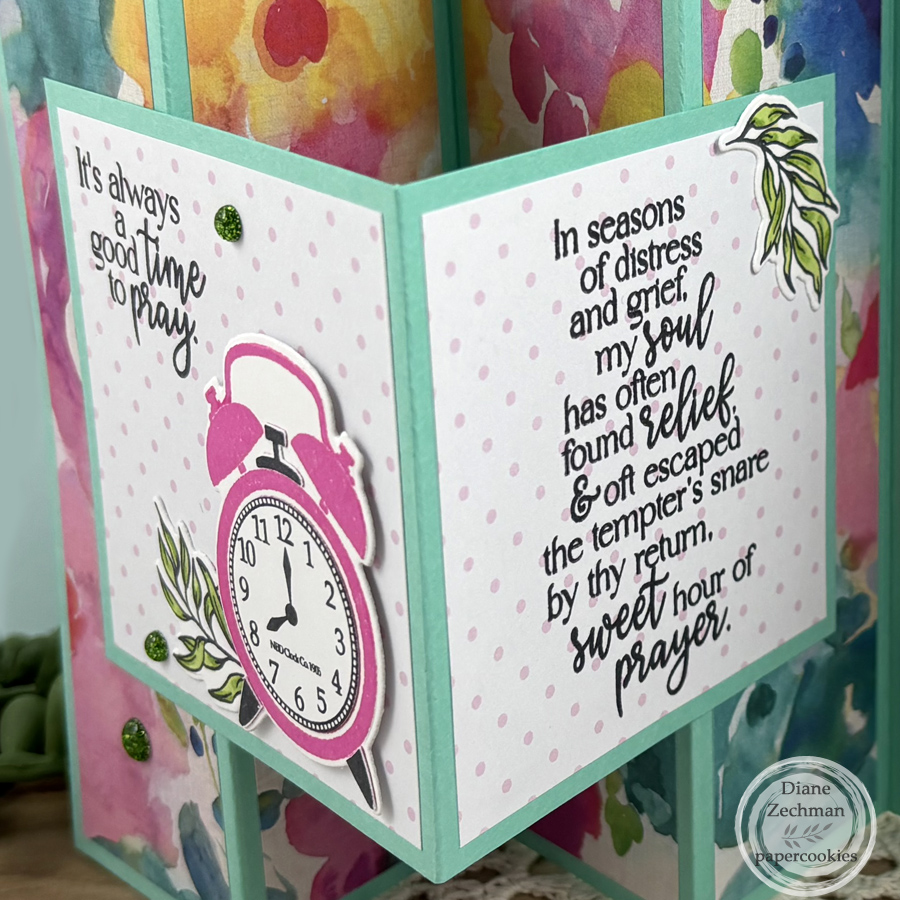
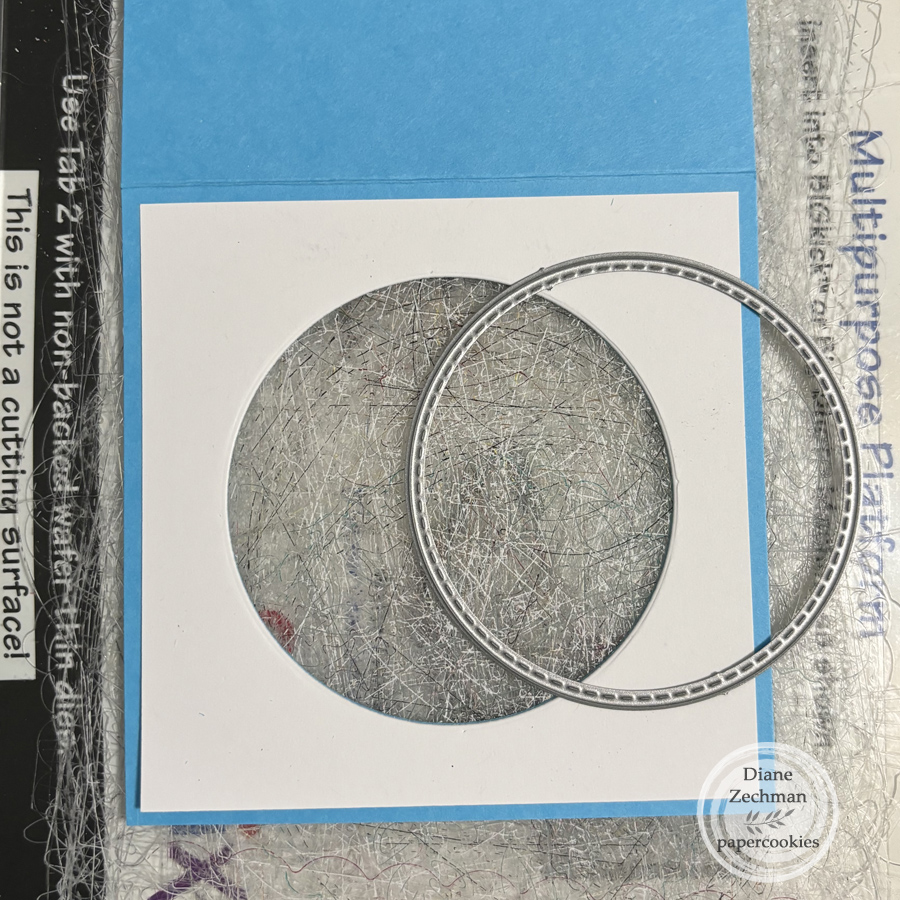
I started with a 4 x 12 piece of cardstock for the base and scored it @ 4″ and 8″. Then I chose a die with approx. 2 3/4″ diameter to create the opening. I laid a 3 3/4″ square of white cardstock on top of one of the end sections WITHOUT GLUING IT DOWN and die cut through both pieces at once so that they would line back up together later. You can remove the white piece and emboss it, as I did, or use patterned paper instead, if desired.
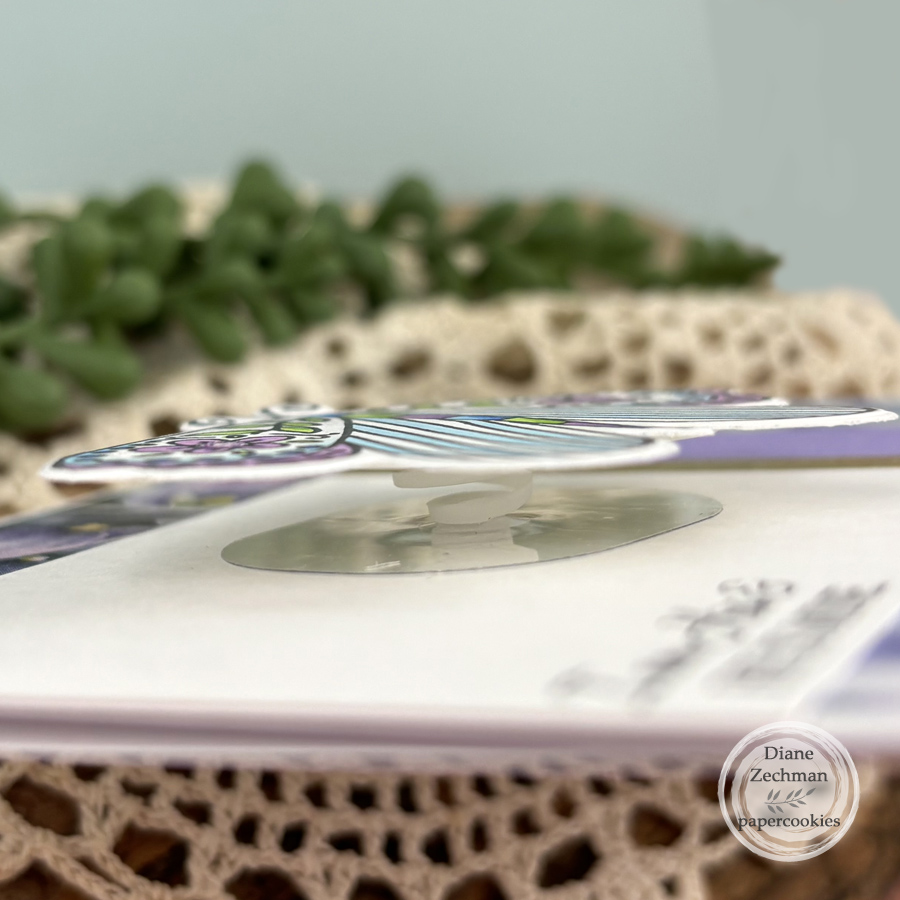
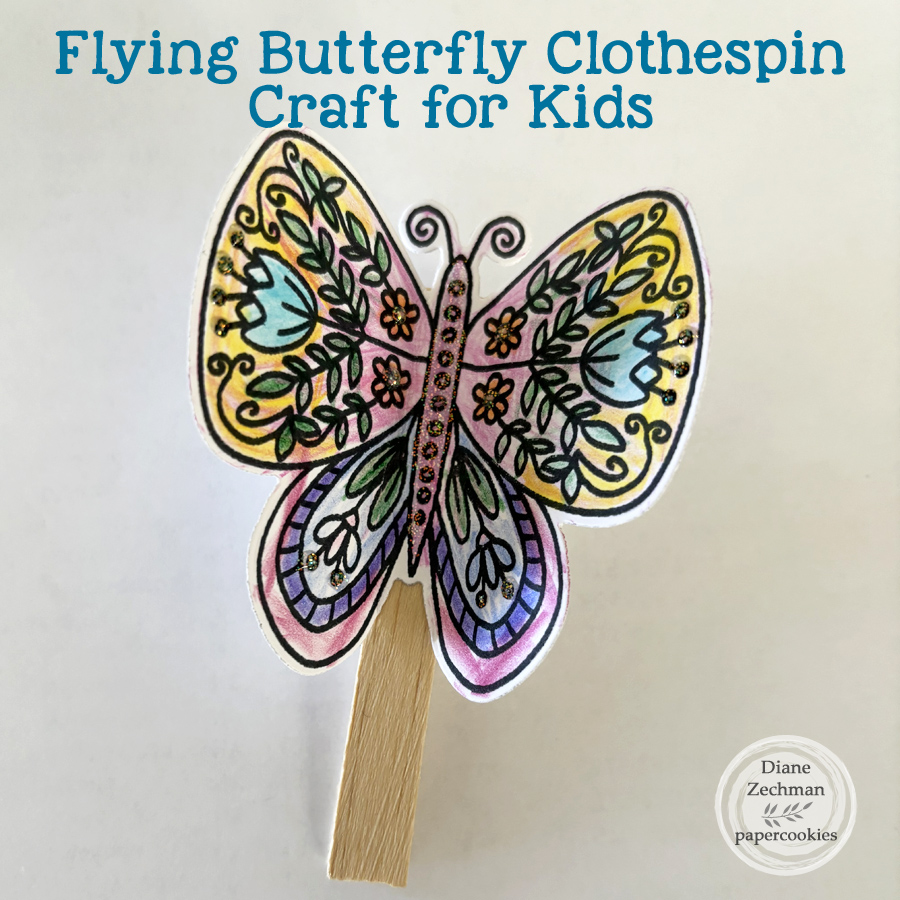
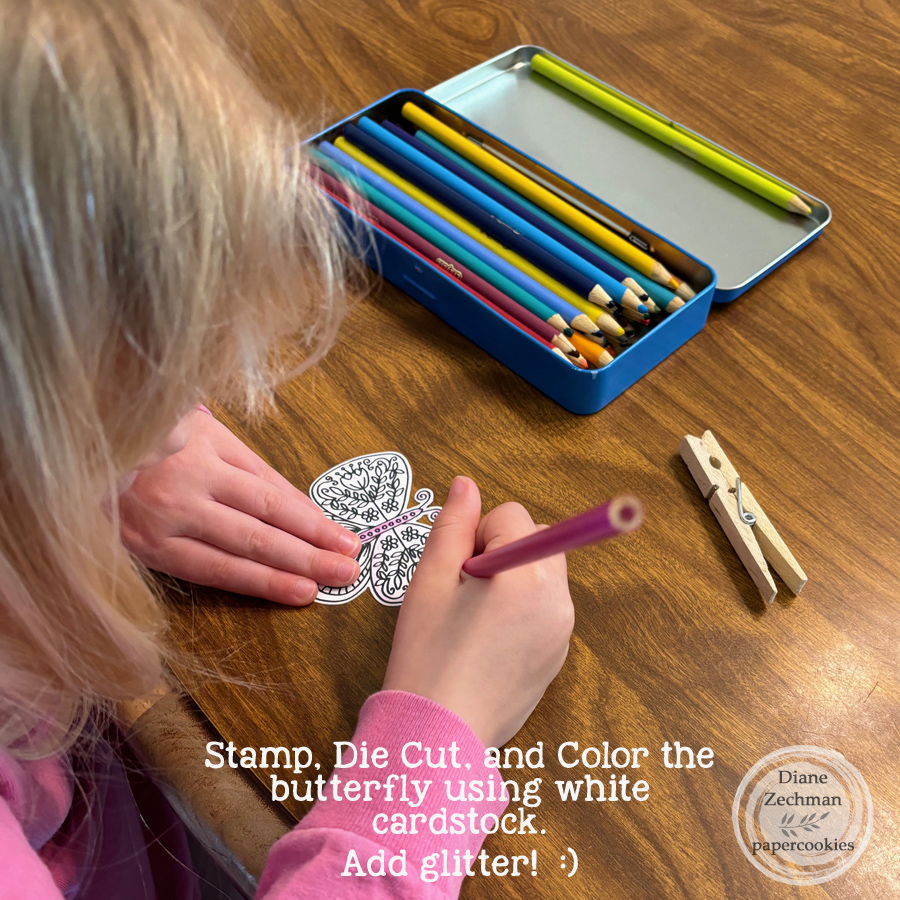
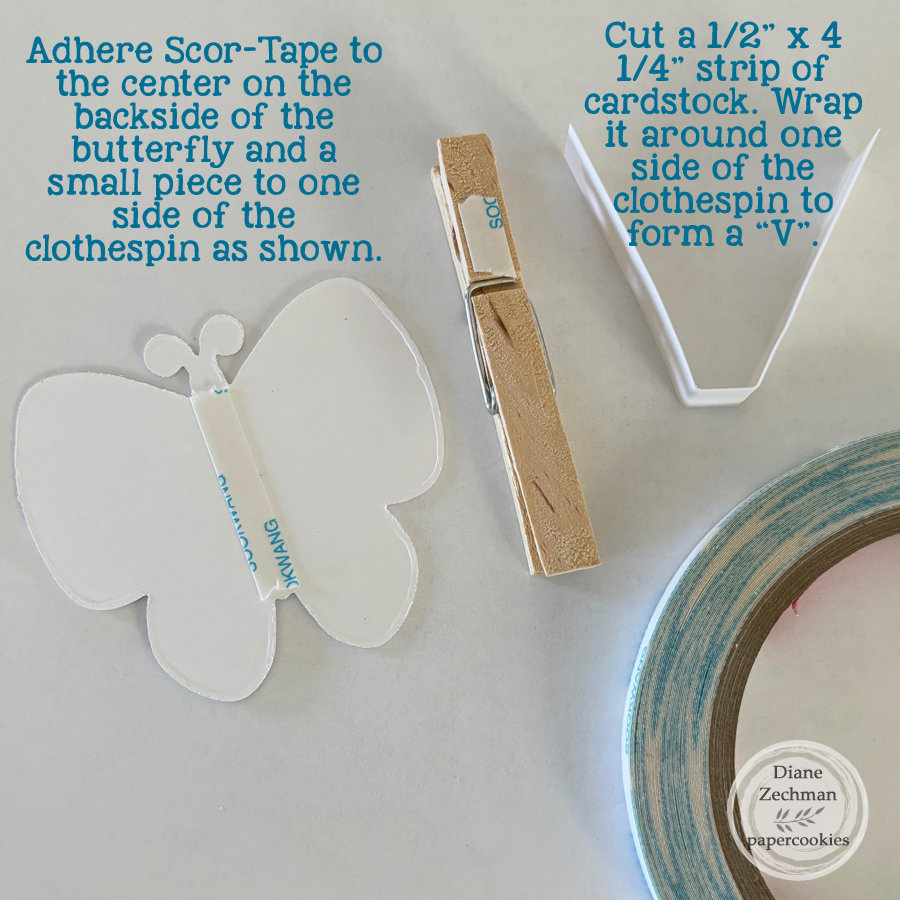
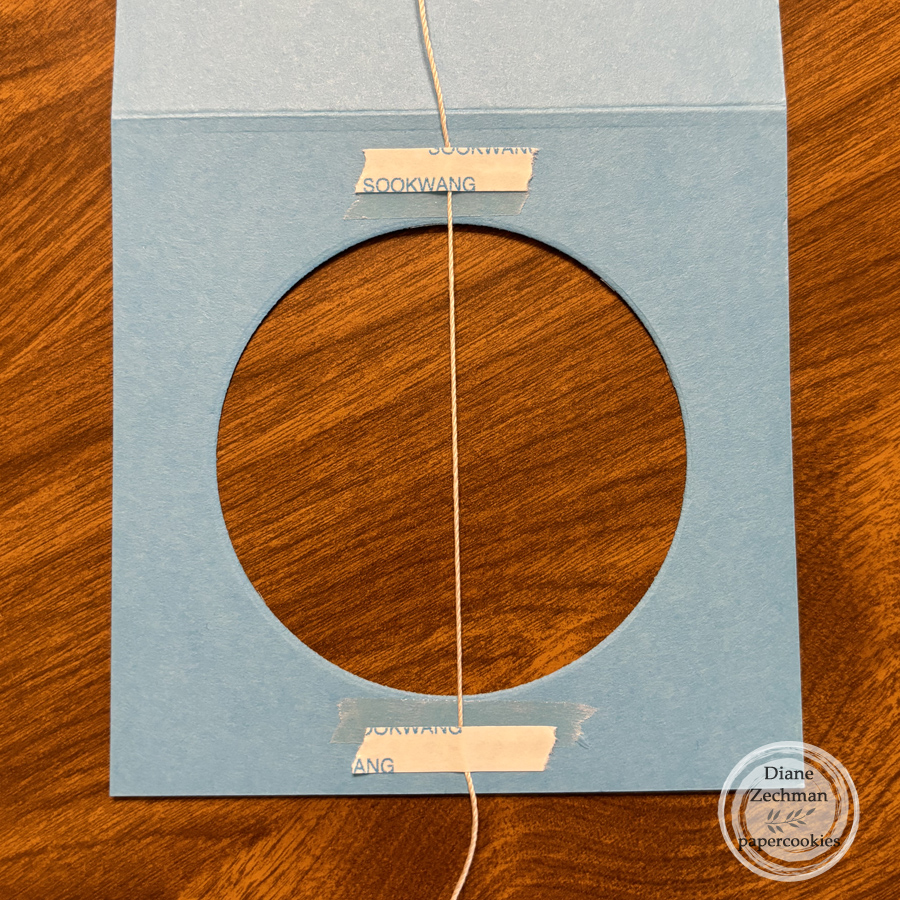
I stamped, colored, and die cut two butterflies and set them aside. Then add a light string or fishing line with Scor-Tape above and below the window and trim the ends. Next replace and adhere the white layer on top, sandwiching the string between the layer and the base.
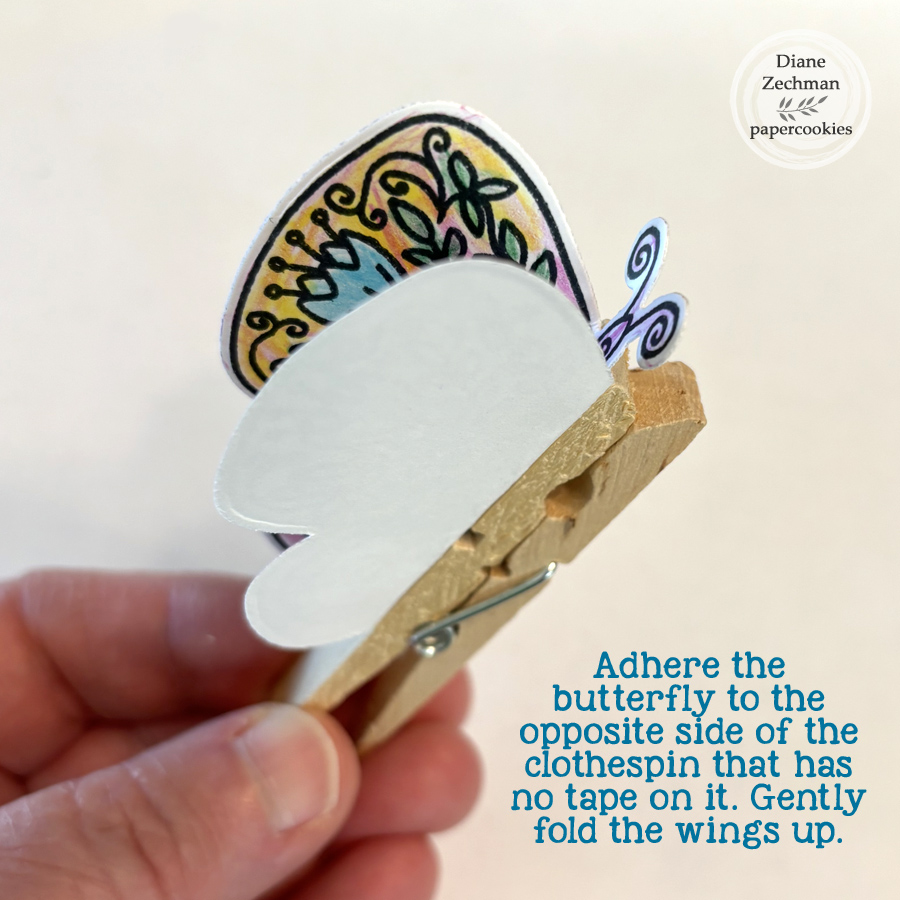
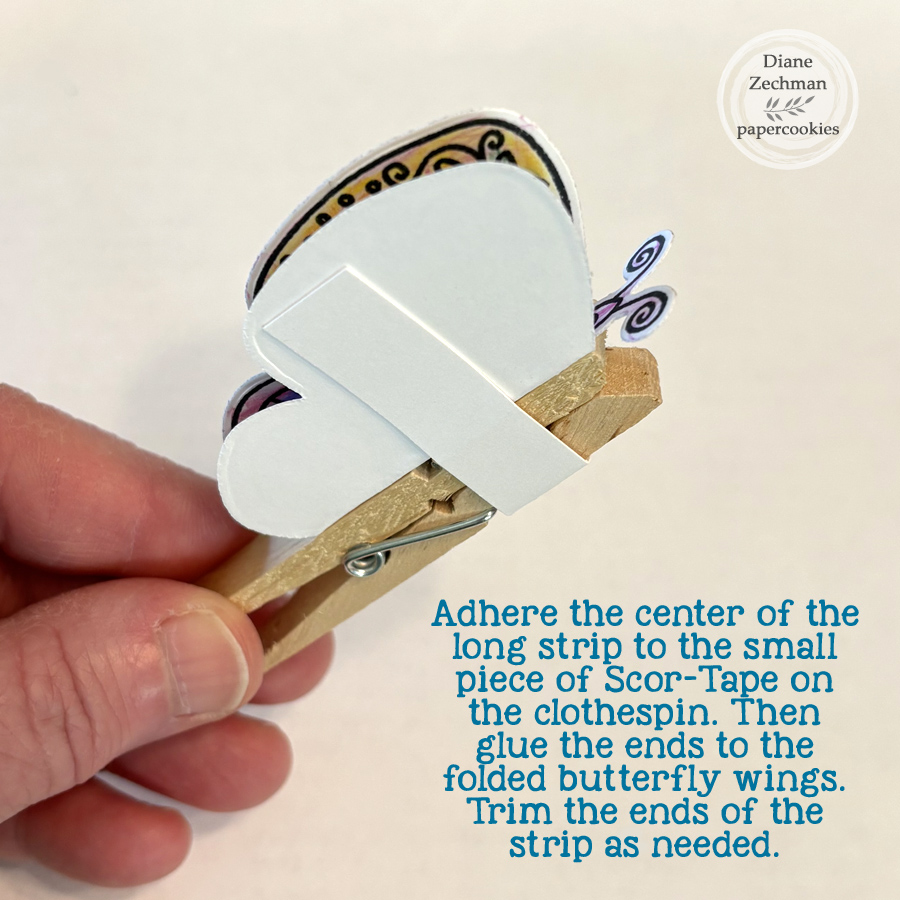
Adhere the butterflies with their backs together and the string between them. I then trimmed 1/8″ from the opposite end of the card base so that it would easily fold inside the card. Add some patterned papers, images, or embellishments as desired.
Here’s a little video to show the butterfly spinning.
Butterfly Easel Spinner Card (youtube.com)
I hope you try this fun card! Enjoy the hop and be sure to comment on Instagram for a chance to win!


 cookiestamper ♥


