
I made a card recently for a swap and I used the large SU! oval punch to make the frame. It is very easy but I thought I would do a quick tutorial with pics to show you how I created it.
Supplies: cardstock, large SU! oval punch, pencil, Scotch temporary tape
I knew that I was going to make more than 1, so I created a pattern first. I started with a scrap piece of green cardstock cut to 1 3/4 in. by 2 1/4 in. Then I punched an oval out of a scrap piece of coral cardstock. Lay the oval onto the green cs, centering it as best as you can. Trace the oval shape onto the green piece. Discard the oval.

Turn the punch upside down with the opening facing you. Slip the green piece inside and line up the tracing with the punch opening.
*tip– I have a very hard time working with small pieces in the punches to get them positioned where I want them. To make it easier, stick a piece of temporary tape on the cardstock as shown in the pic below. Use the eraser end of a pencil or any other tool on the temporary tape to “grip” the cardstock and move it to where you want it. (I just use my finger but I can’t endorse sticking your finger in the punches! LOL).
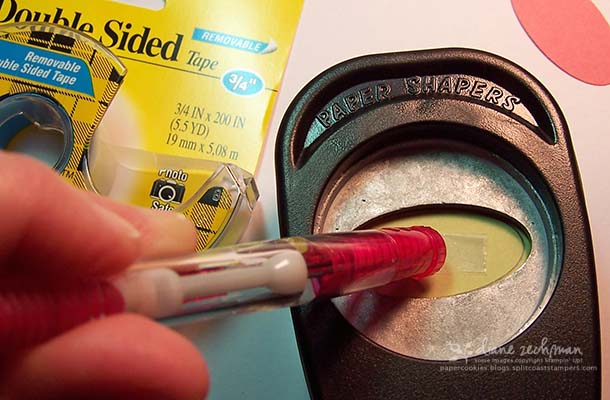
When you get the traced oval lined up with the punch opening, then punch it out.
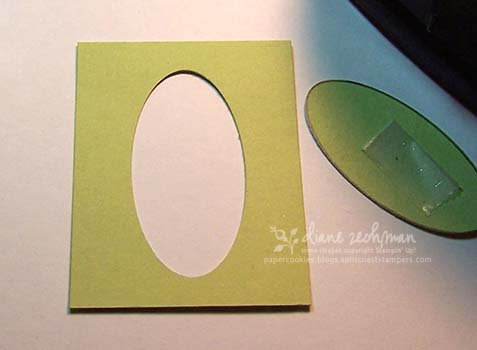
Your oval frame is done! If you want, you can keep this one for a pattern to trace again later. Have fun with it….and if you try it out, link your card back here so I can see what you made! 🙂
Here’s a pic of the frame on a finished card:
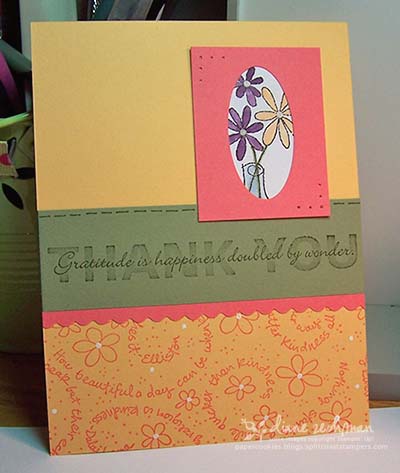
stamps- Word on Word, Sassy Stems, Kindness Jumbo wheel
cardstock- Apricot Appeal, Mellow Moss, Cameo Coral
ink- Black, Artichoke, Cameo Coral, Elegant Eggplant, Bashful Blue, Apricot Appeal
access- Fiskars scallop scissors, large oval SU! punch, white gel pen
 cookiestamper ♥


5 responses to “oval punch frame tutorial”